Replace Constant Force Window Balances
A hung window that won't stay open, slides shut on its own, or takes two hands to lift has worn-out balances — the coiled springs hidden in the jamb that carry the sash's weight. Swapping in Caldwell QUICKTILT constant force balances fixes it without replacing the window or calling in a contractor.
This post is the written companion to the video above, and it covers the part most guides skip: the retrofit. Plenty of hung windows still run balance hardware that hasn't been manufactured in years. If the jamb channel measures at least 1-1/4" (32 mm) wide and 9/16" (14 mm) deep, the window can usually be converted to QUICKTILT hardware — new pivot bars on the sash, one cutout in the vinyl track — and every balance change after this one stays simple, with parts that are easy to source.
The QUICKTILT 562 series is AAMA Class 2 certified and covers sash weights from 4 lb to 61 lb; the strength you buy is sized to your own sash, which is why the weigh-in gets its own step below. The curveballs the video runs into — pivot pins trapped in enclosed holes, old balances that won't slide out, a sash that lands between two strengths — are handled in the steps where they bite.
Measure the window channel
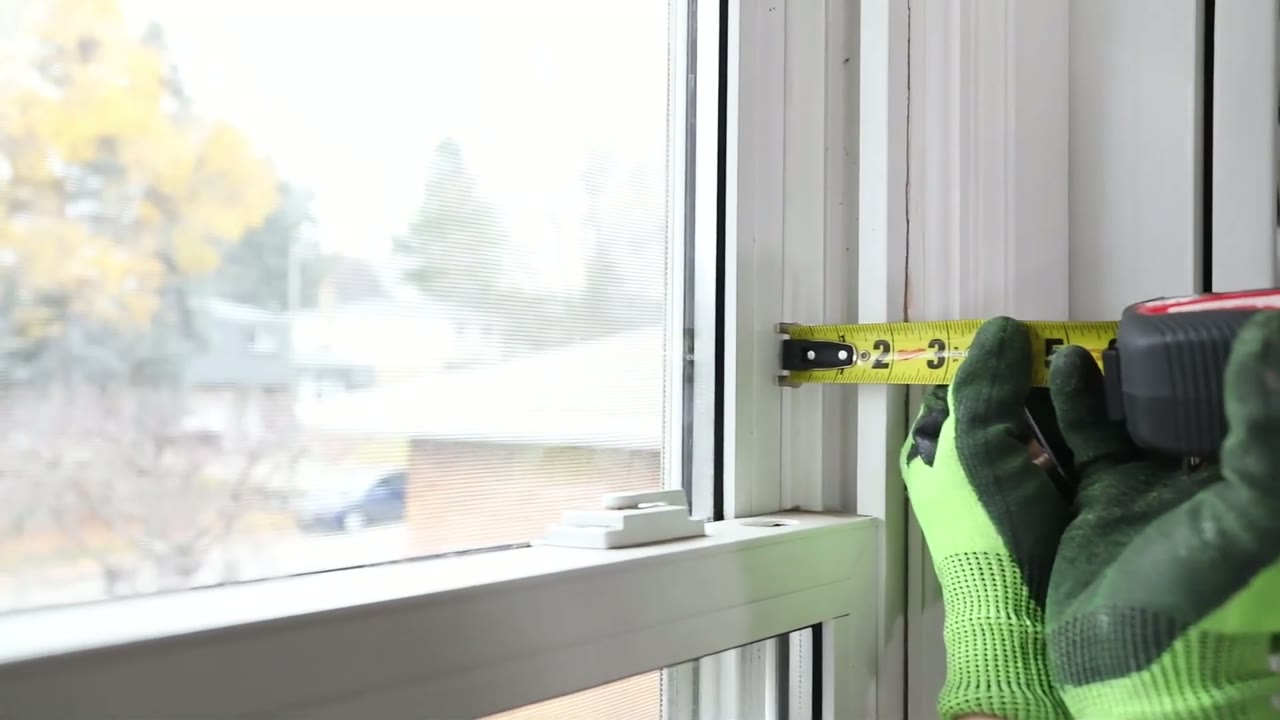
Tape measure across the jamb channel — QUICKTILT balances need 1-1/4" of width and 9/16" of depth Before ordering anything, measure the jamb channel the sash rides in — the pocket where the old balance sits. QUICKTILT balances need at least 1-1/4" (32 mm) of width and 9/16" (14 mm) of depth. If your channel measures up, the window can be converted even if its original hardware went out of production years ago. While you're in there, note whether a vinyl cap covers the balance pocket — it matters in step 6.
Tilt the sash and lift it out
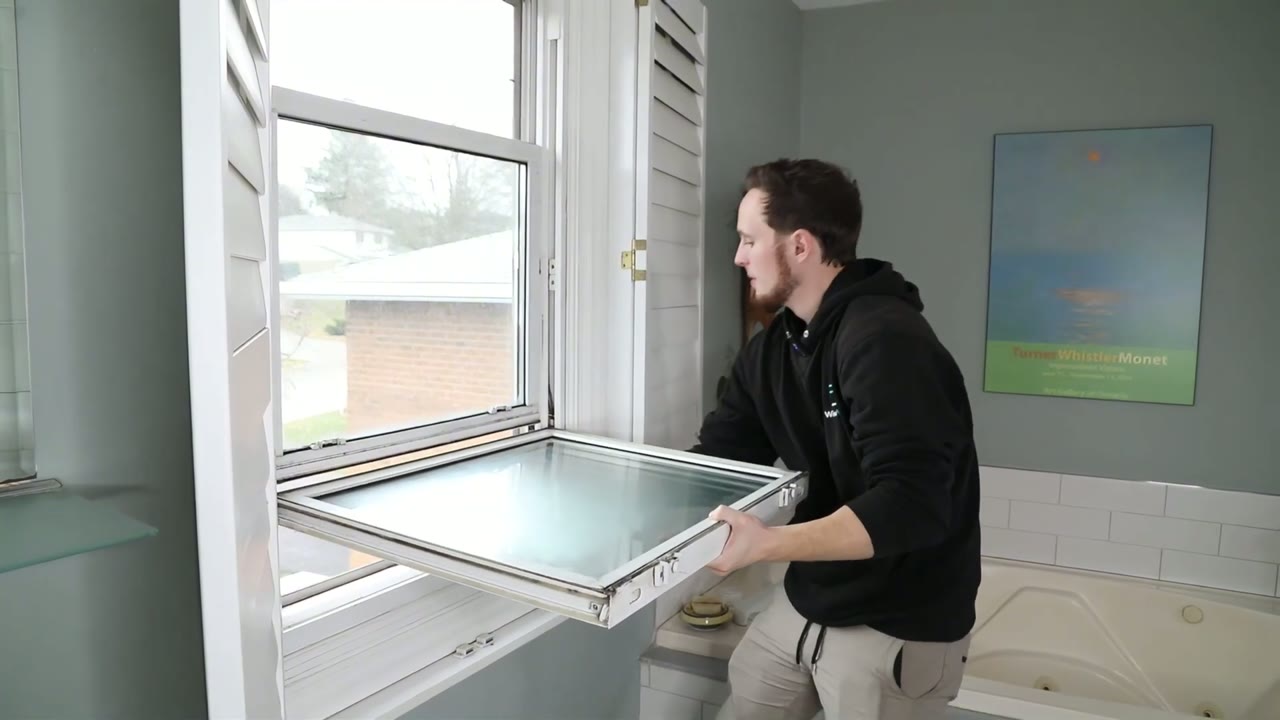
Lower sash tilted to 90° and lifted out of the frame one side at a time Press in both tilt latches at the top of the sash and tilt it down to 90°. Raise one side upward to free that pivot bar, then work the other side out. The video pulls both sashes; the repair itself only touches the broken one.
A well-designed balance system lets the pins lift straight out. The system in the video encloses its pins in a closed hole — and the window locks in the open position — so freeing the first corner took real force.
If yours fights the same way, it's the hardware design, not your technique. Keep a grip on the glass and work one corner at a time until the pin clears.
Release the tension on the old balances
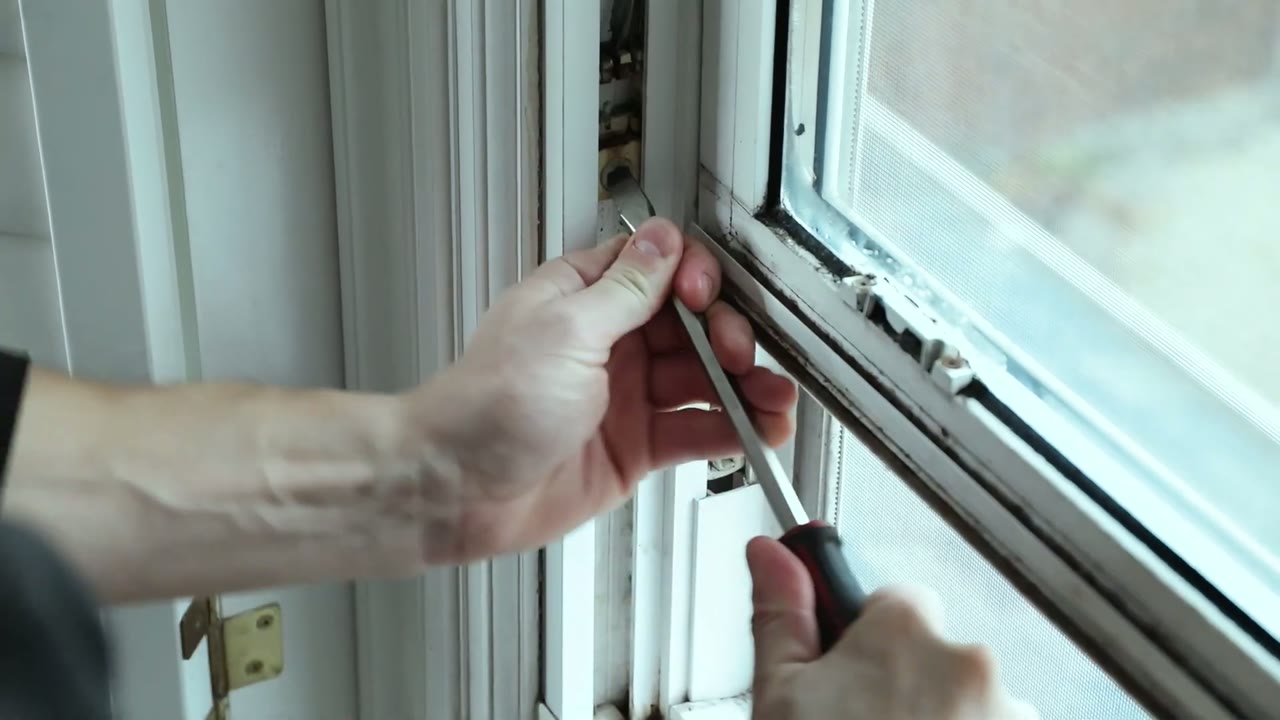
Flathead screwdriver in the old pivot shoe — a quarter turn releases the coil tension Only the window being repaired needs this step. Before any screws come out, take the spring load off each old coil balance: slide a flathead screwdriver into the pivot shoe and turn it 90°.
Hold the screwdriver firmly. Releasing the lock instantly frees the coil, and depending on the sash weight the shoe can shoot up the track hard. Safety glasses on for this one.
Weigh the sash and pick a balance strength
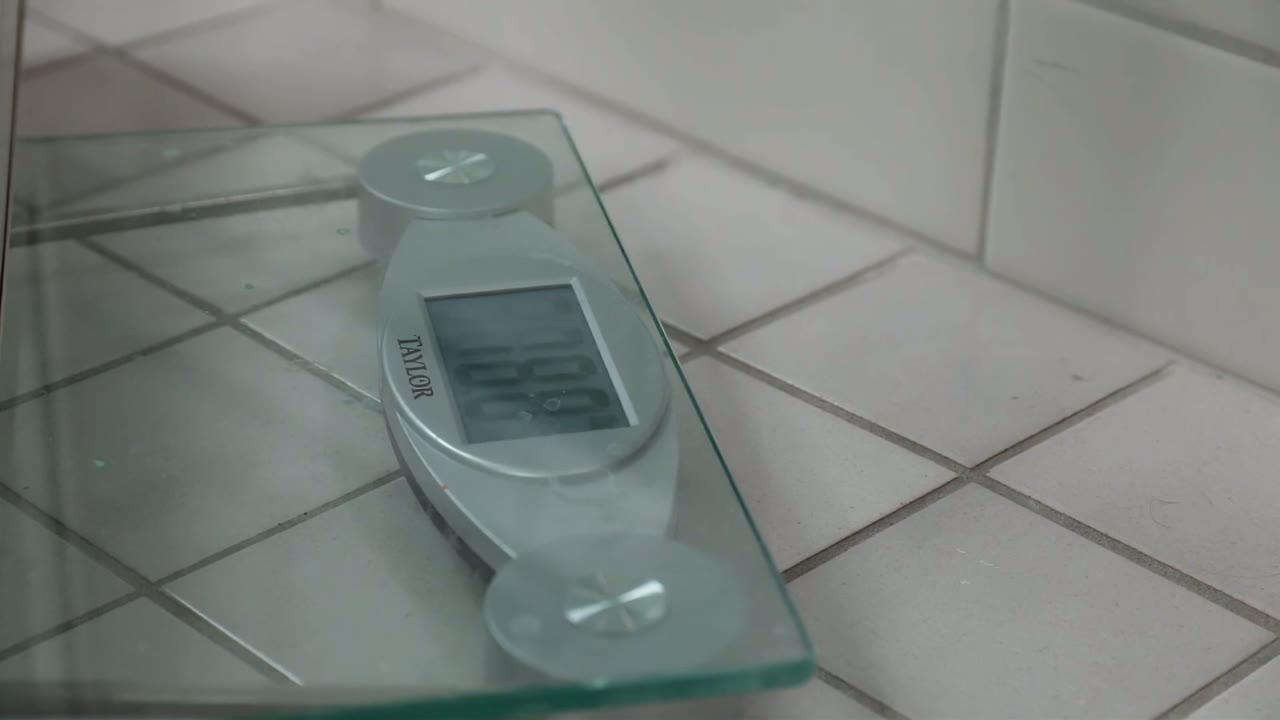
Bathroom scale during the sash weigh-in — the video's window reads 17 lb, so each side gets an 8 lb balance Some balances state their strength on the housing — a stamped 4 means a 4 lb spring. If yours shows a legible number, match it and skip the scale. The old balances in the video carried no markings, so the sash got weighed: stand it on a bathroom scale and read the total.
Each of the two balances carries half the sash weight, so divide the reading by two — a 30 lb sash takes a pair of 15 lb balances. When the split lands between strengths, go up: a 15 lb sash halves to 7-1/2, and while a 7 lb pair might carry it, it can fall short of holding the sash open. Buy the 8 lb pair instead. The video's 17 lb sash runs on two 8 lb balances — step 10 is where you confirm your pick holds.
Our QUICKTILT balances come in 1 lb steps from 4 lb to 24 lb. The "Add parts to cart" button asks for your sash weight and suggests the right strength. They sell as a matched left-and-right pair — one order covers one sash.
Replace the pivot bars
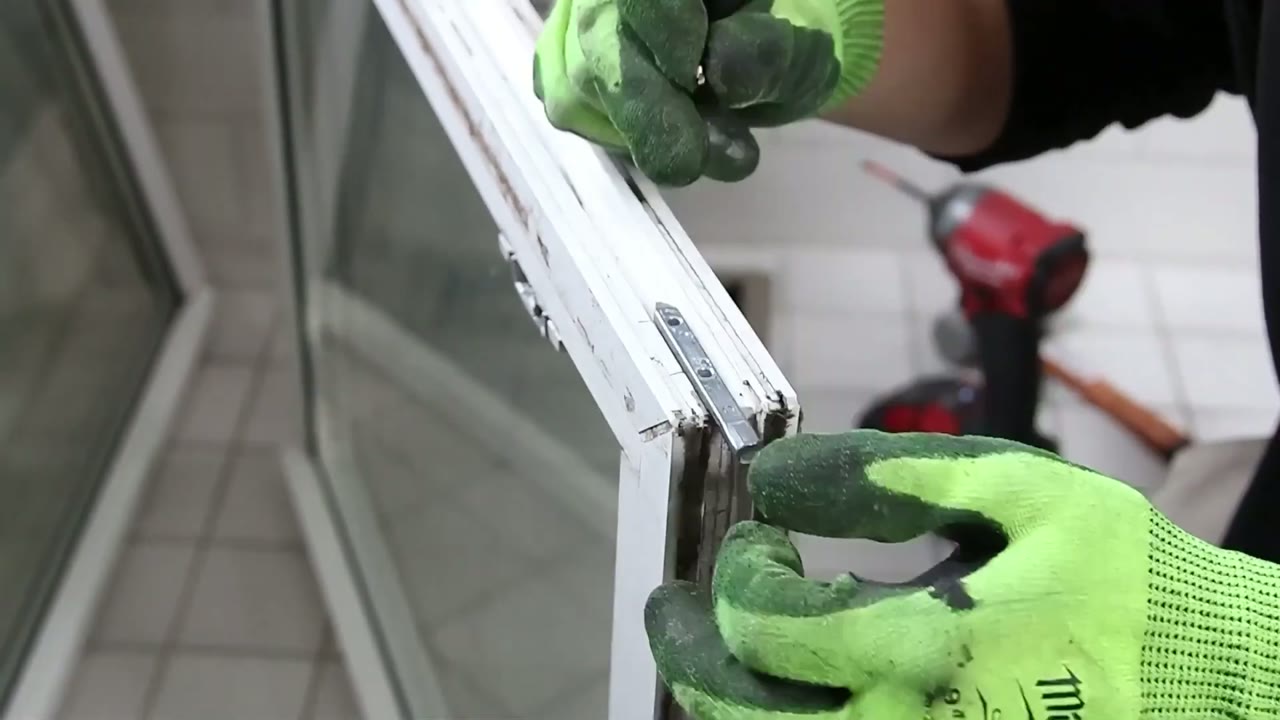
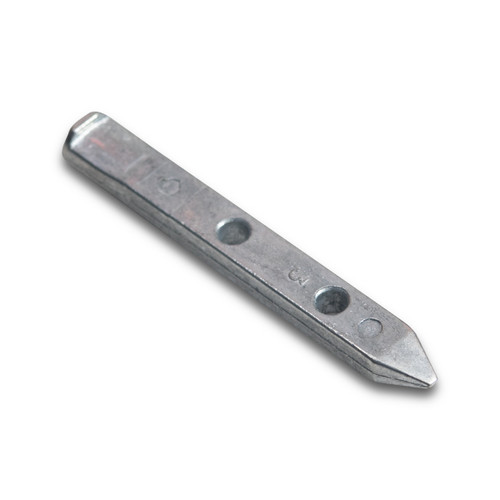
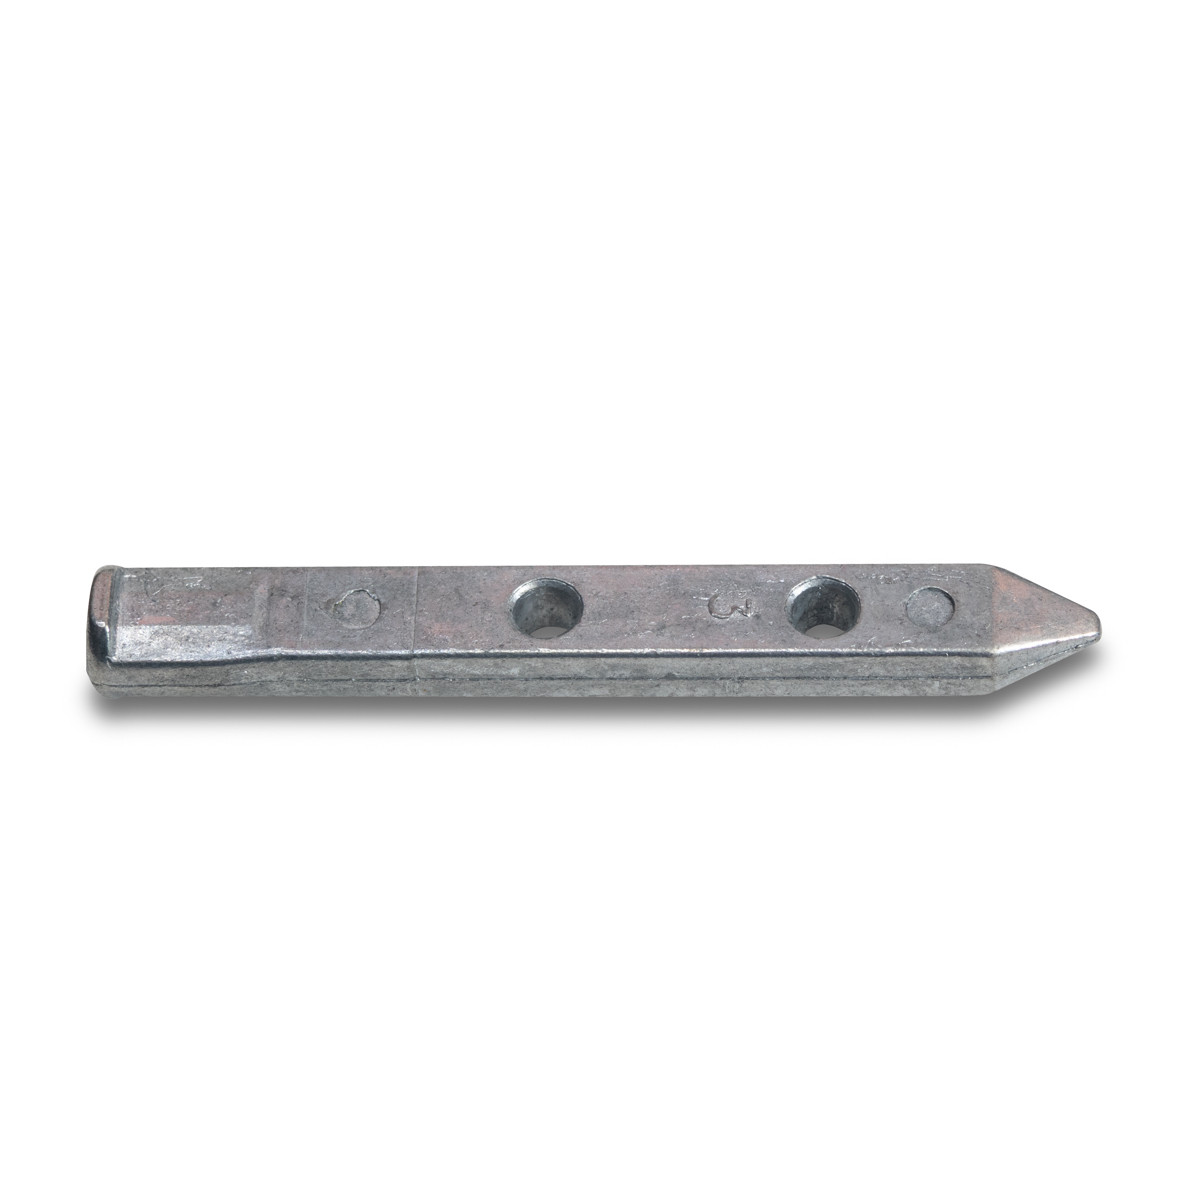
New stainless pivot bar lined up on the bottom corner of the sash before the screws go in The old balance system in the video used its own proprietary pins, so the sash needs standard pivot bars before the new shoes will grab it — one per bottom corner. Most hung sashes carry their pivot bars exposed on the bottom face; this window hid them under a cover.
Unscrew the old bars, line the ends of the new bars up where the old ones sat, mark the fresh screw holes with a pencil, and drive the screws straight in.
No pilot holes needed — window vinyl is soft enough that screws seat cleanly without cracking it.
Open up the vinyl track
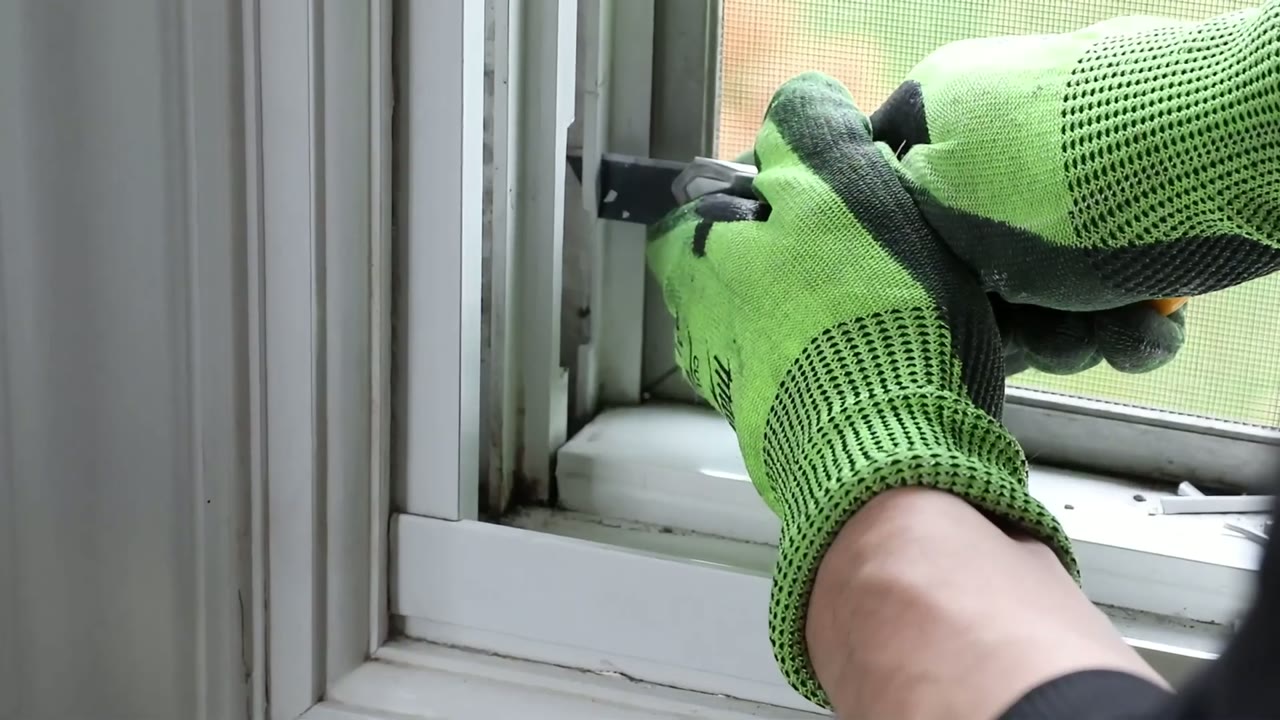
Utility knife trimming the vinyl track — horizontal stop cuts first, then the long vertical cuts Most hung windows have a vinyl cap covering an opening where the balance slides out. This window had the cap but no opening underneath, so the retrofit means making one.
Mark the top of the cap with a pencil and pop the cap off. Hold the new balance against the channel to size the cutout, then shrink the opening by 3/4" or a touch more — that leaves the cap enough material to snap back onto. Score four horizontal cuts to define the top and bottom of the cutout, then make the long vertical cuts between them. The horizontal cuts act as stops and keep the blade from running past the line.
This is sharp-knife work inside a slippery vinyl channel — the cut-resistant gloves on the tool list are for exactly this step.
No vinyl cap on your window at all? That conversion needs its own walkthrough — send us photos of your channel through Identify My Part before you cut anything.
Slide out the old balances
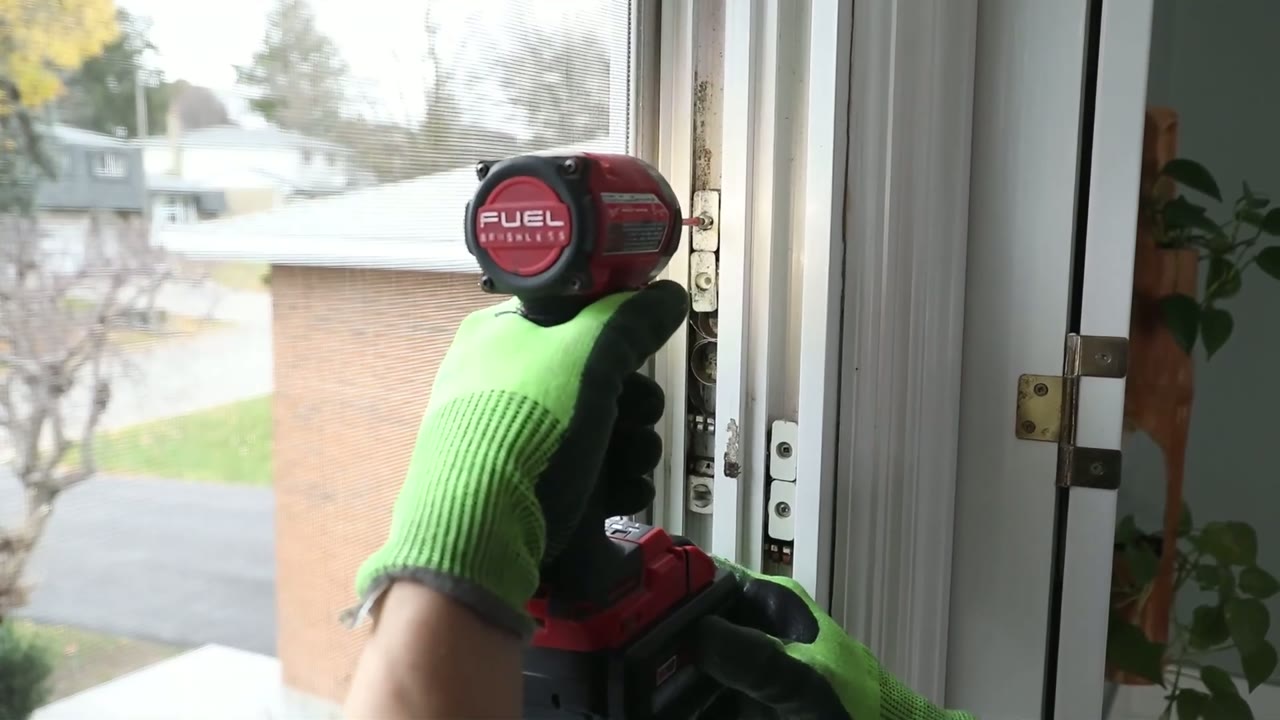
Backing the old balance's mounting screws out of the window channel With the tension already released in step 3, back out the old balance's screws and slide it down toward the cutout and out of the channel. The pair in the video sat tight — a set of pliers helped pull them free.
While the channel is empty, vacuum the track clean before the new hardware goes in.
Install the new constant force balances
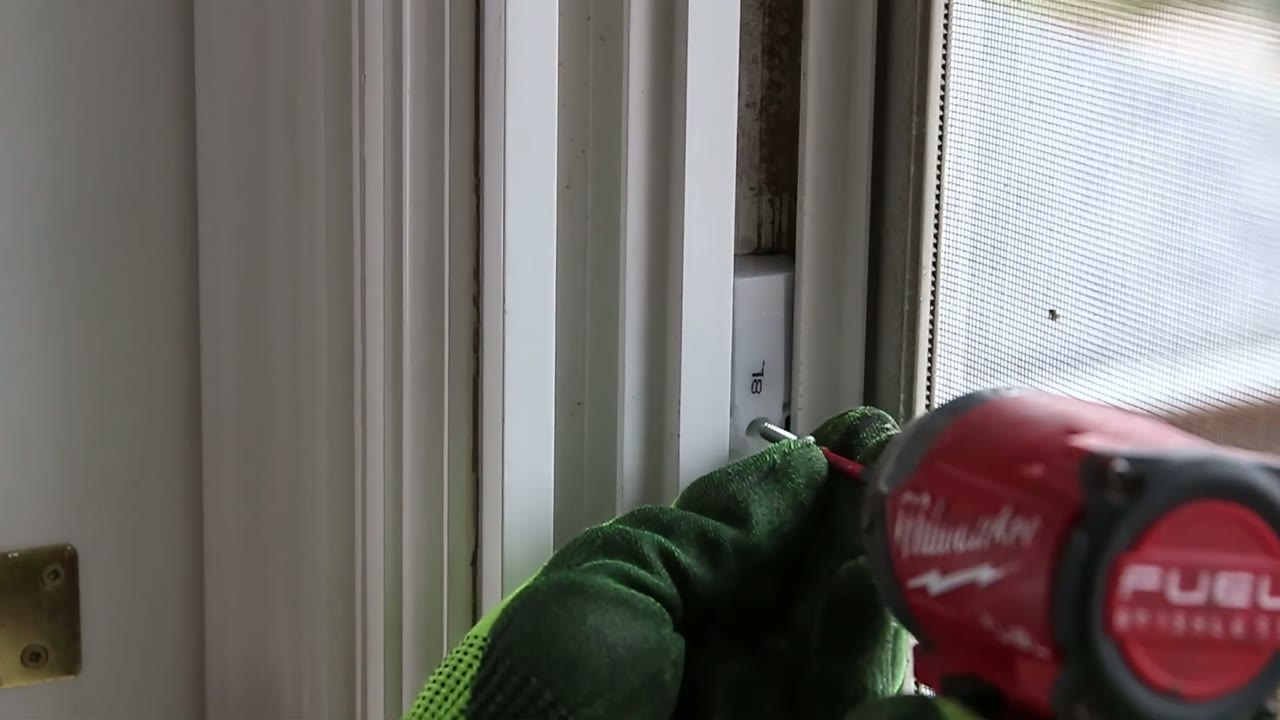
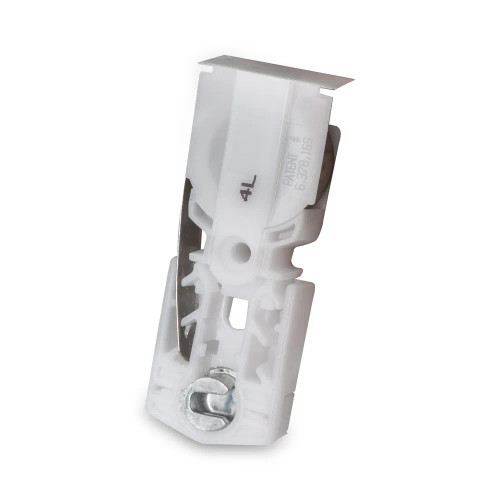
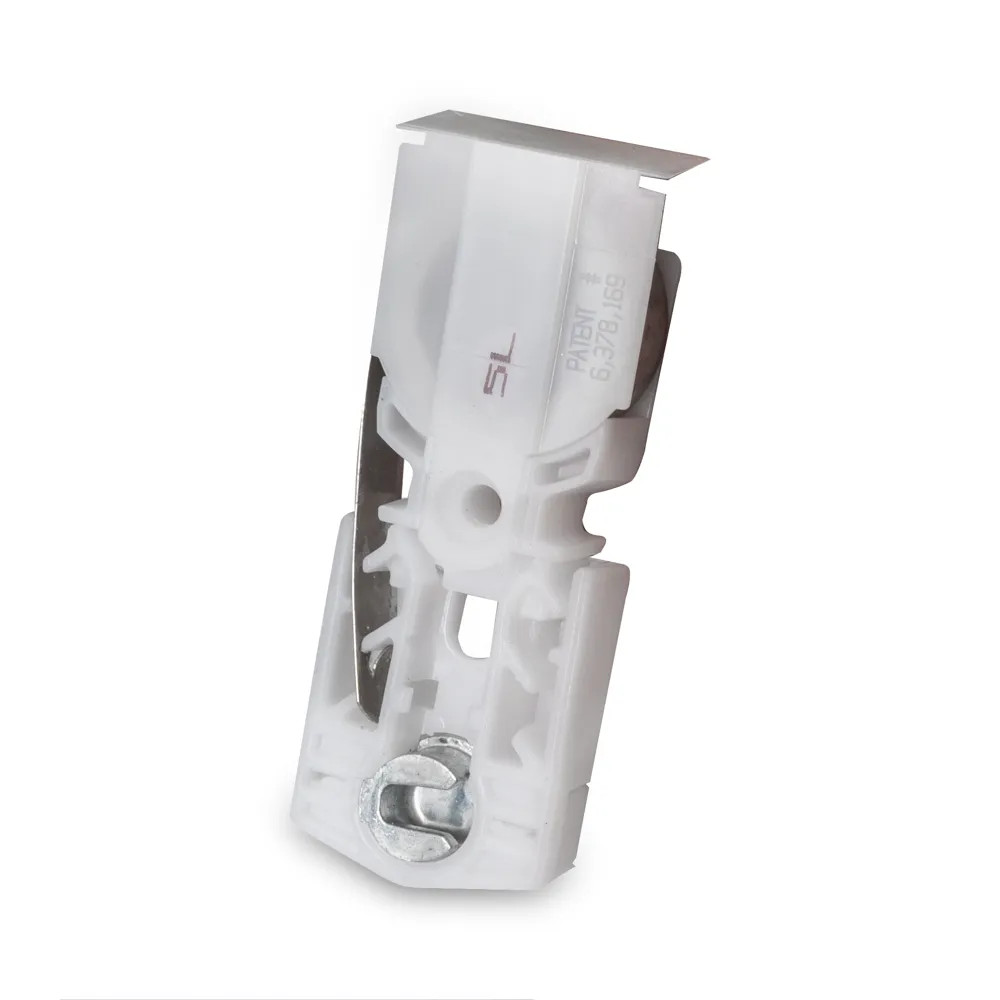
New QUICKTILT balance — stamped 8L — fastened through the original upper screw hole in the channel Turn each new pivot shoe so its opening faces you — that disengages the lock and lets the balance slide freely. If your balances are marked with an L or an R (the one in the video reads 8L), the L goes on the left side and the R on the right.
Slide the balance up the channel and fasten it through the original upper screw hole. The old balances used two screws each; the video reuses only the upper hole, which keeps the new balance high enough that the window still closes fully without interference. Snug the screw and stop — don't overtighten.
Set both shoes at the same height
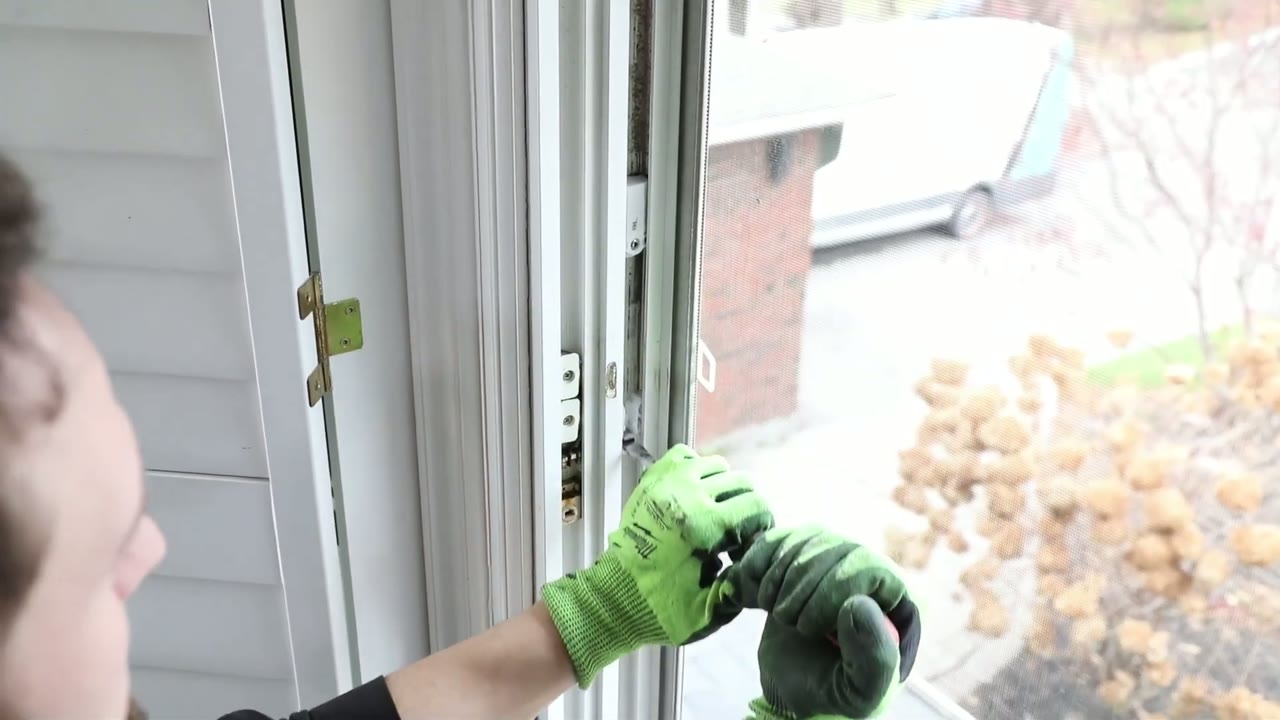
Screwdriver pulling the locked pivot shoe down the track to working height Insert the flathead into the new shoe and pull it about halfway down the track — that leaves working room for the sash. Turn the screwdriver so the shoe opening faces upward, which re-engages the lock. Repeat on the other side and match the heights exactly: the sash needs both pins to land at once.
Set the sash back in
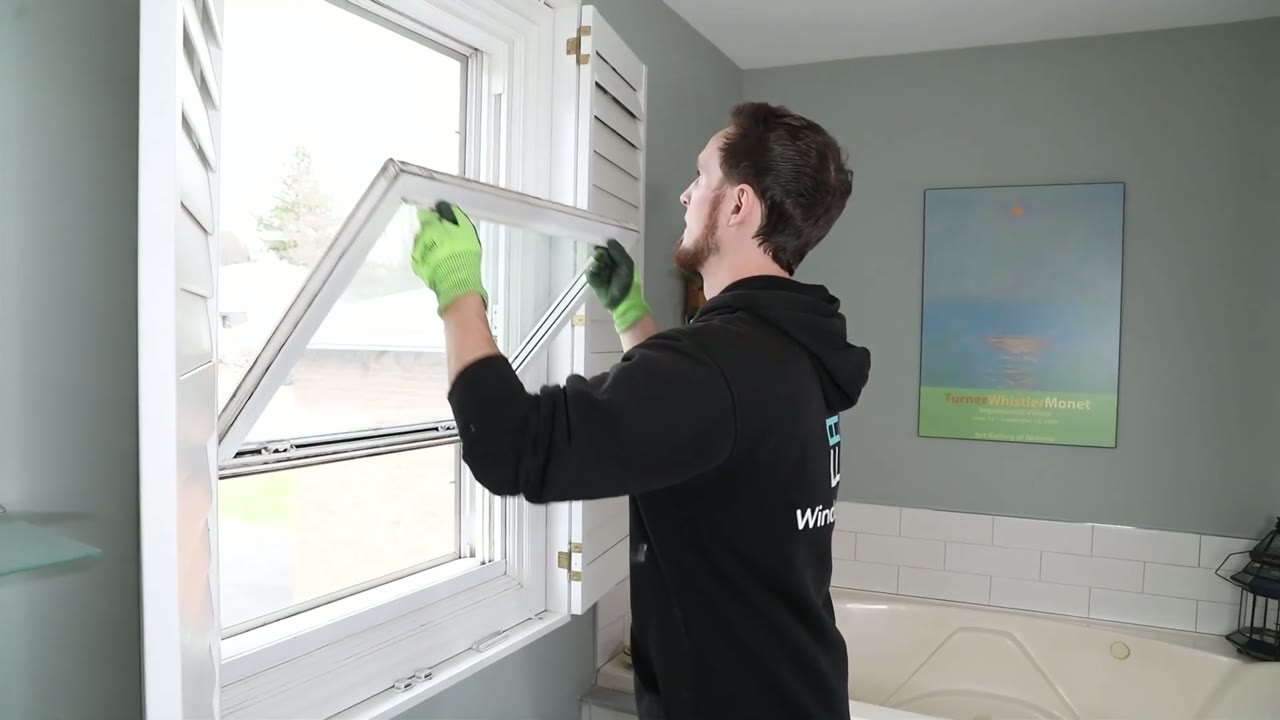
Sash tilting back up into the frame with both pivot bars seated in the shoes Rest the sash's pivot bars into the two shoe openings with the sash at 90°, then tilt it up toward the frame until both tilt latches snap into the channel. Run the window up and down a few times — this is where the strength you picked in step 4 proves out. If the sash drifts down or won't hold position, swap in the next strength up.
Lubricate everything and re-hang the other sash
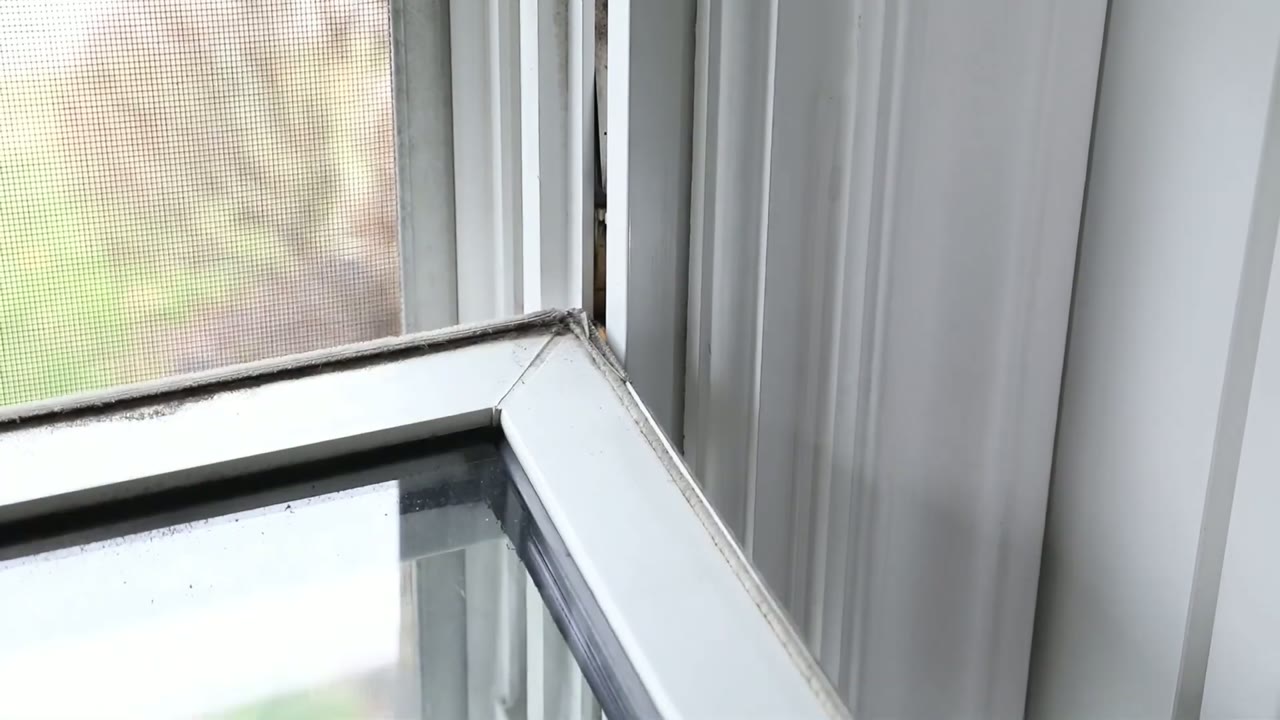
Upper sash corner going back in — seat the left pivot first, then lift the left side to drop the right pin home Snap the vinyl caps back on and give the channels a shot of silicone spray. If other windows in the house still run older coil balances, spray those coils too while the can is out — it does a lot for how they slide.
Then the other sash — the one that kept its old balances — goes back in, and it's the fiddly part. Set its balance shoes so the left pivot bar seats into its shoe first, lower the right side until that pin just touches the bottom edge of the right shoe's opening, then lift the left side of the sash — the lift pushes the right pin down into its shoe. Close the window and you're done.
If your balance or shoe doesn't match the ones here, send us a photo through Identify My Part and we'll match the exact replacement.