Replace and Adjust Casement Window Hinges
A casement window that drags across the frame at the latch corner, needs a shoulder to close, or shows daylight along one edge is usually telling you its hinges are done. The sash hangs its whole weight on the casement window hinges — the bottom one especially — and as the shoes wear and the arms fatigue, the window settles toward the lock side and starts to rub.
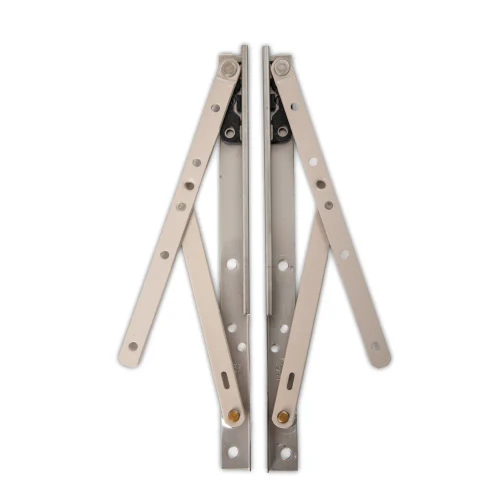
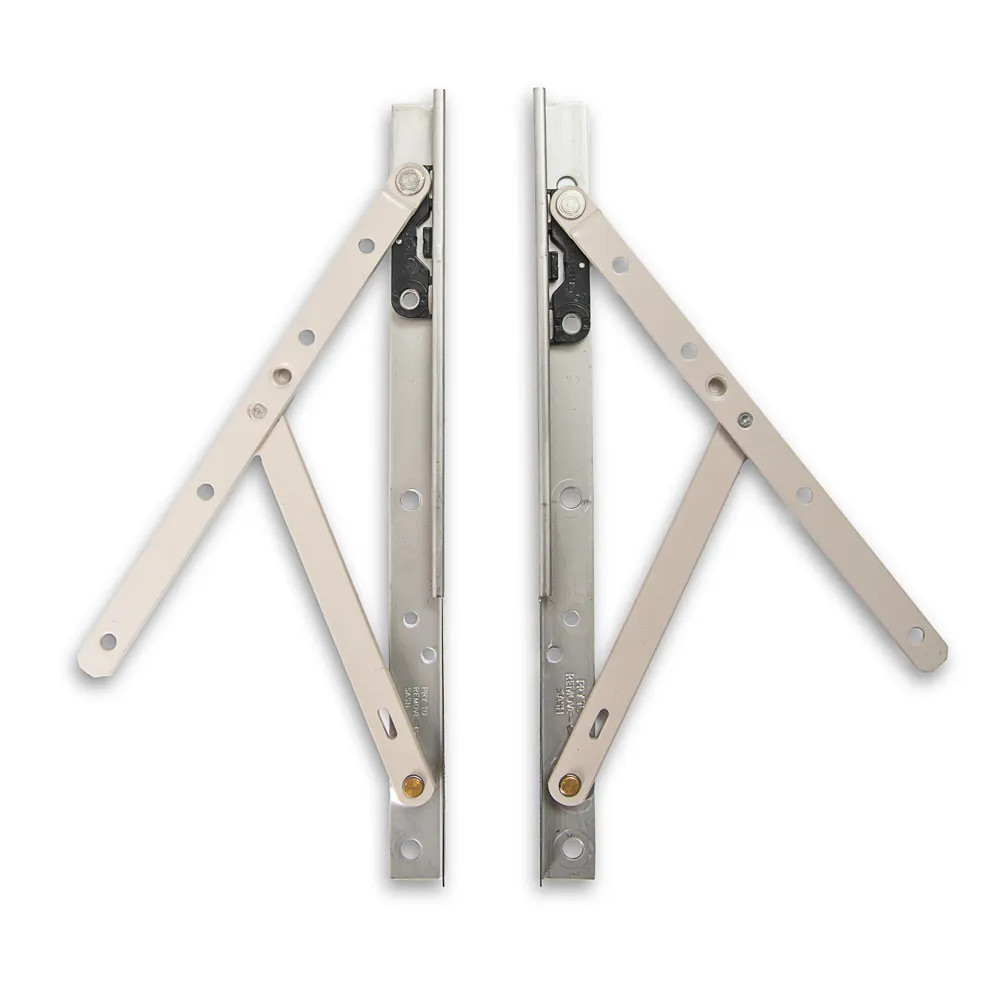
The fix here is Truth Hardware (AmesburyTruth)'s 14-series concealed hinge — the 10" (254 mm) 2-bar adjustable model, sold as a top-and-bottom set, with a stainless steel track and a Delrin shoe. The adjustable brass stud is the part that earns its keep: with Truth's slim-line wrench you get about 1/16" (1.5 mm) of sash correction, made without disconnecting the support arms.
Plan on about 20–45 minutes with the sash out of the frame.
Open the window and pop off the link arm
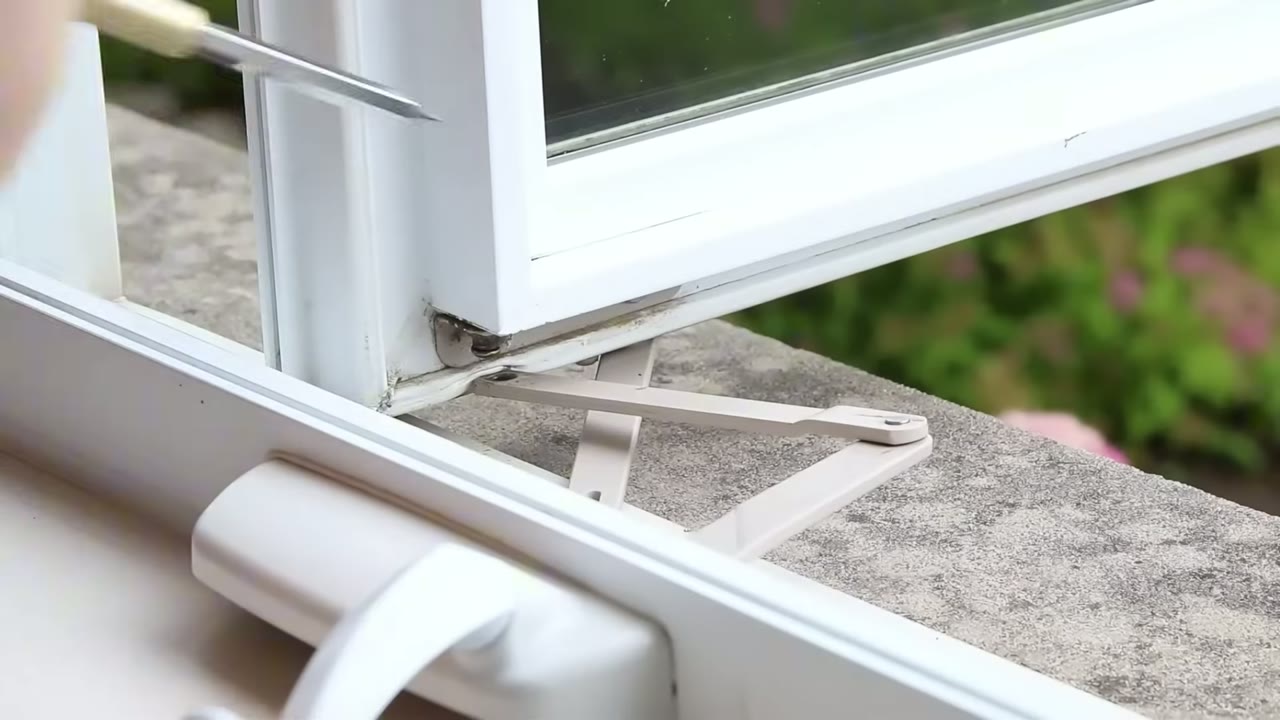
Operator link arm with the flathead slipped in at its stud bracket, ready to lever down Crank the sash out until it stands about 90° to the frame — the support arms have a built-in stop there, and it puts both hinges where you can reach them. Then slip a flathead between the operator's link arm and the stud bracket on the sash, and lever down until the arm pops off its stud. It takes a firm push, not a gentle one.
Pop the hinge arms off the snap studs
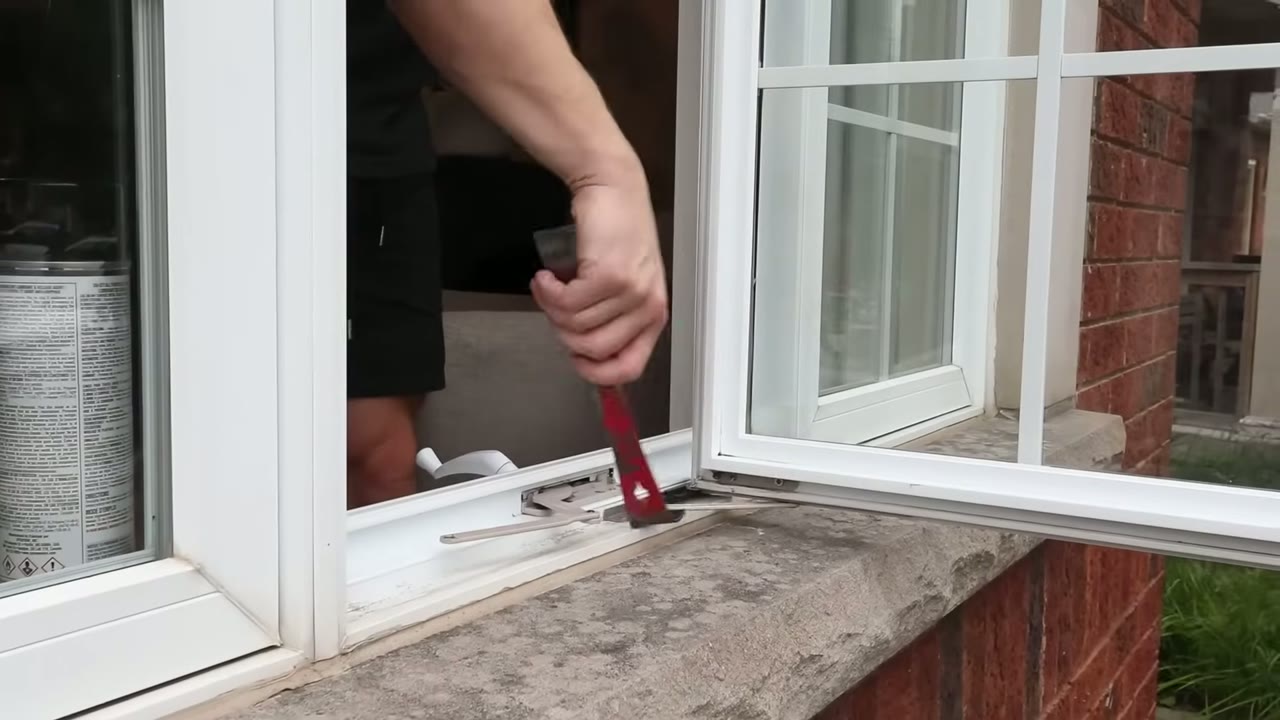
Glazing prybar levering the hinge arm up off the brass snap stud on the bottom track Work the prybar between each hinge arm and the brass snap stud on its track — bottom hinge first, then the top — and lever until the arm pops up off the stud. The studs stay in their tracks; only the arms let go.
Lift the sash out of the frame
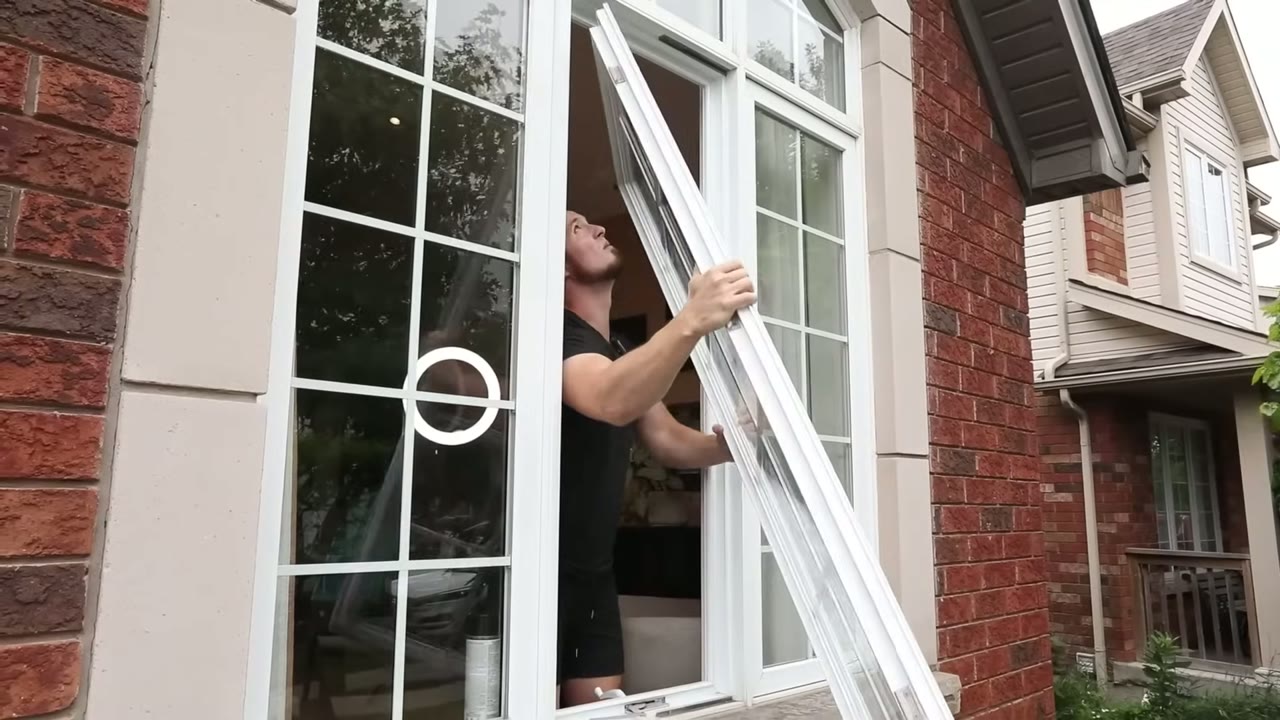
Casement sash lifting free of the frame — nothing holds it once both hinge arms are off Once both arms are free the sash is loose in the opening — nothing else holds it. Tip it out at the bottom, lift it clear, and stand it somewhere soft where it can't fall over. A second pair of hands is worth having for anything bigger than a bathroom window.
Strip the old hinge hardware
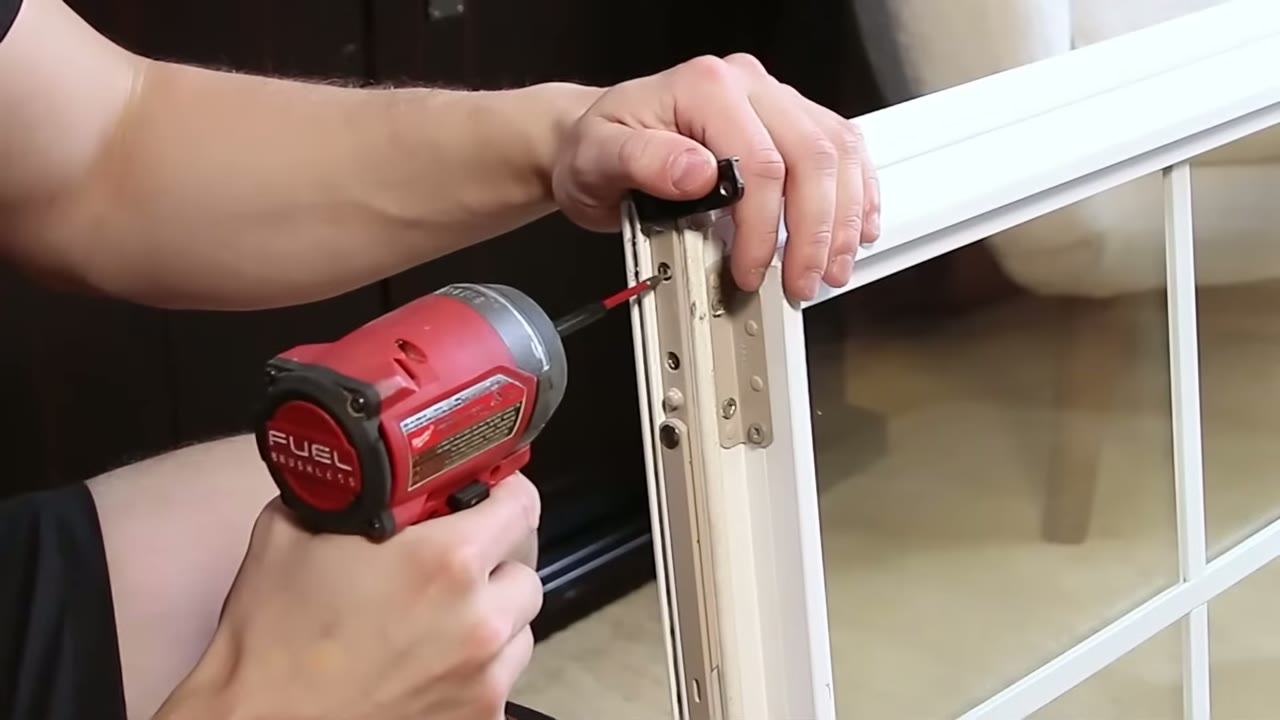
Old hinge arm coming off the sash rail — back the screws out top and bottom Back the screws out of the hinge arms on the top and bottom sash rails, then unscrew both tracks from the frame. Before anything goes in the bin, lay the new hinge against the old track and check that the snap stud lands in the same spot.
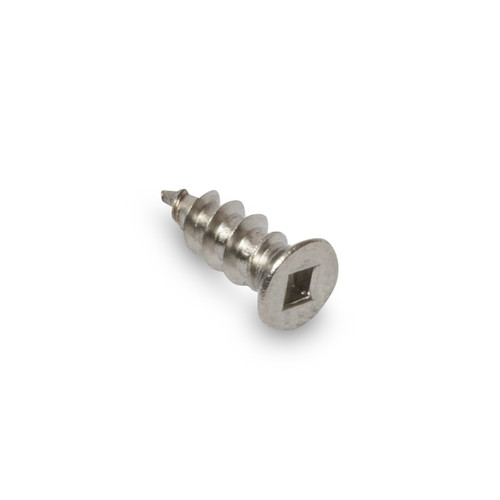
Look at the screws while they're out. Rusty heads strip and shear; swap them for #8 stainless hinge screws — Truth's own guidance is to match the screw coating to the hardware, and these tracks are stainless too.
Screw the new hinge arms to the sash
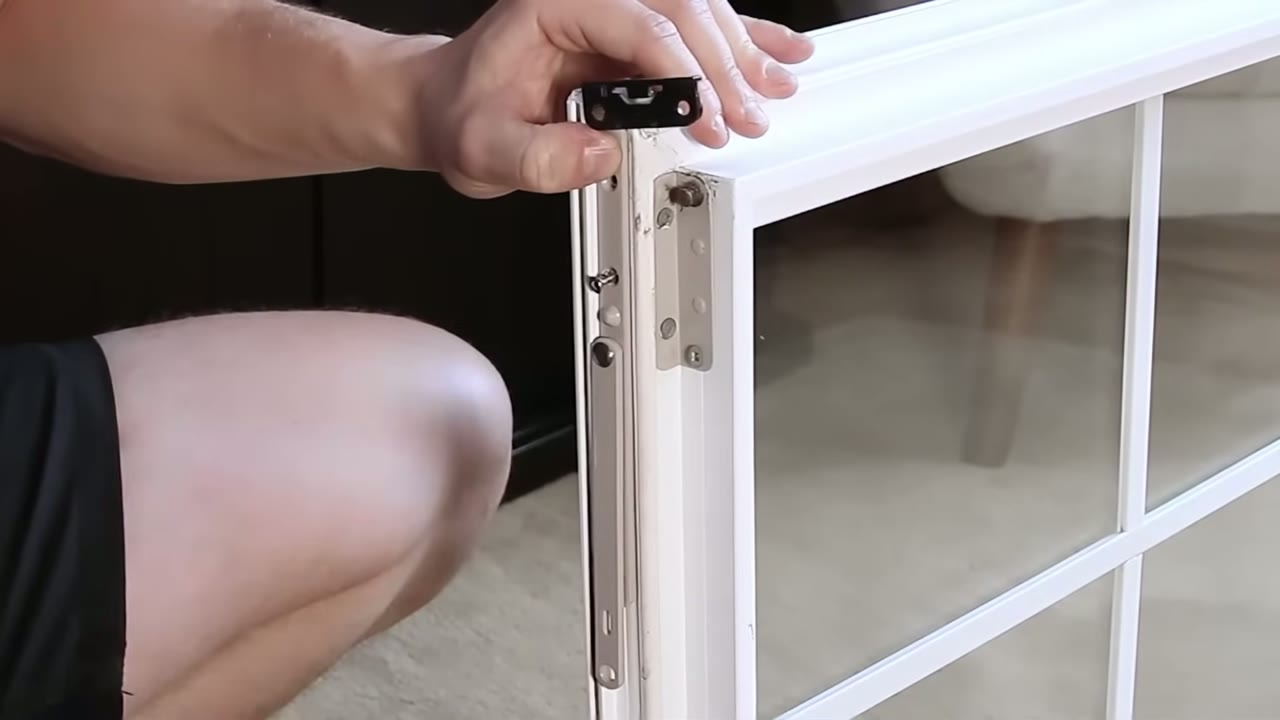
New hinge arm lined up on the sash corner before the screws go in Screw the new hinge arms to the sash rails, reusing the original holes. Run the screws snug and stop — cranking them down distorts the arm and makes the Delrin shoe bind in its track, and a bound shoe is exactly the drag you're here to fix.
Mount the new hinge tracks in the frame
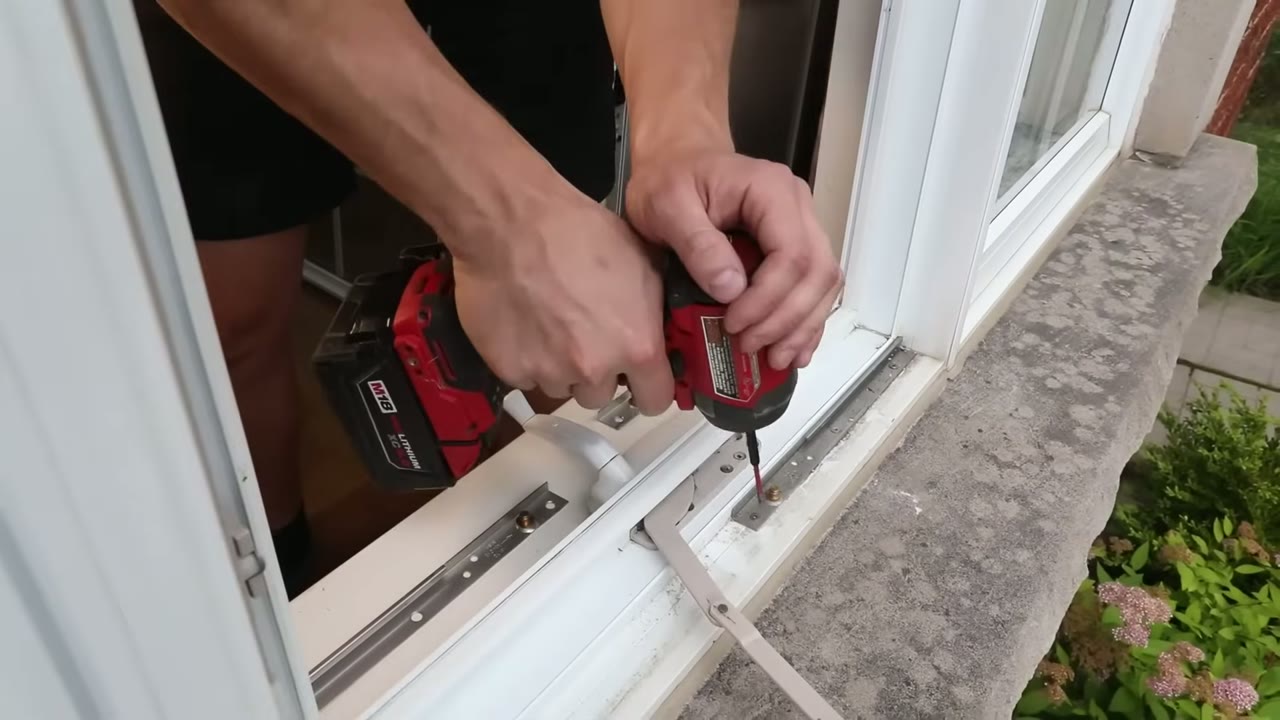
New bottom hinge track screwed down to the sill through the original holes Screw the new tracks to the frame — bottom track on the sill, top track on the head. The flat-bottomed track should sit dead flat before you tighten anything. Truth recommends pre-drilling on vinyl or metal profiles, so reach for the drill if the driver starts wandering.
Vacuum and wipe down the frame
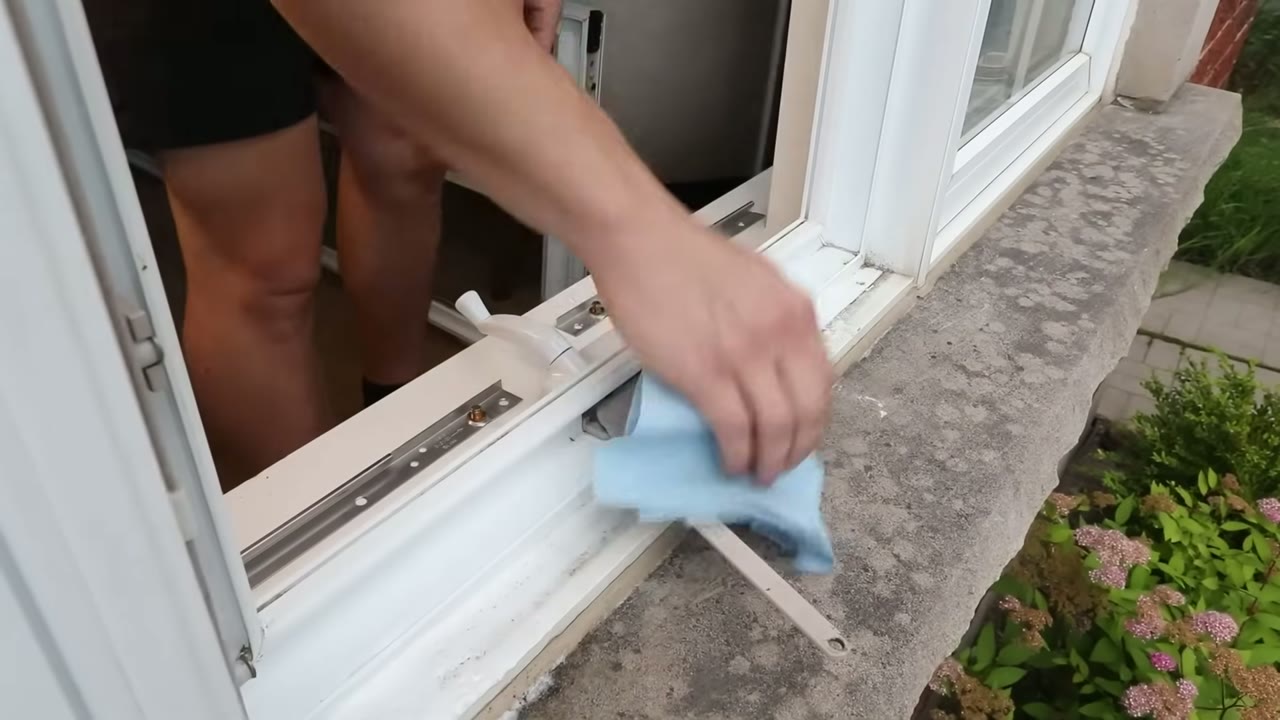
Sill and track wiped down before the sash goes back in — grit is what wears hinges out With the sash still out, vacuum the sill and wipe the frame down with a damp rag — including the new tracks once the drilling dust settles.
Grit is the enemy here: the shoe slides the full length of that track every time the window opens, and dirt in the channel grinds the hardware down years early. Two minutes with a rag now is the cheapest life extension the new hinges will ever get.
Set the sash back in and snap the arms on
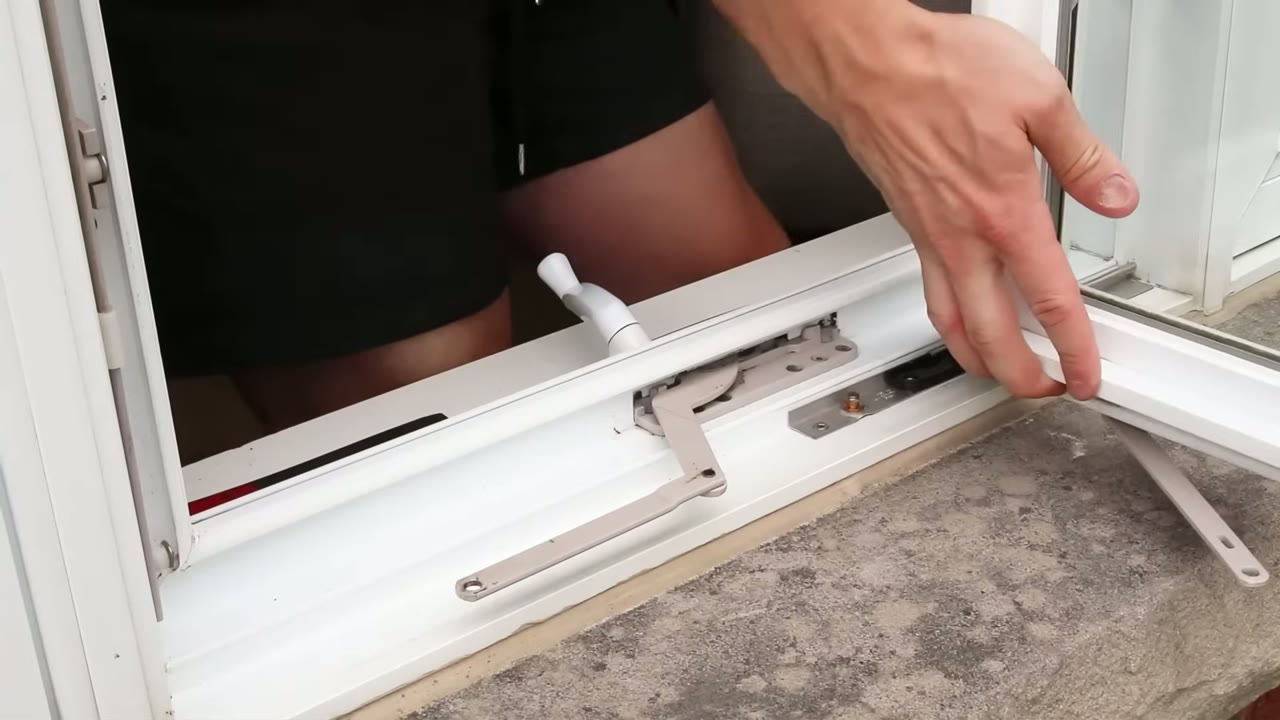
Sash easing down onto the sill track, Delrin shoe lined up with the shoe guide Set the sash back into the opening and line each Delrin shoe up with its track — turn the shoe parallel with your fingers or the flathead, then slide it in between the snap stud and the shoe guide. Once both shoes are home, press each hinge arm down onto its snap stud until it clicks, top and bottom.
Snap the link arm back onto the operator
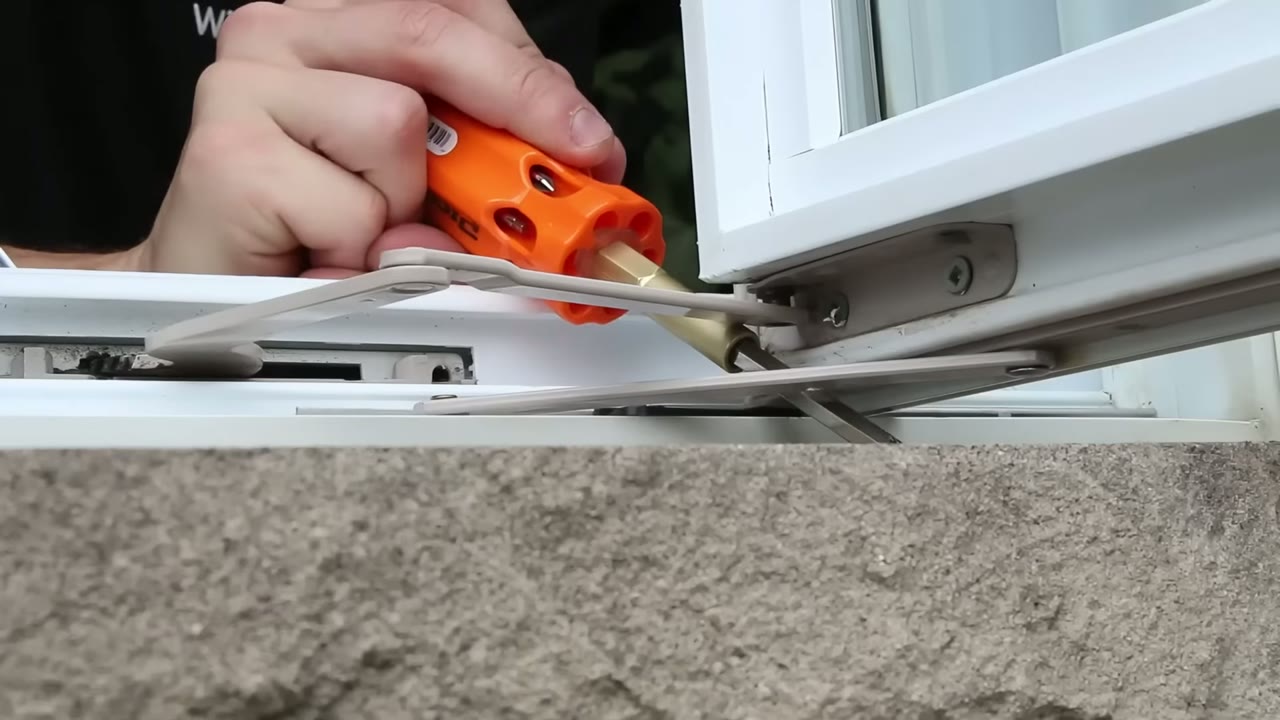
Operator link arm pressed home onto its stud bracket with the flathead for leverage Crank the operator until its link arm sweeps around and lines up over the stud bracket on the sash. Slip the flathead under the arm for leverage and press down until it snaps home — the same joint you popped in step one, in reverse.
Lubricate every moving part
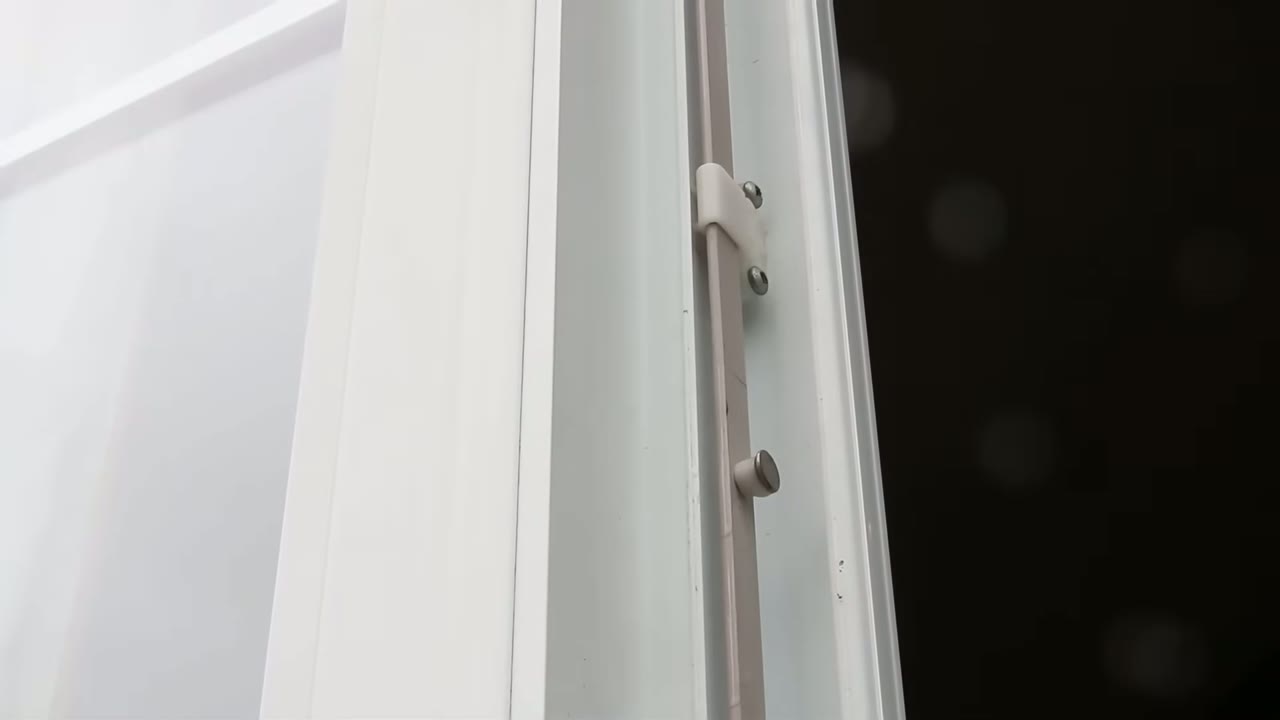
Tie bar, roller cam and guide on the sash edge — all of it gets a shot of dry film Before the window closes, give every moving part a shot of dry-film lubricant — hinge pivots, shoe tracks, operator gears, locks and the tie-bar guides up the jamb. We stock Sprayway silicone spray; a dry film won't collect grit the way an oily spray does. Run the window through a few full open-close cycles to spread it.
Adjust the casement window hinges
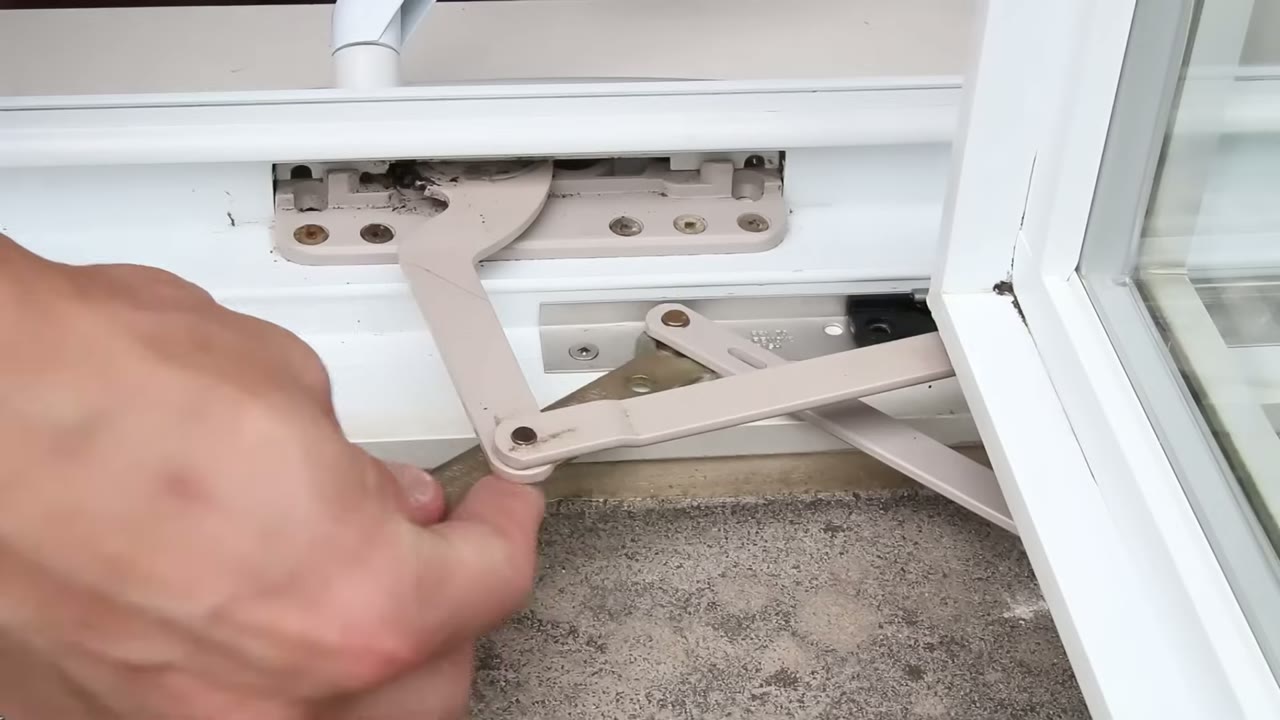
Truth slim-line wrench on the lower hinge stud — swing away from the lock side to lift the sash If the sash still drags at the latch corner, the brass stud is the fix. Open the window fully, slip the slim-line wrench onto the base of the lower hinge's stud — it sits between the support arm and the track — and swing the wrench away from the lock side of the window. That takes the drag out of the sash. For severe sag, do the same on the top hinge, swinging toward the lock side instead.
Maximum correction is reached when the stud's flats sit parallel to the track — turning past parallel does nothing more, and running both hinges to the limit can make the window bind as it closes. Adjust in small turns and test the close after each one.
If your hinge doesn't match the one in this video — lipped sashes take a 4-bar hinge, and awning windows use different hardware entirely — send us a photo through Identify My Part and we'll match the exact replacement.