Replace a Truth Roto Gear Awning Operator
An awning window that grinds through every crank, slips under load, or won't pull the sash snug at the corners is usually down to a worn roto gear awning operator. If your hardware matches the video — a long channel let into the sill, scissor arms out to the sash, crank in the middle — it's Truth Hardware (AmesburyTruth)'s 11 series, and the swap is about 20 minutes with a screwdriver.
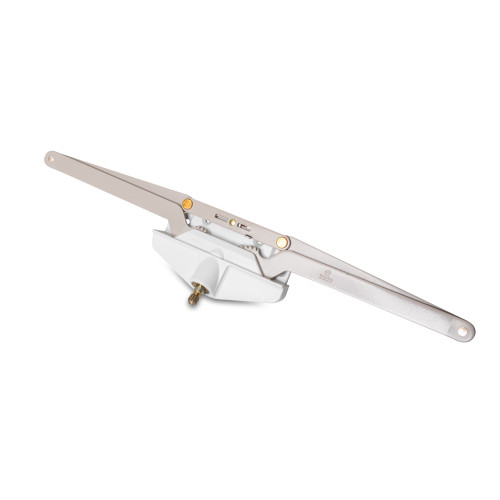
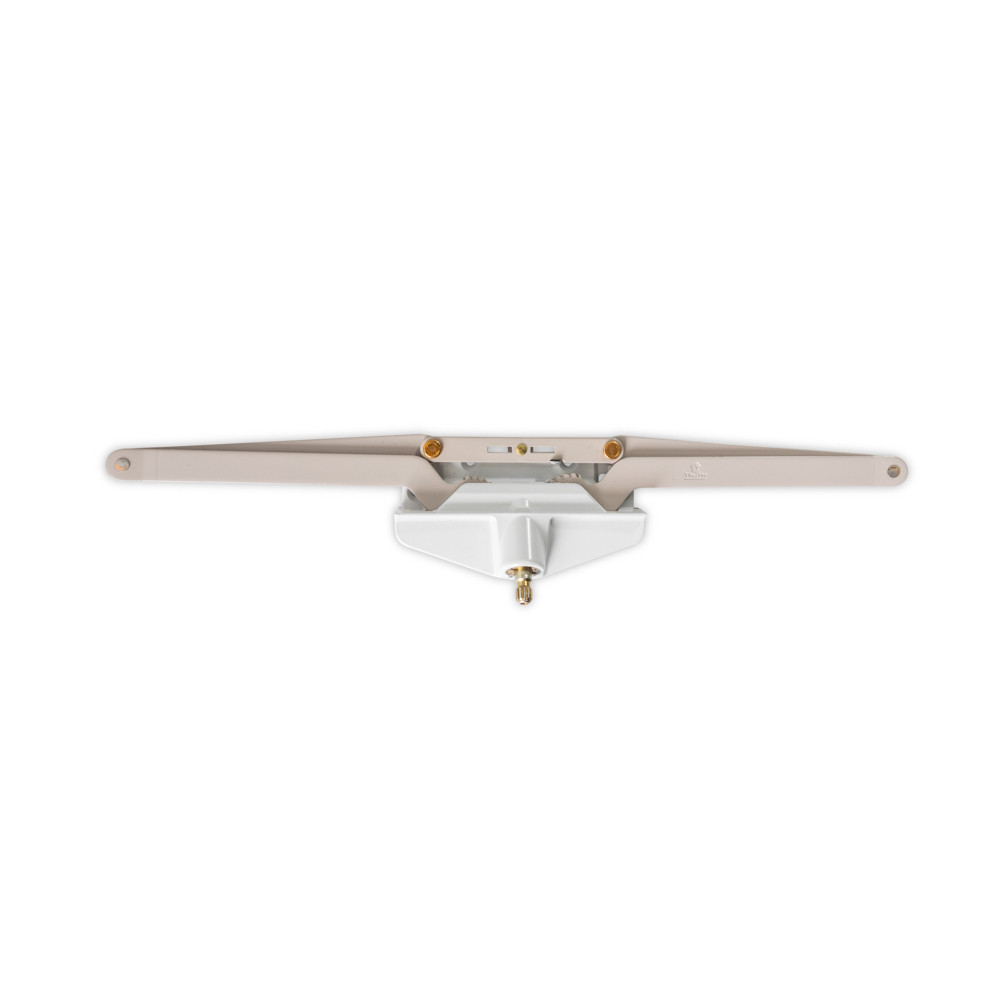
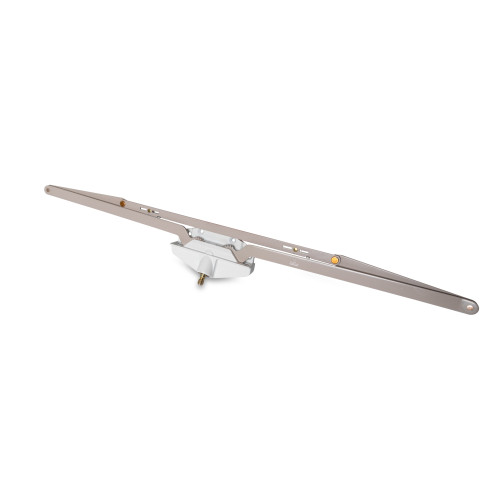
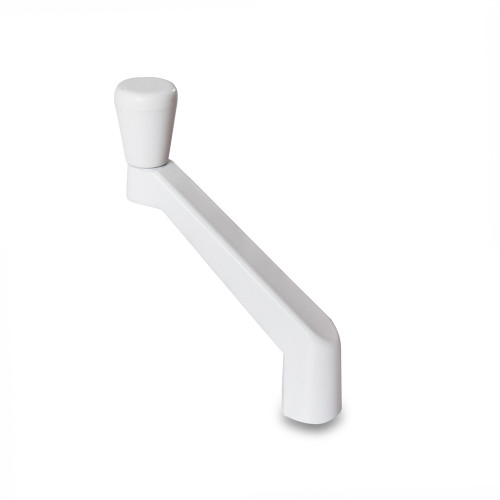
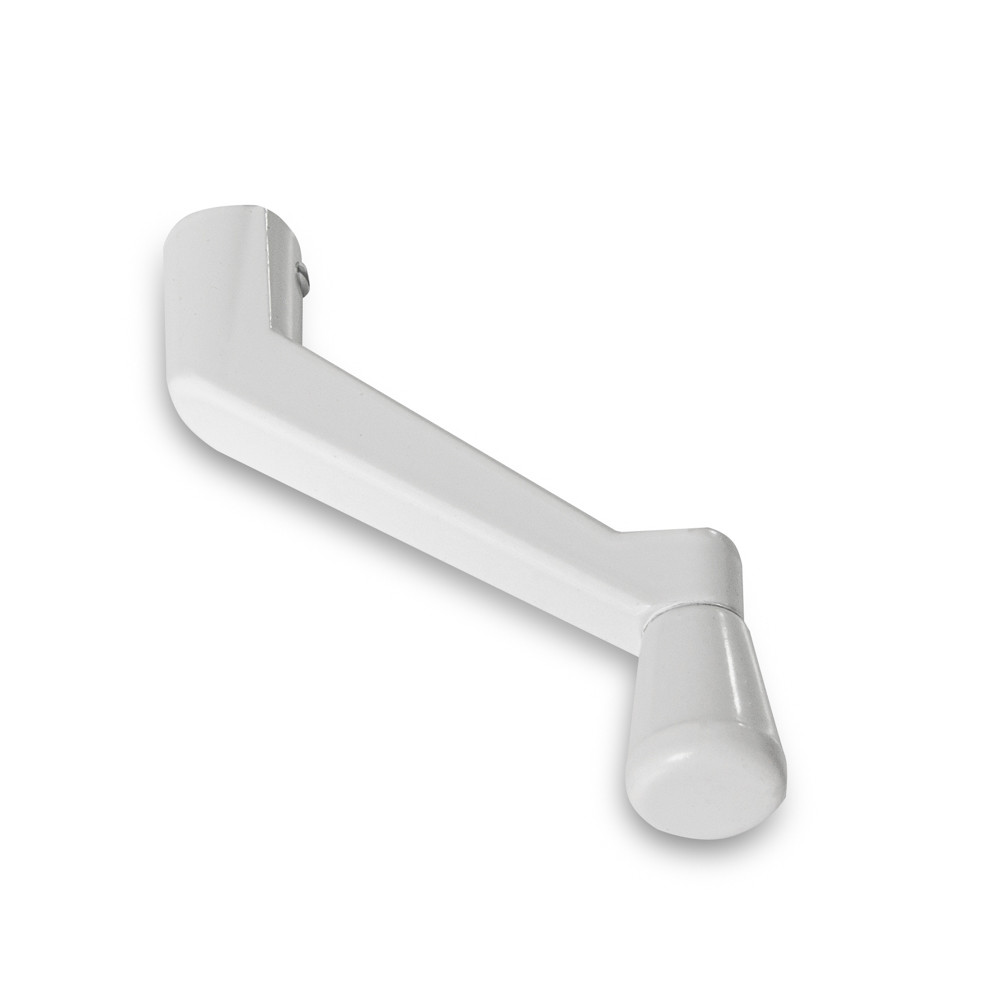
The 11 series is still in production, so this is a like-for-like replacement rather than a hunt for a substitute: die-cast zinc housing, hardened steel worm and gear arms, and Truth's E-Gard corrosion coating. Truth sells the pieces as separate line items — operator, crank handle, sash hook, screws — which is why the parts list here has four entries instead of one.
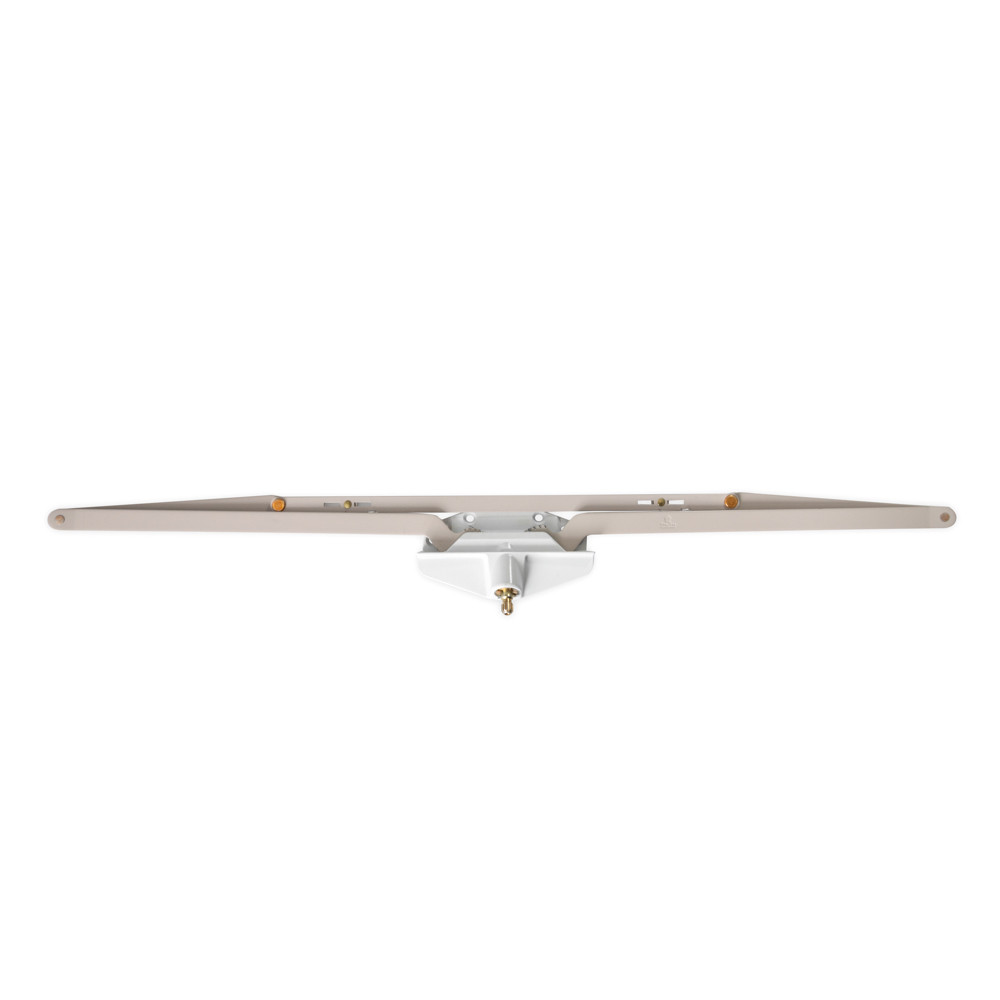
The one thing to get right is the size. Fold the old arms closed and measure the channel end to end — single pulls come in 12", 16-1/8" and 21-1/2", the dual pull in 25-1/2" — and when you hit Add parts to cart, we'll ask which one your window takes and load the matching configuration.
Open the sash and release the operator arm
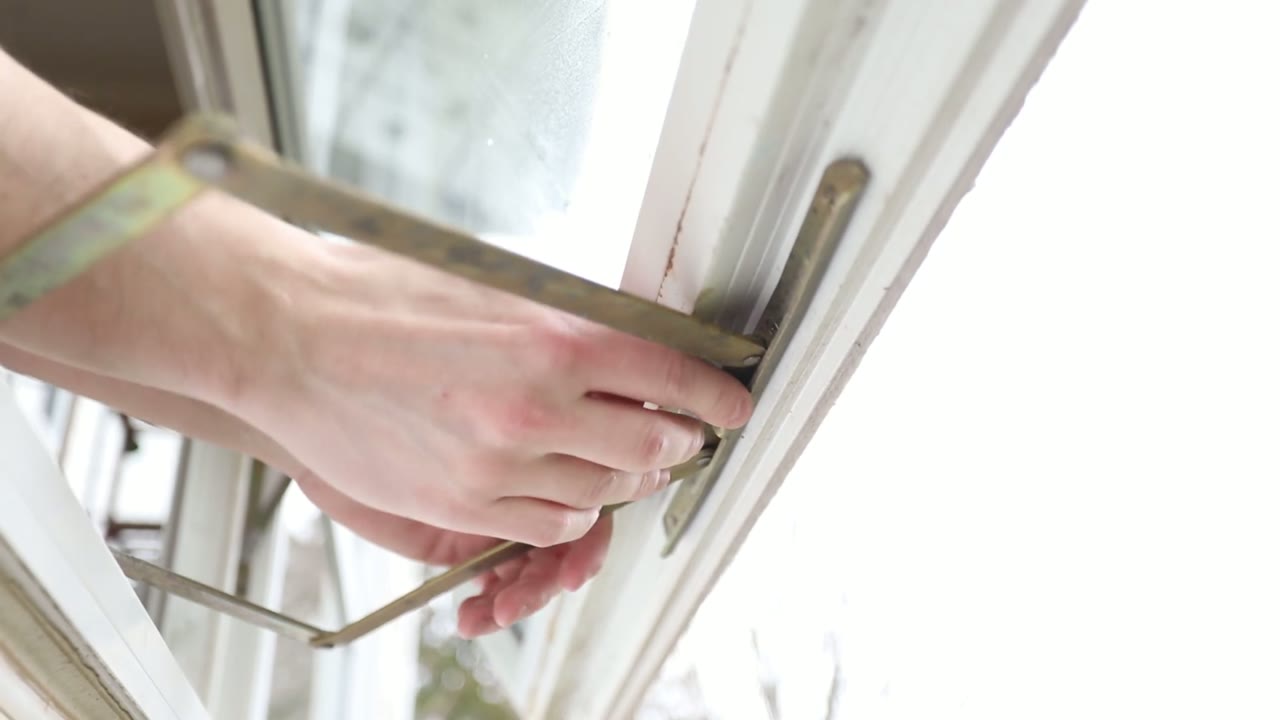
Silver release latch on the awning sash bracket — pull it back and the operator arm pops free Crank the window out to roughly 60% open — enough room to reach the hardware without the sash pressing back at you. Find where the operator arm meets the bracket on the sash, pull the silver release latch toward you, and the arm pops free. That quick-detach is a designed-in feature of this operator, not something you're breaking.
Back out the exposed mounting screws
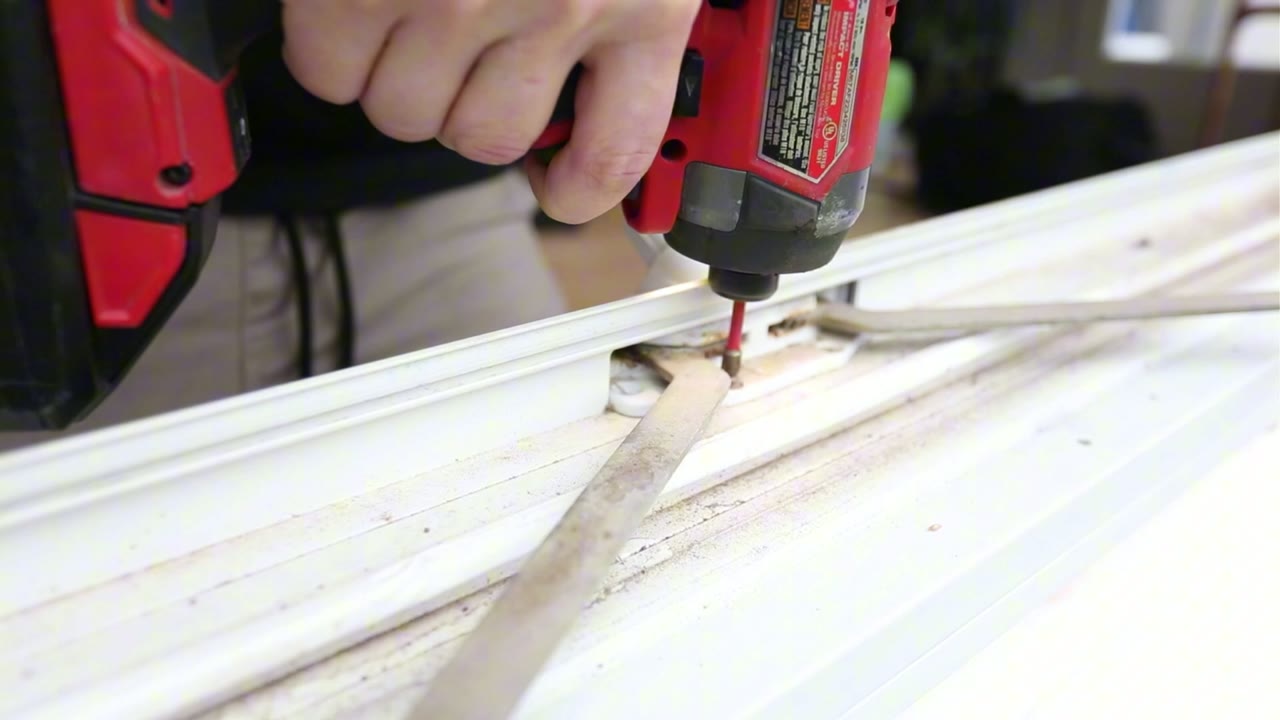
Exposed mounting screws backing out of the old operator channel in the sill With the sash pushed open, the first mounting screws sit exposed on the operator channel. Back them out with the driver and pocket them.
Look at the screw heads while they're out. Rust up here is how cranks seize early — the parts list includes 1" #8 stainless replacements, sold separately from the operator like the rest of the mounting hardware.
Confirm the replacement size
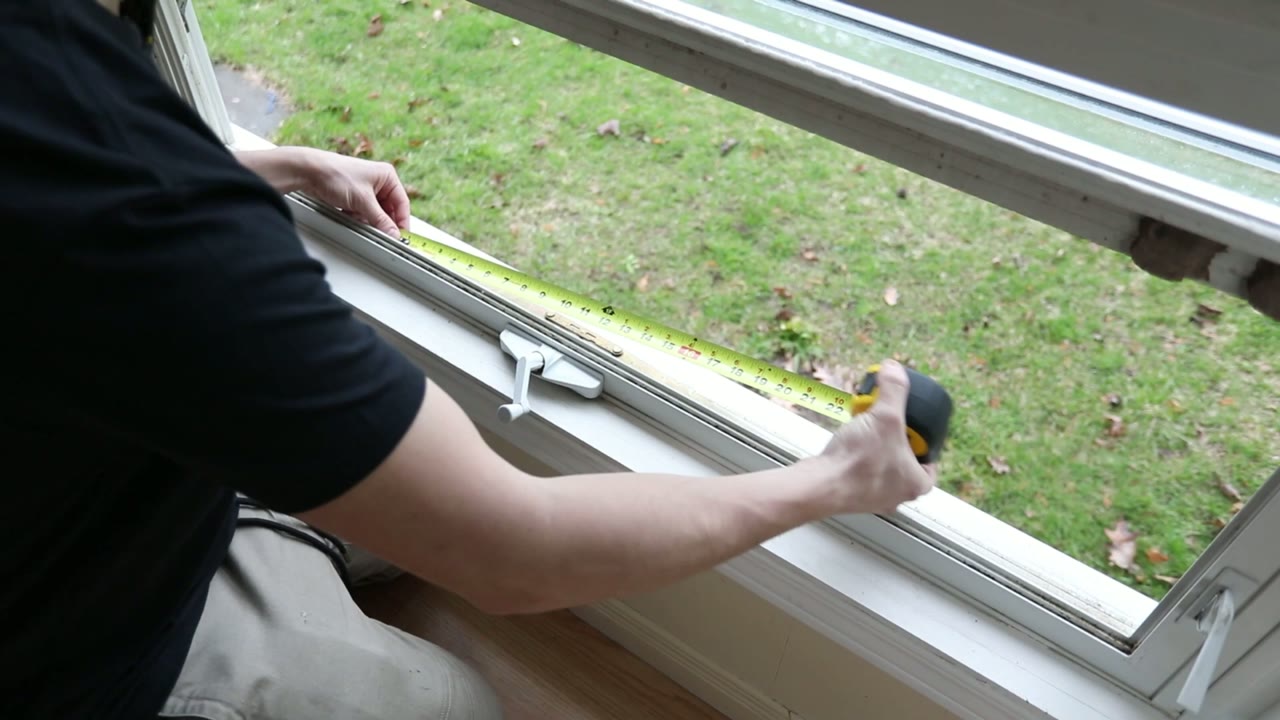
Tape measure across the folded operator — this one reads 21-1/2", Truth's 11.10 single pull Before the rest of the screws come out, confirm what you're replacing. Fold the loose arms together and run a tape along the channel end to end: single pulls come in 12", 16-1/8" and 21-1/2", and the dual pull — two sash brackets instead of one — runs 25-1/2". The unit in the video tapes out at 21-1/2", which is Truth's 11.10. That measurement is the answer to the question we ask when you add the parts to your cart.
Pull out the old roto gear operator
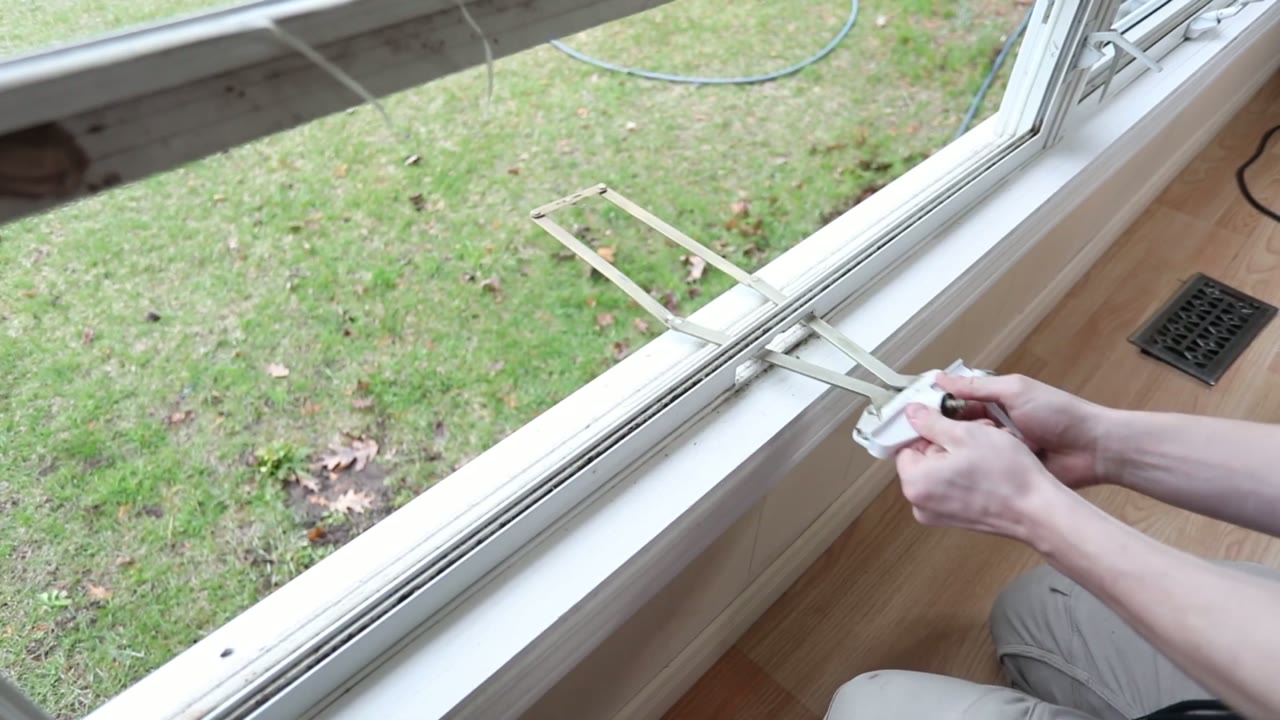
Old roto gear operator, arms folded, lifting out through the routed slot in the sill Crank the arms back open until the remaining screws are clear, back them out, then feed the whole assembly — channel, gearbox and arms — up through the slot in the sill. Nothing else holds it once the screws are gone.
Clean out the sill channel and sash top
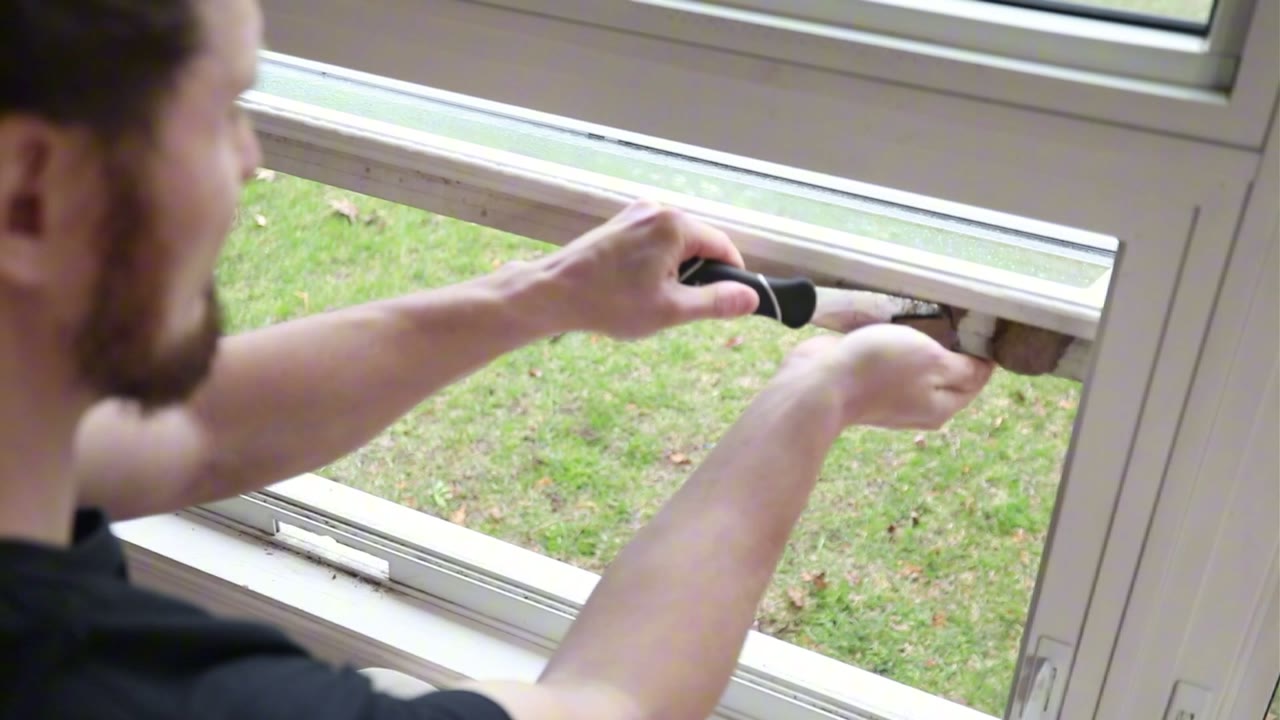
Scraping years of grit off the sash top before the new hardware goes in Everything the wind carries ends up in an awning operator's pocket. The window in the video sits on a rural property, and the slot had collected years of grit and a few bug nests. Scrape the channel and the top of the sash clean — the prybar or a putty knife does it — then vacuum the slot and wipe it down.
The new worm gear drags whatever grit you leave behind through its teeth on every turn. Two minutes with a scraper now buys years of smooth cranking later.
Fit the handle and install the new operator
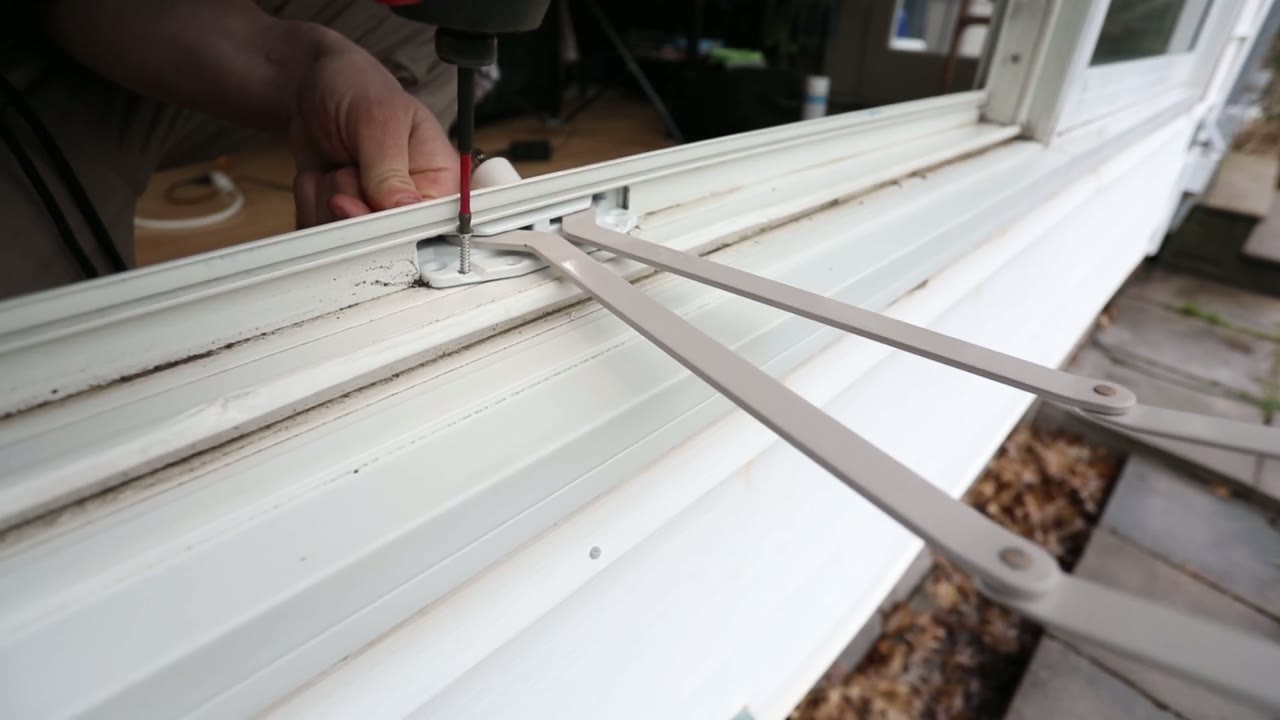
New white roto gear operator screwed down in the sill channel, scissor arms swung out Loosen the set screw in the new crank handle, push it onto the spindle, and drive the new arms out to match how the old ones sat. Feed the assembly down into the slot, square the channel to the sash, and start every screw by hand before running them home — Truth's install guidance is that a square operator pulls both corners of the sash in evenly. On vinyl or metal profiles, pre-drill first; Truth recommends it for accurate placement.
New 11 series channels often have more mounting holes than your old unit left behind. Fill them all — Truth's drawings spec four screws for the operator and two for each sash hook, so one six-pack covers a single-pull swap.
Reconnect the arm and lock the latch
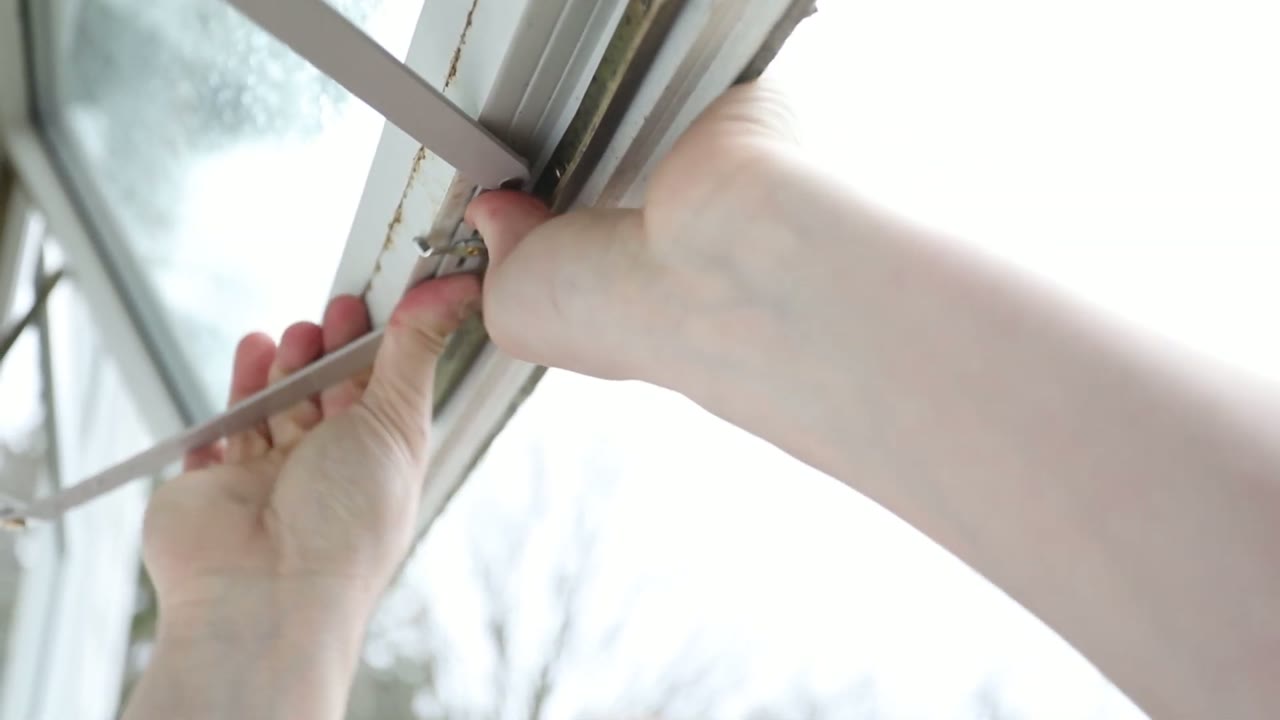
Operator arm hooking into the sash bracket overhead — push the silver latch closed until it clicks Crank the new arms to about half travel, pull the sash in until the bracket lines up, and hook the arm home — depending on which way your bracket faces, you'll come at it over the top or up from underneath. Push the silver latch closed until it clicks fully home; that latch is what carries the connection.
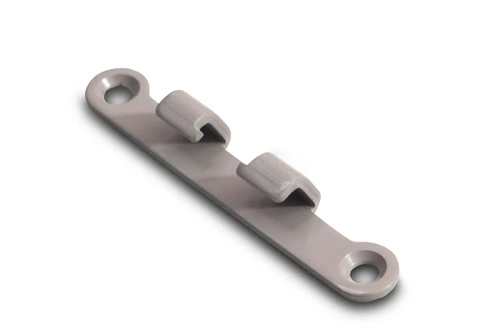
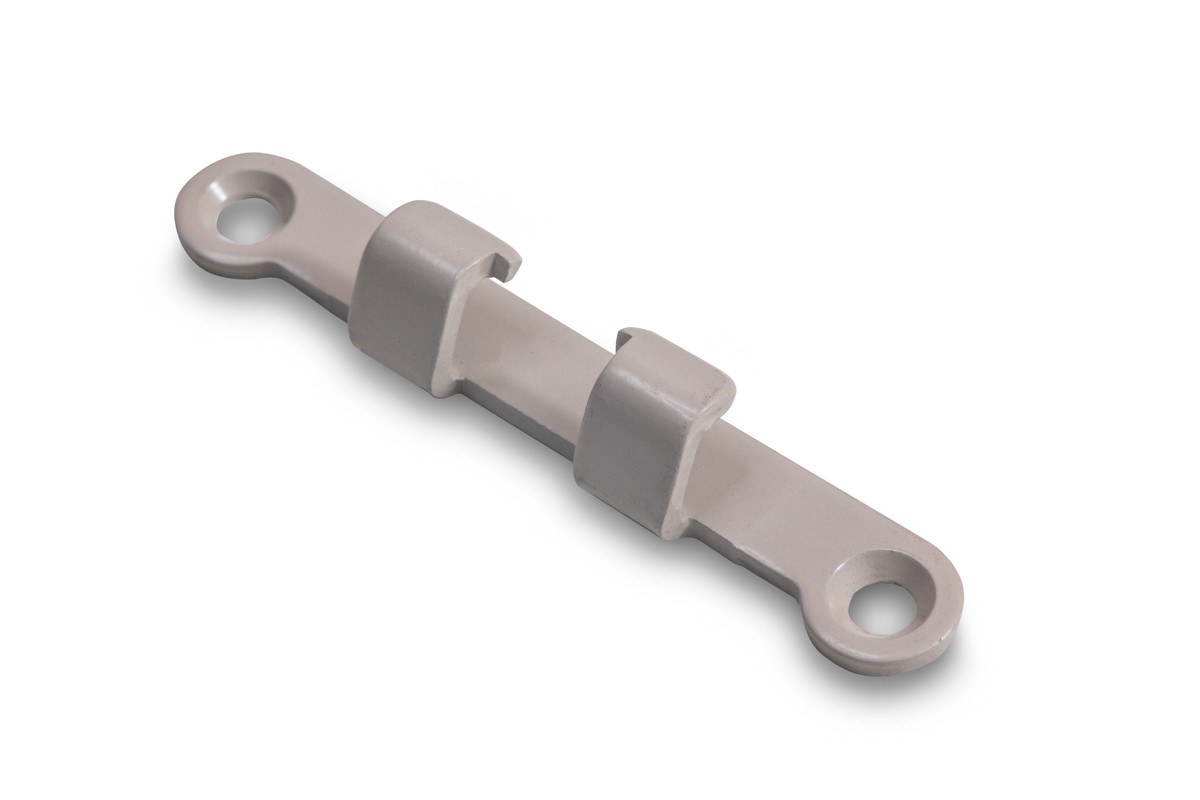
If the old bracket is sloppy or its latch has lost its snap, screw on the new sash hook from the parts list while you're here — it's two screws, and it's the piece that makes the quick-detach work.
Lubricate the hardware and run it in
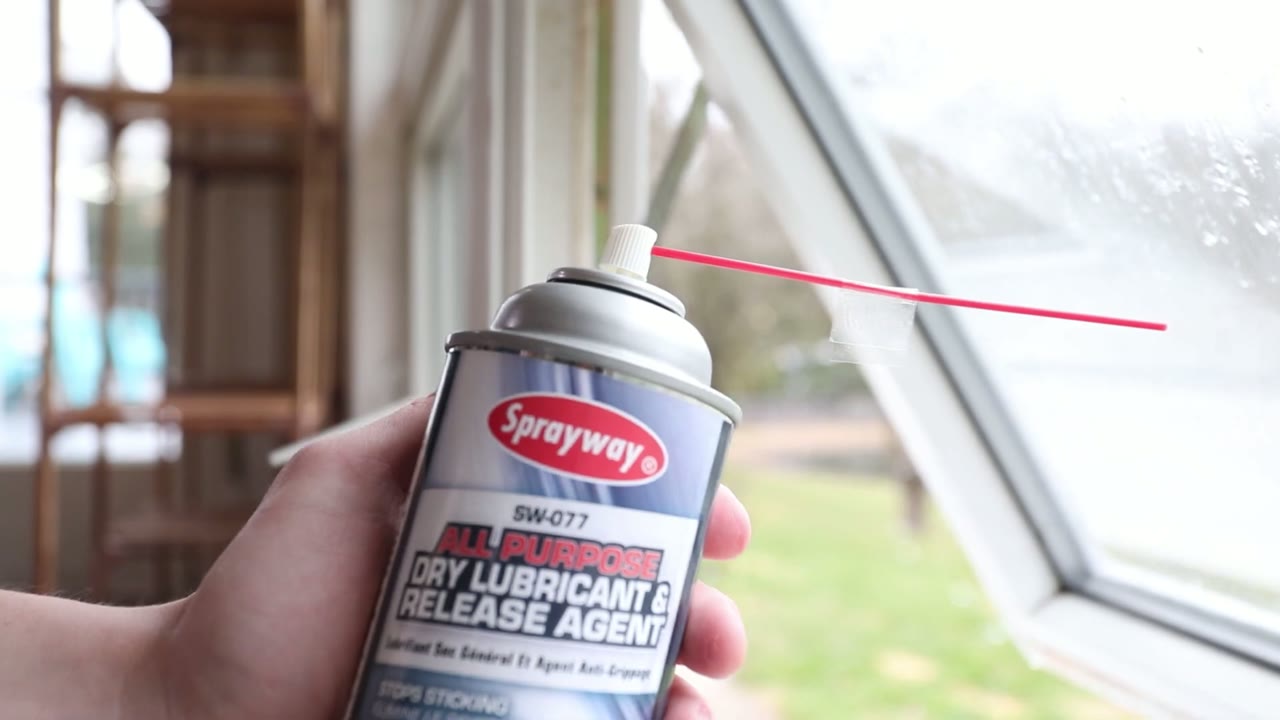
Sprayway dry-film lubricant going onto the hinge and arm pivots before the first full cycles Before you close up, put a shot of dry-film lubricant on every moving part — the side hinges, the arm pivots, the gearbox and the window locks. We stock Sprayway silicone spray; a dry film won't collect grit the way an oily spray does. Run the window through a few full open-close cycles to work it in.
If your operator doesn't match the one in this video — awning windows also came with lever-style and pivot-shoe operators, and we stock those families too — send us a photo through Identify My Part and we'll match the exact replacement.