Replace a Truth Maxim Dyad Casement Operator
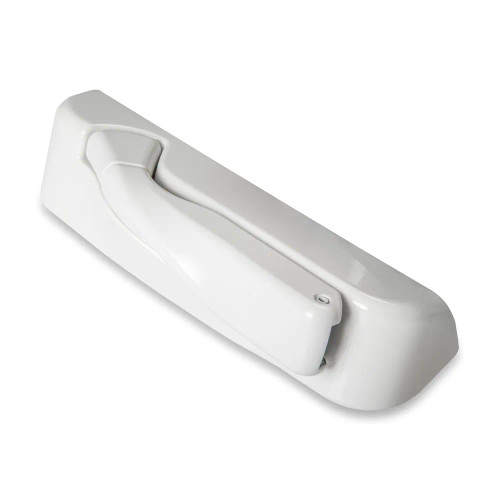
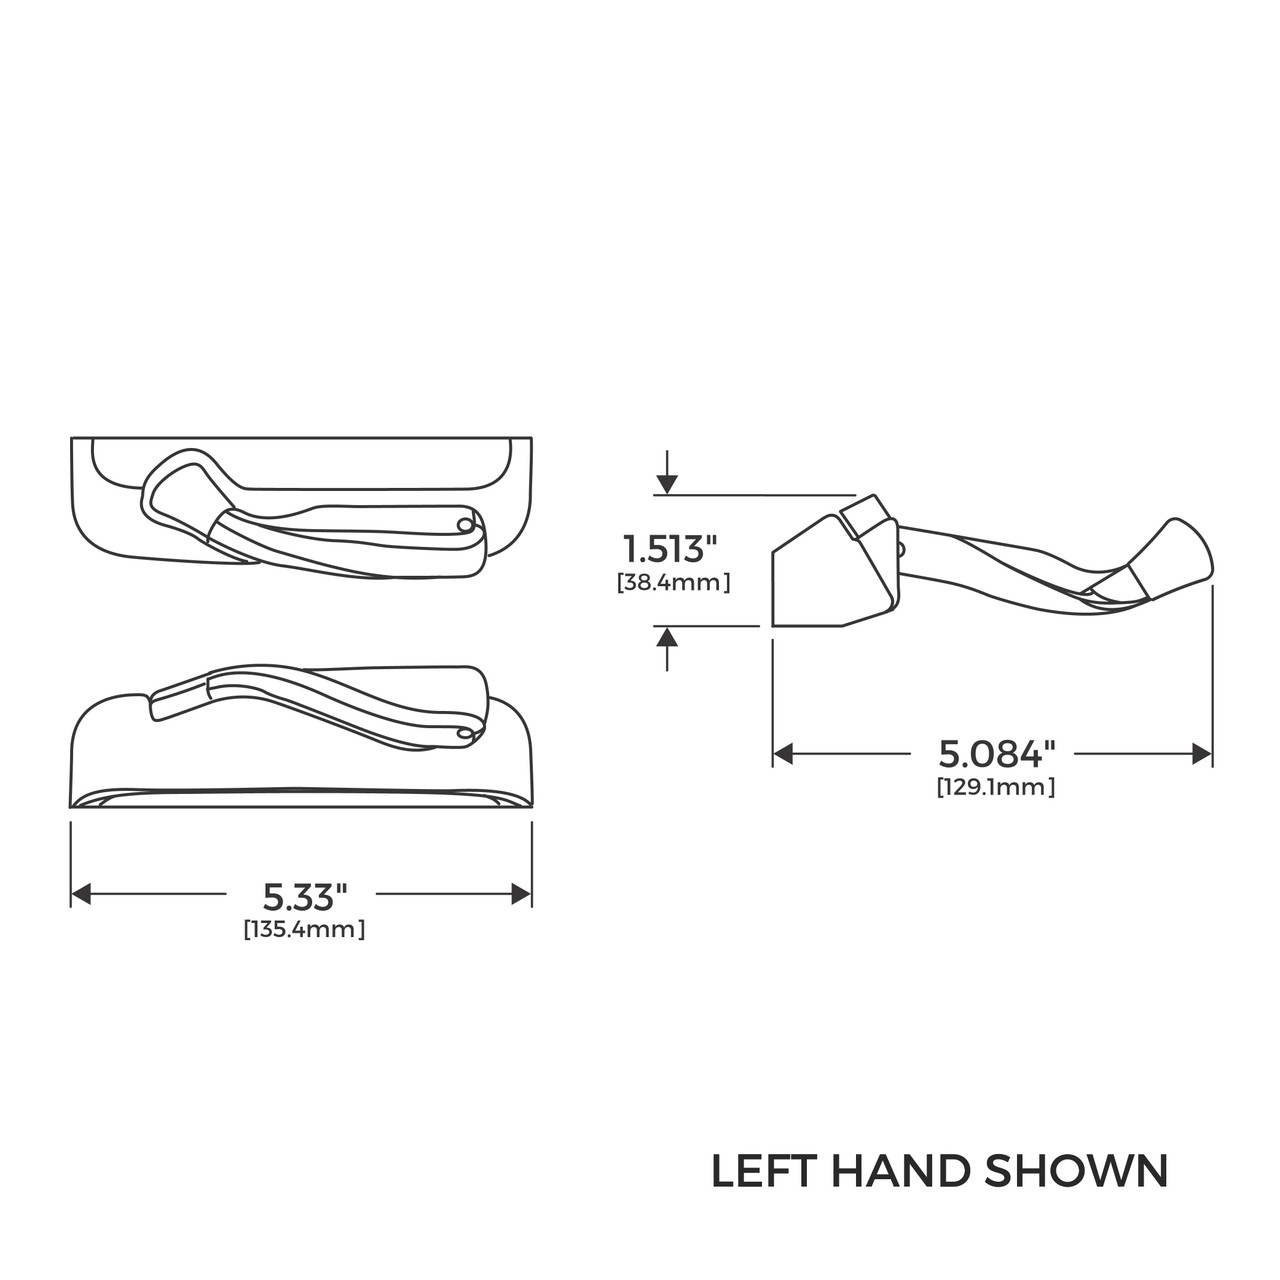
A casement operator that cranks hard, slips, or lets the sash drift open in the wind is telling you it's done. Truth Hardware (AmesburyTruth) has discontinued the Maxim Dyad, so an identical replacement isn't coming. The good news is its successor — the Encore series — mounts in the same sill opening, and the whole swap takes about 15 minutes with one screwdriver.
Encore Dyad operators are handed so when you hit Add parts to cart, we'll ask which way your window cranks and pick the right operator and matching cover for you (choose Both windows for a pair).
Open and position the window
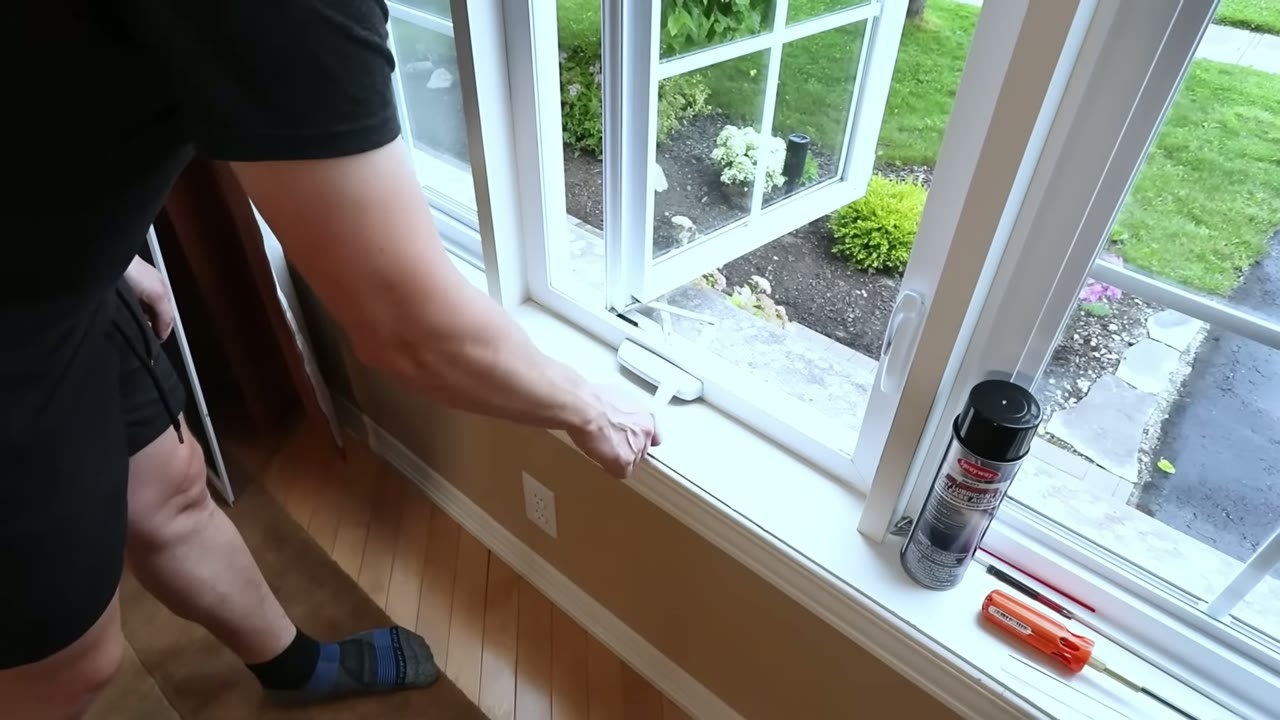
Cranking the casement sash open to a full 90° for working room at the sill Crank the sash out until it sits about 90° to the frame. That puts the operator arms where you can reach them and gives you clear working room at the sill.
Disconnect the link arm
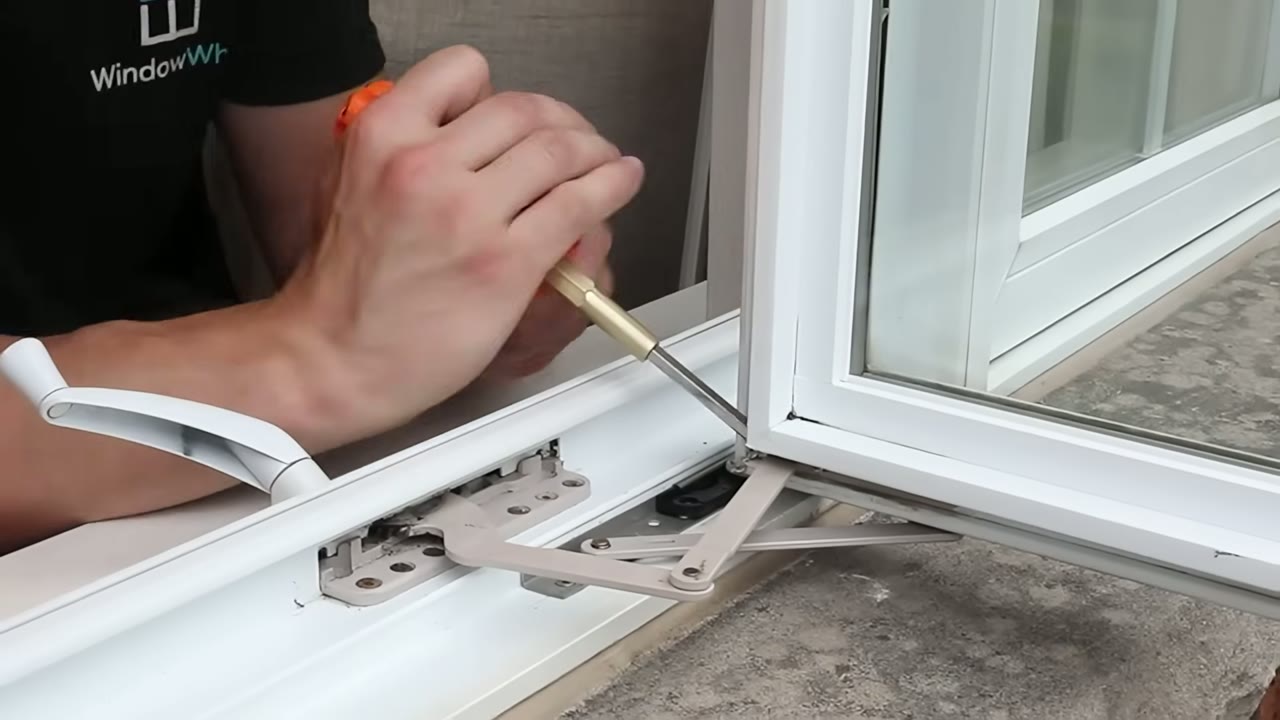
Flathead screwdriver levering the operator link arm off its stud bracket Slide a flathead screwdriver (or the pry bar) between the link arm and the stud bracket on the sash, then lever down. The arm pops off its stud — it takes a firm push, not a gentle one.
Remove the old Maxim Dyad operator
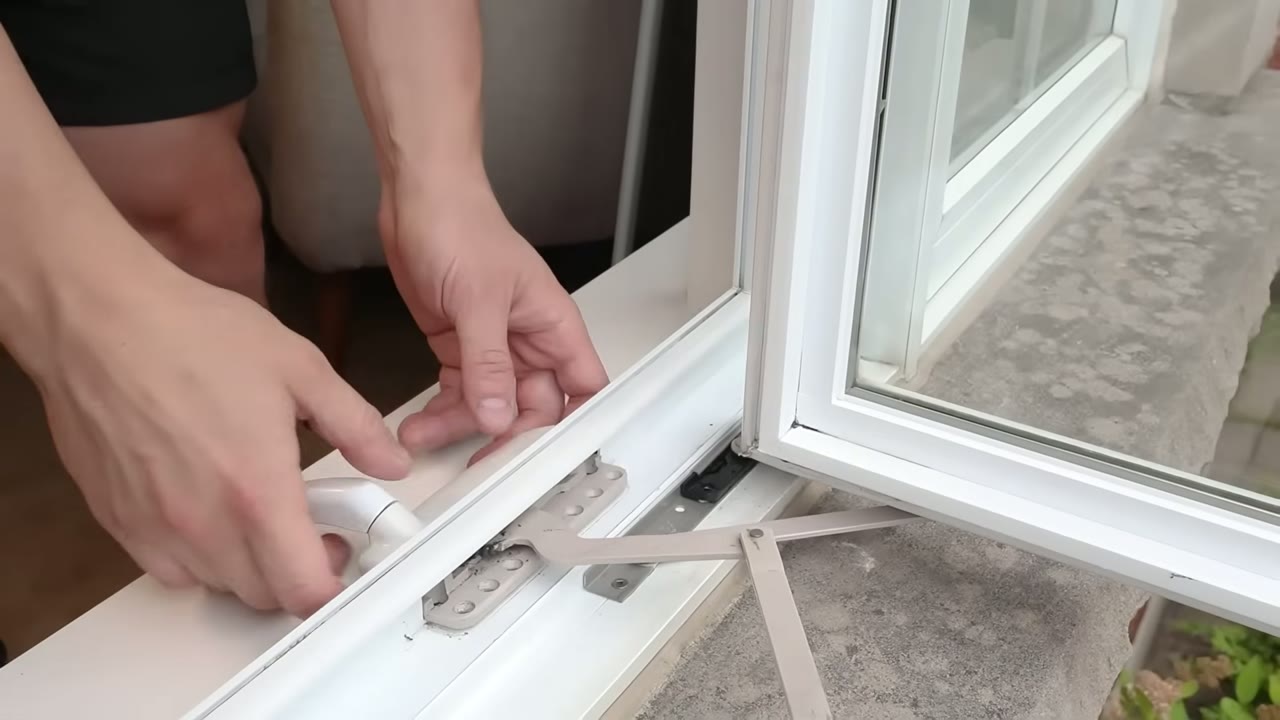
Old Maxim Dyad operator lifting out of the sill pocket, crank handle still attached Back out the screws holding the operator base to the sill, slide the old Maxim Dyad out of its pocket, and lift away the old gasket if one was fitted.
Look at the screws while they're out. If they're rusty, replace them with stainless ones — fasteners are normally sold separately from the hardware, so add them to the same order.
Clean the sill and set the new gasket
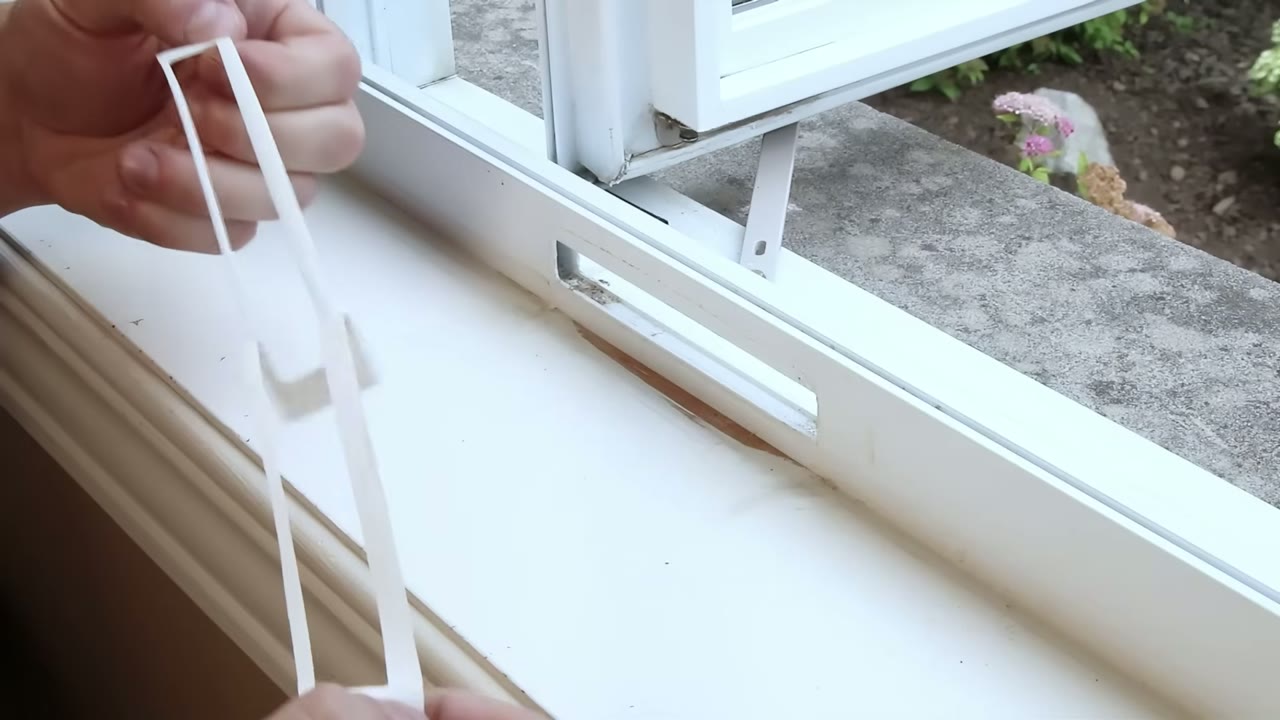
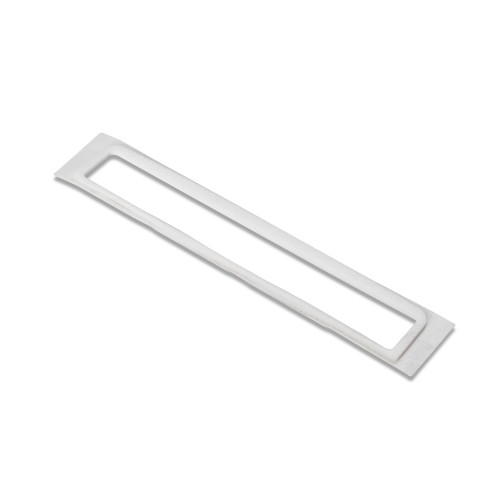
Lining up the self-adhesive Encore gasket over the sill opening before pressing it down No gasket under the old unit? That's fine — but the mounting surface must be clean and dry. Line the new Encore gasket up with the sill opening before it touches anything: the adhesive is aggressive, and peeling it back up to reposition it will usually tear it.
Install the Encore operator
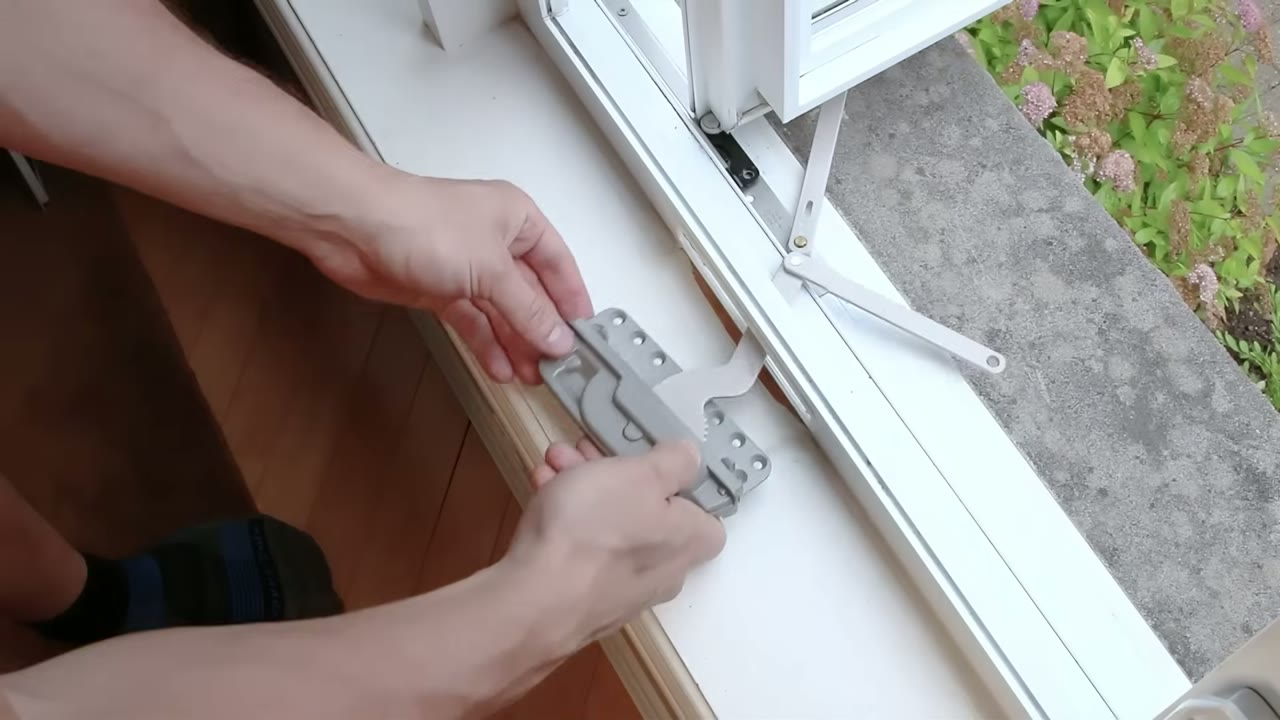
New Truth Encore operator held over the sill opening, ready to seat against the gasket Slide the new operator through the sill opening and snug its base down against the fresh gasket. Start all the fasteners by hand, then tighten them evenly so the housing sits square and the gasket seats without bunching.
Reattach the link arm
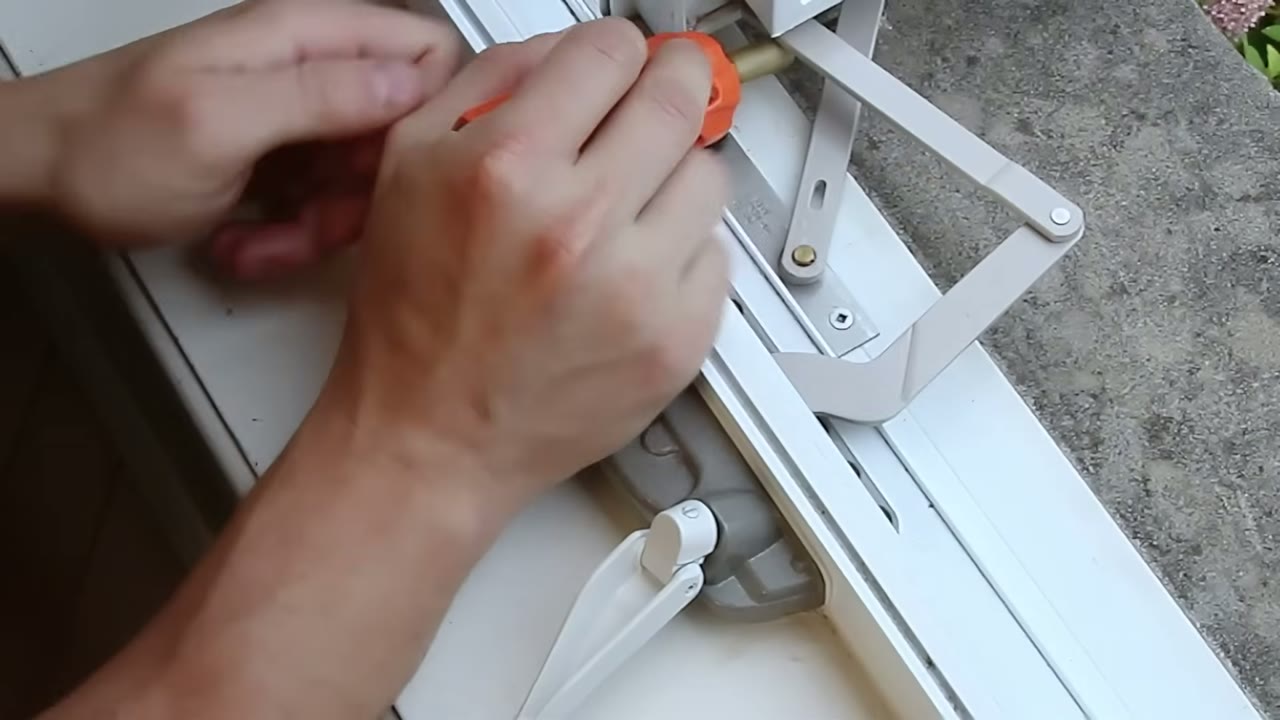
Cranking the loose handle to line the link arm up over its stud bracket Push the new handle onto the spindle for a moment and crank until the link arm lines up over its stud bracket. Slide the flathead under the arm for leverage and press down until it snaps onto the stud.
Lubricate the moving parts
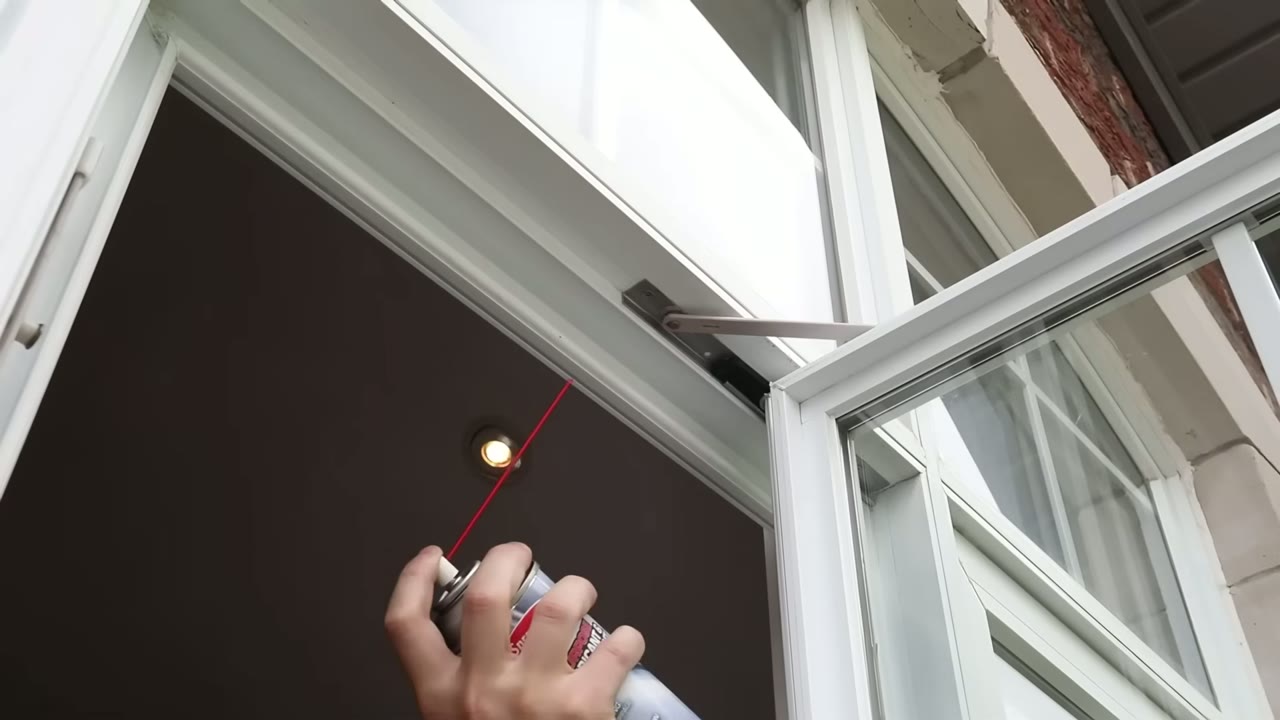
Spraying the upper casement hinge with lubricant before closing the window With everything connected, spray the hinges and pivots with a dry-film lubricant — we stock Sprayway silicone spray — then run the window fully open and closed a couple of times and lock it. A dry film keeps grit from building up the way an oily spray does.
Fit the cover and handle
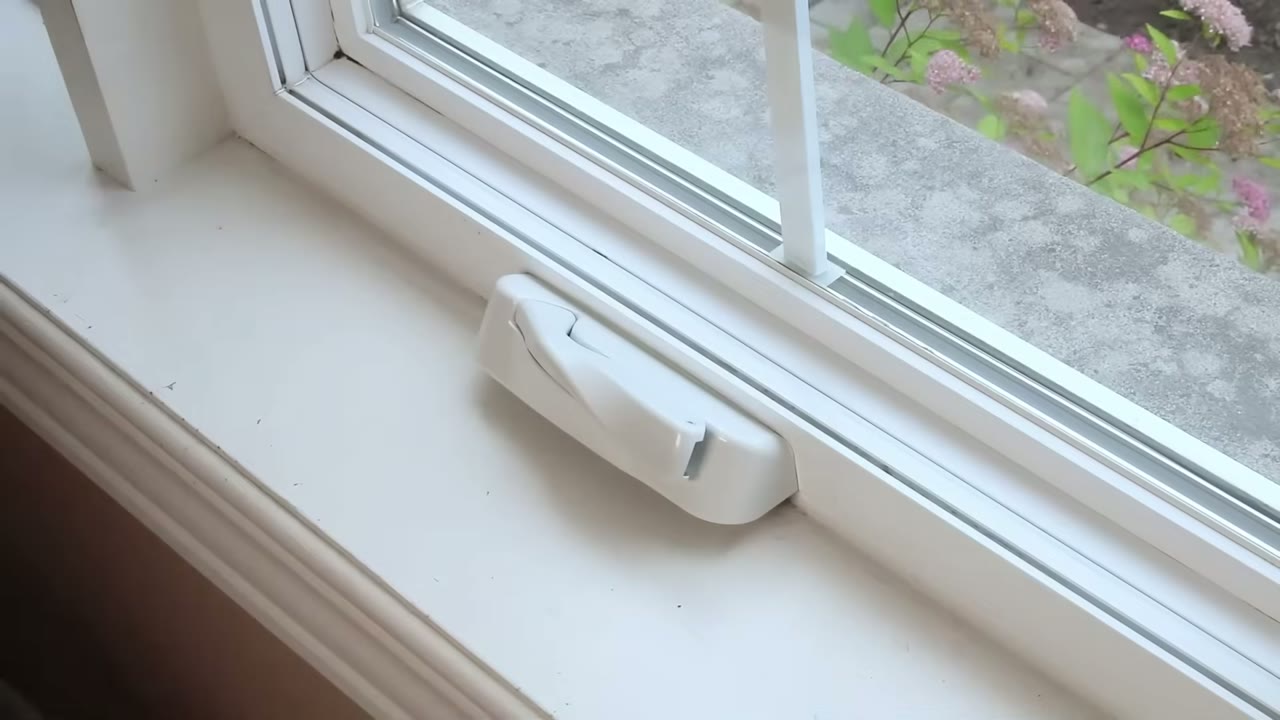
Finished Encore operator with the Tango cover snapped on and the handle folded into its nest Snap the Tango cover over the operator base — the parts list adds the White kit you see in the video, and other colours are on the product page. Push the handle onto the spindle and check that it folds flat into its nest; once it folds cleanly, fold it open and tighten the set screw at the base so the handle can't pull off.
If your operator doesn't match the one in this video, send us a photo through Identify My Part and we'll match the exact replacement.