Repair a Damaged Patio Door Track
A patio door that drags, grinds, or rattles down its run usually isn't a roller problem — it's the track underneath. Years of a heavy panel riding the rail crush the patio door track flat in the traffic spots, mushroom its edges wide, and cut grooves that eat every new set of rollers you feed it.
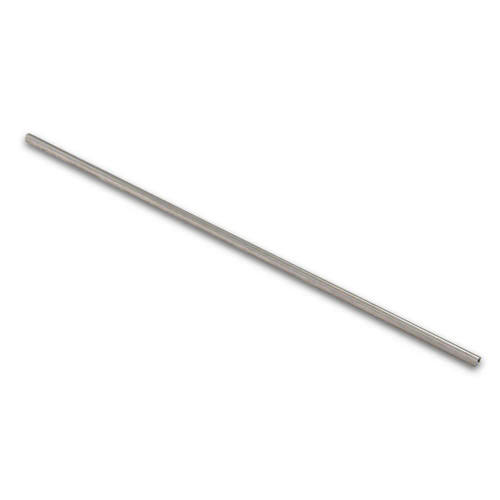
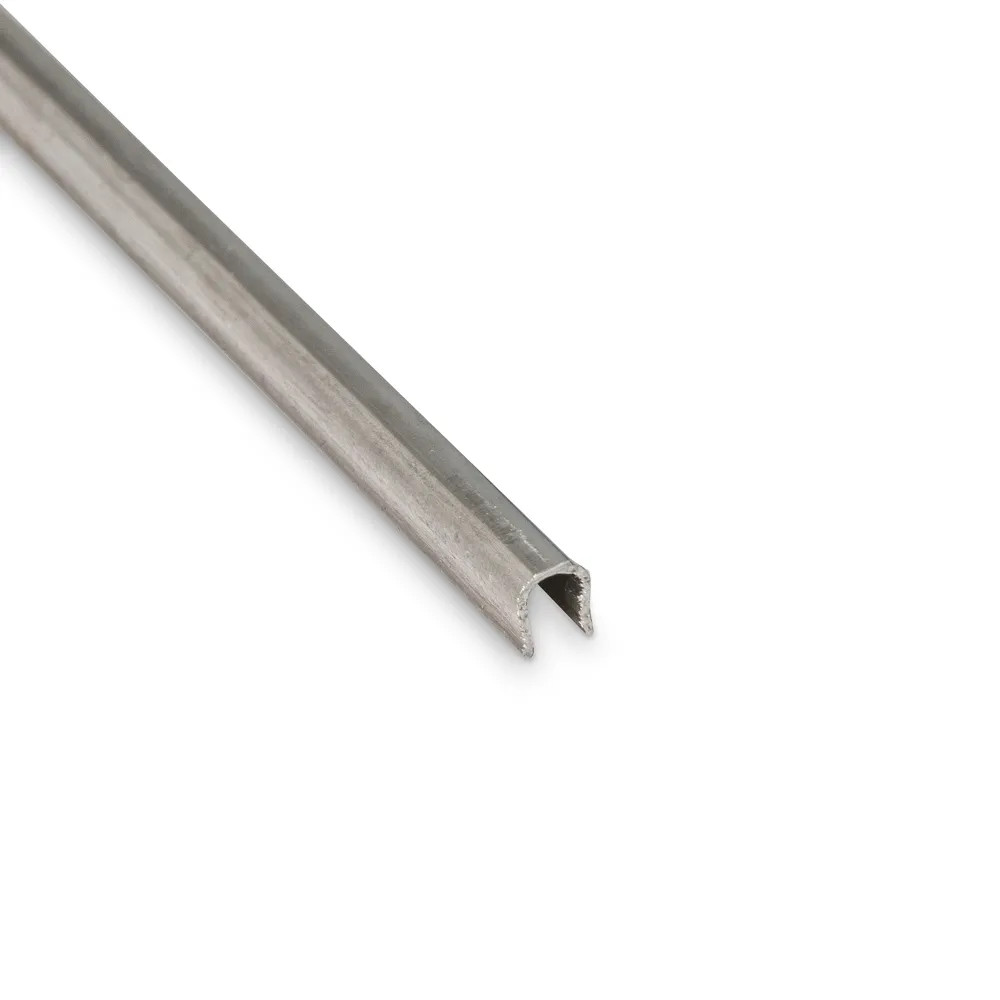
The fix in the video takes an afternoon plus a 24-hour cure, and it doesn't touch the frame: pull the panels, grind the rail back to a uniform profile, fill the damage with quick-setting epoxy, and snap a stainless steel track cap over the whole run. The rollers get a straight, harder-wearing surface to ride, and the rattle goes with the grooves.
One measurement matters before you order. Run a tape along the sill track and note the length — the cap comes in 6 ft and 8 ft versions and cuts down to size, and when you hit Add parts to cart we'll ask which one your door takes.
Lift out the patio door panels
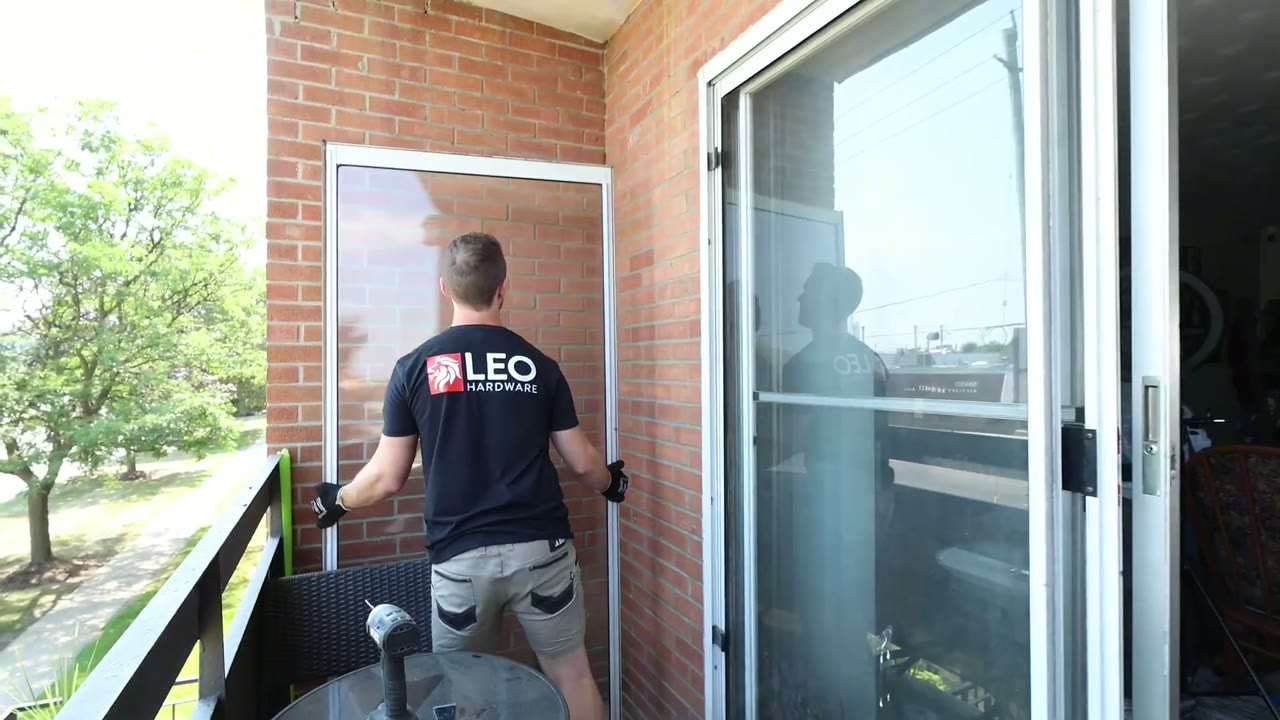
Patio door panel lifted off its track and carried clear — the fixed panel's clips come out first Most sliding systems have a fixed panel and an operating panel. The fixed panel is held by clips along the sides — sometimes at the top and bottom too — so back the clips out with a screwdriver or drill, lift the panel up into the head of the frame, and swing the bottom out off the track. The operating panel follows.
Most doors lift out toward the outside. The one in the video couldn't — a second set of doors had been installed directly in front of the originals — so both panels came out from the inside instead, with a pry bar and more force than feels reasonable. It was left in the video on purpose: renovated openings throw curveballs like this, and sometimes leverage is the only answer.
Glass panels are heavy and awkward. A second set of hands is worth more here than any tool on the list.
Grind the damaged track smooth
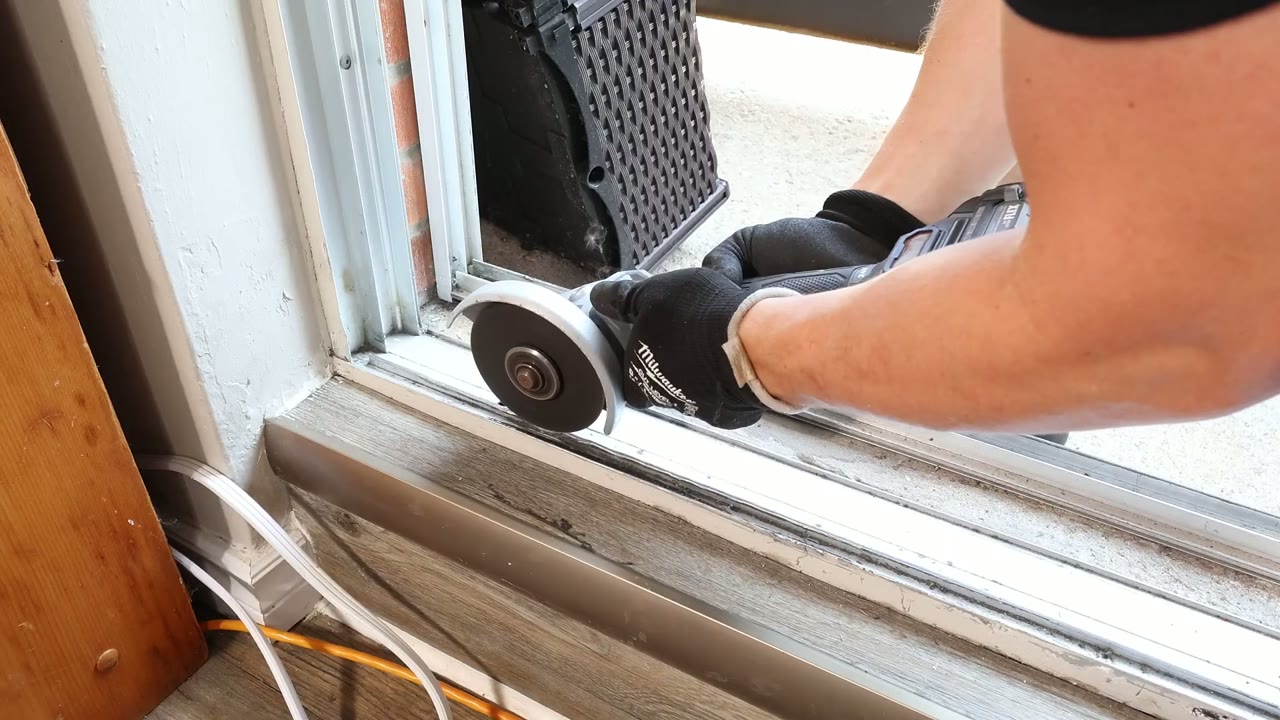
Cordless grinder smoothing the mushroomed edges of the patio door track rail A crushed rail mushrooms: the top flattens and the edges bulge out where the rollers have hammered it. Run the grinder along the rail and take the wide spots down until the profile is uniform end to end. Lightly pass over the grooves and gouges too — roughed-up metal gives the epoxy something to bite.
While the panels are out, run a tape along the track and note the length. The cap comes in 6 ft and 8 ft sizes and gets cut down to your number, so this measurement is the answer to the question we ask when you add the parts to your cart.
Glasses on for every grinder step, and keep them on for the stainless cut later — that one throws sparks.
Clean the rail and tape a dam
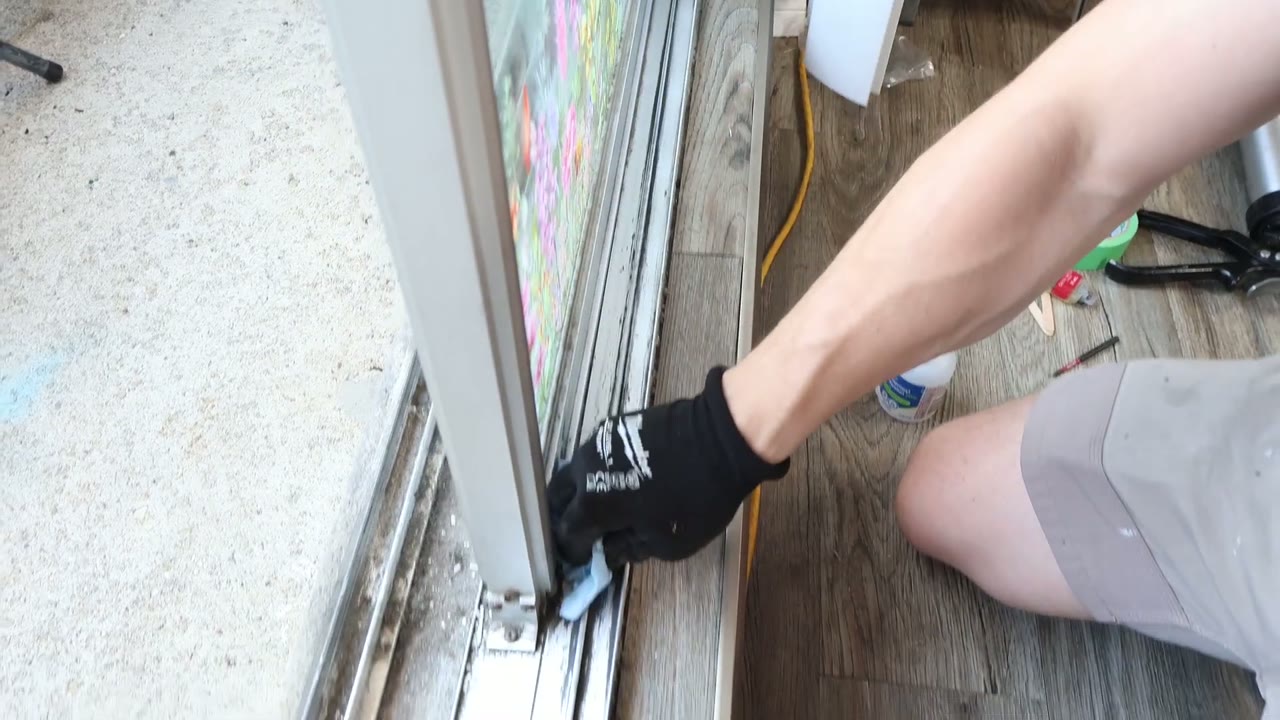
Shop towel and rubbing alcohol wiping grinding dust off the door track Wipe the whole rail down with rubbing alcohol and shop towels until they come away clean — grinding dust, old lubricant and dirt all weaken the epoxy bond. Let it dry completely.
Then run painter's tape tight along the rail to build a dam for the epoxy. Press the edges down firmly: anywhere the tape lifts, the epoxy leaks.
Mix and pack the epoxy
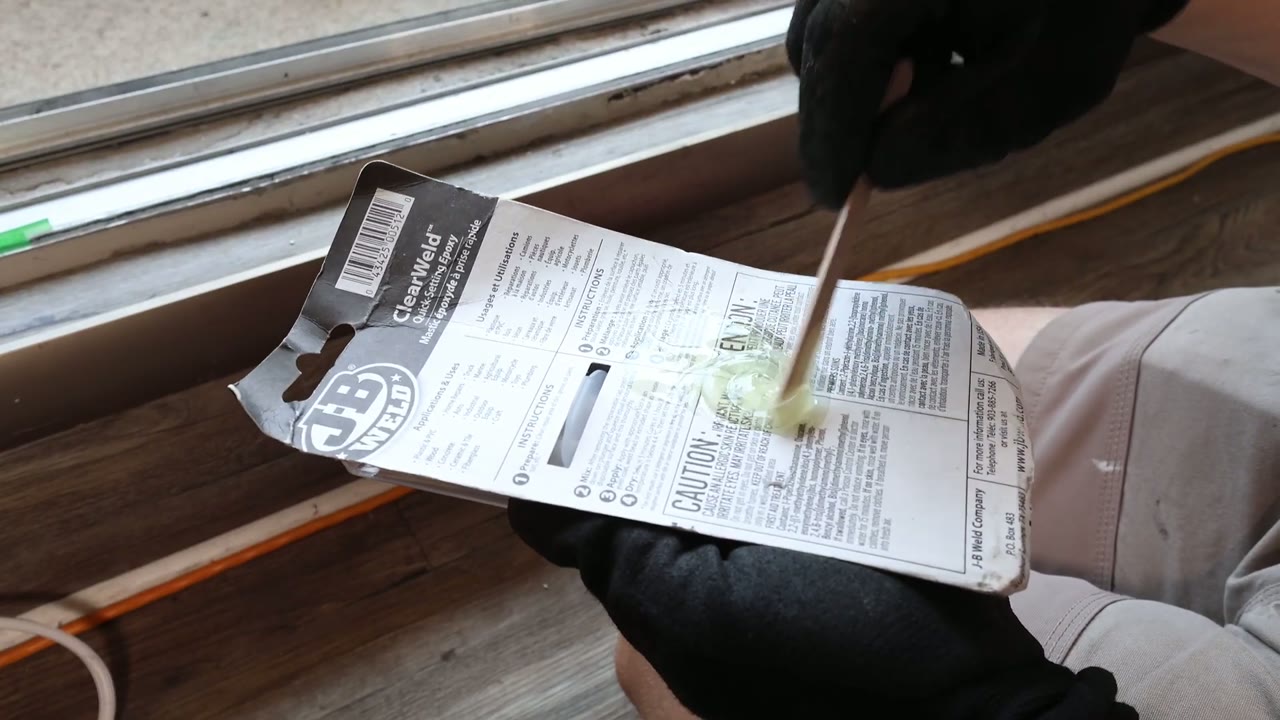
J-B Weld ClearWeld quick-setting epoxy mixed on its card with a stir stick Mix the two-part epoxy — the video uses J-B Weld ClearWeld, and any quick-setting two-part epoxy from the hardware store does the same job — and work it into the taped-off damage until the grooves and low spots are filled.
Then let it sit for about 30 minutes. You want it starting to firm up but still pliable; that window is when the trimming happens, and the next step fills the wait.
Cut the track cap to length
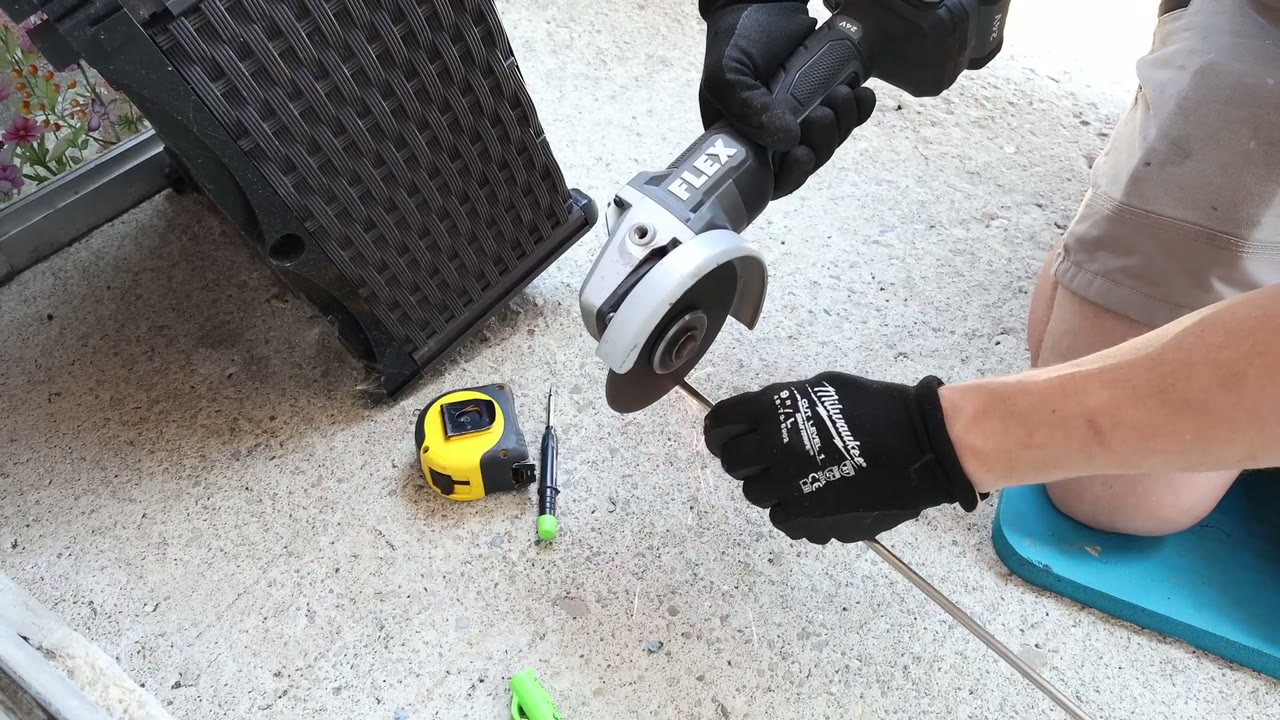
Cut-off wheel trimming the stainless steel track cap to the measured length While the epoxy sets up, cut the stainless steel track cap to the length you measured in step 2. A cut-off wheel on the grinder goes through it in seconds.
Trim the epoxy while it's pliable
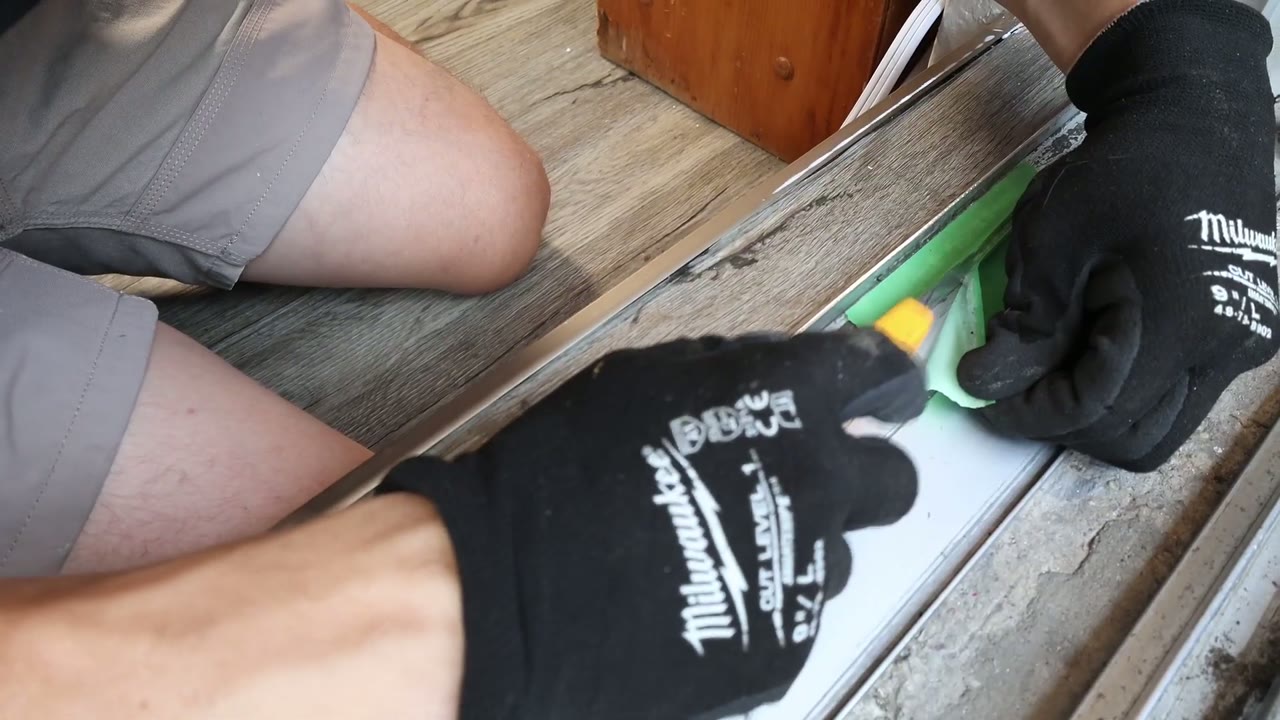
Utility knife slicing the epoxy edge clean as the painter's tape peels away When the epoxy has firmed up but still gives, pull the tape. Run the utility knife along the edge of the epoxy as you peel, slicing it free of the tape line, then carve down any high or wide spots until the repair matches the original rail profile.
This is the moment to get the shape right — semi-cured epoxy trims with a knife; once it cures rock-hard, shaping it means grinding again.
Bead silicone into the cap
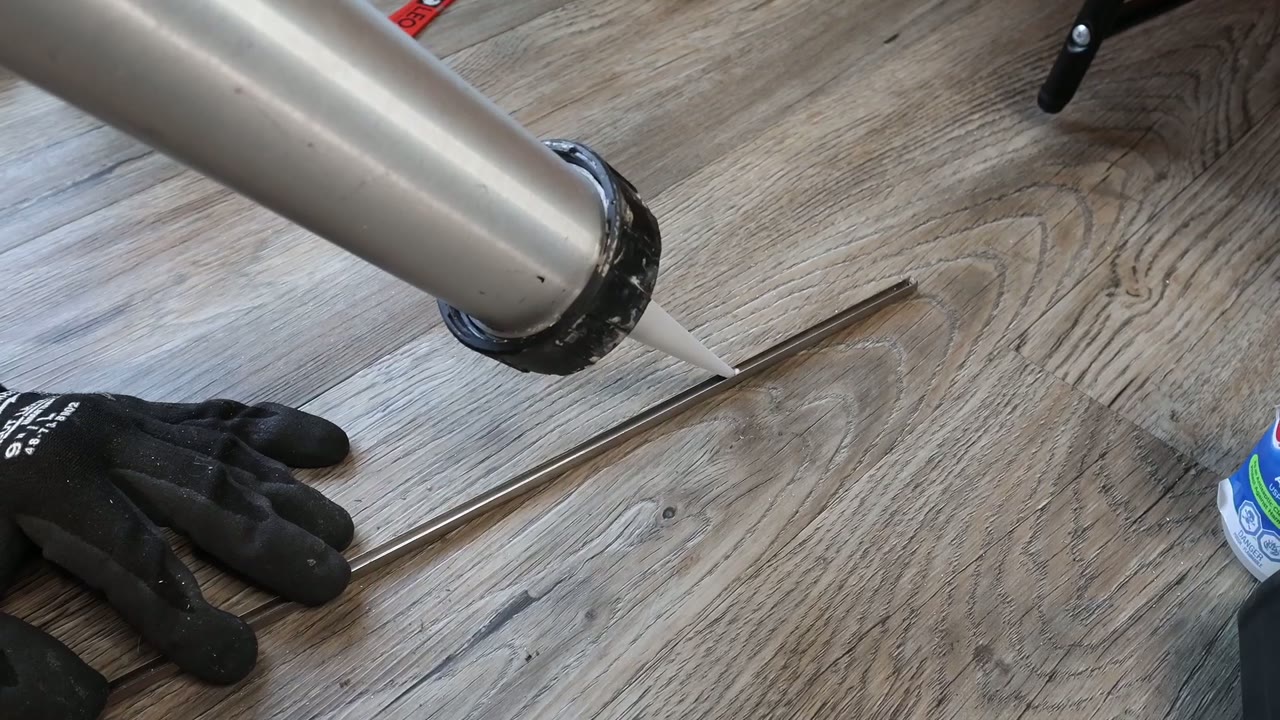
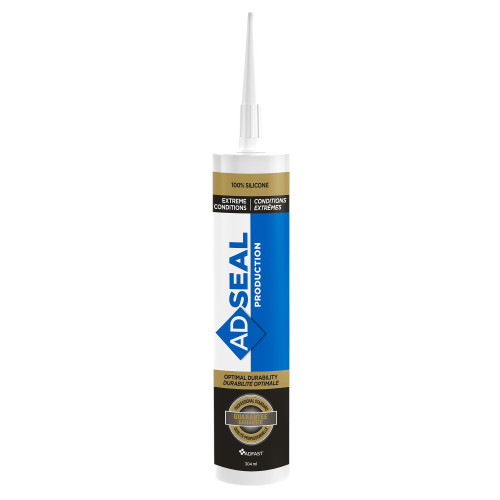
Thin silicone bead running down the inside channel of the stainless track cap Run a thin bead of silicone down the inside channel of the cap — just enough to hold it to the rail. Too much squeezes out the sides when the cap seats, and you'll be wiping the excess off the track after installation. The ADSEAL 4550 in the parts list is a one-component production silicone that bonds to metal, and its non-sag body keeps the bead where you lay it.
Snap the cap over the rail
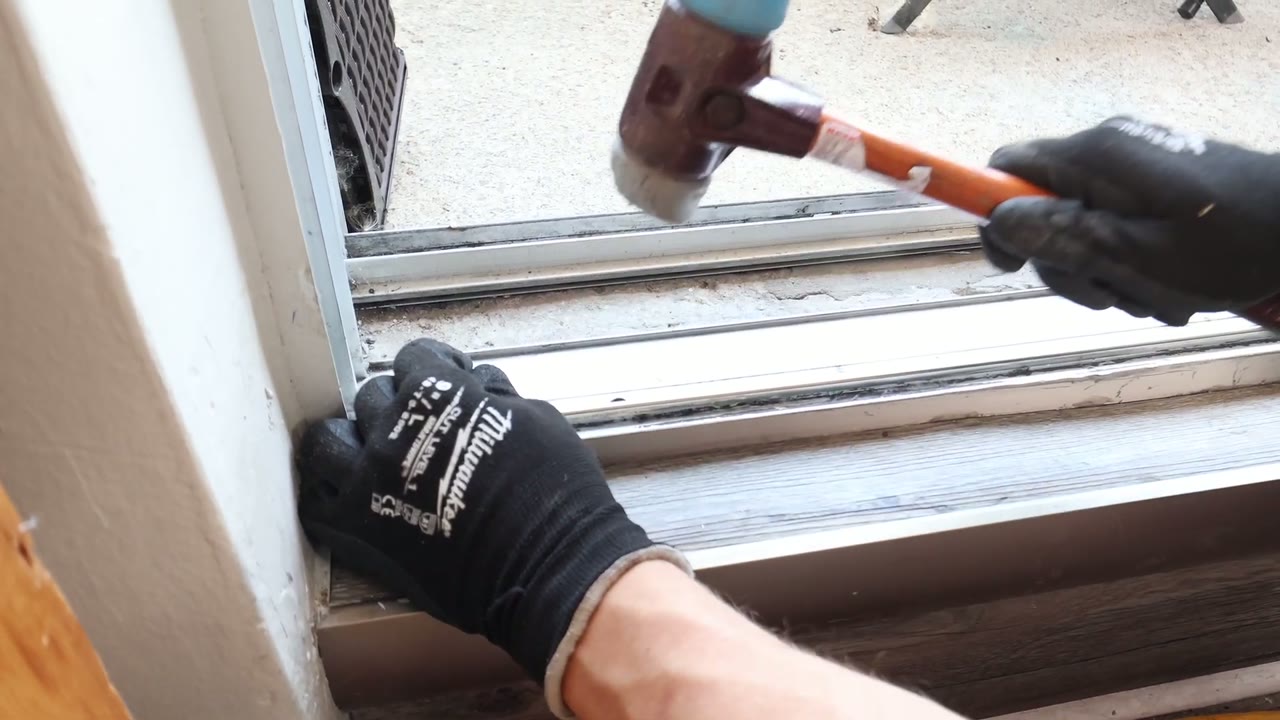
Rubber mallet tapping the stainless track cap onto the repaired rail Line the cap up over the rail end to end and press it on, then work down the run with the rubber mallet, tapping until the cap is fully seated the whole way. The soft face seats stainless without marring it — this is not a job for a framing hammer.
Lubricate, rehang and let it cure
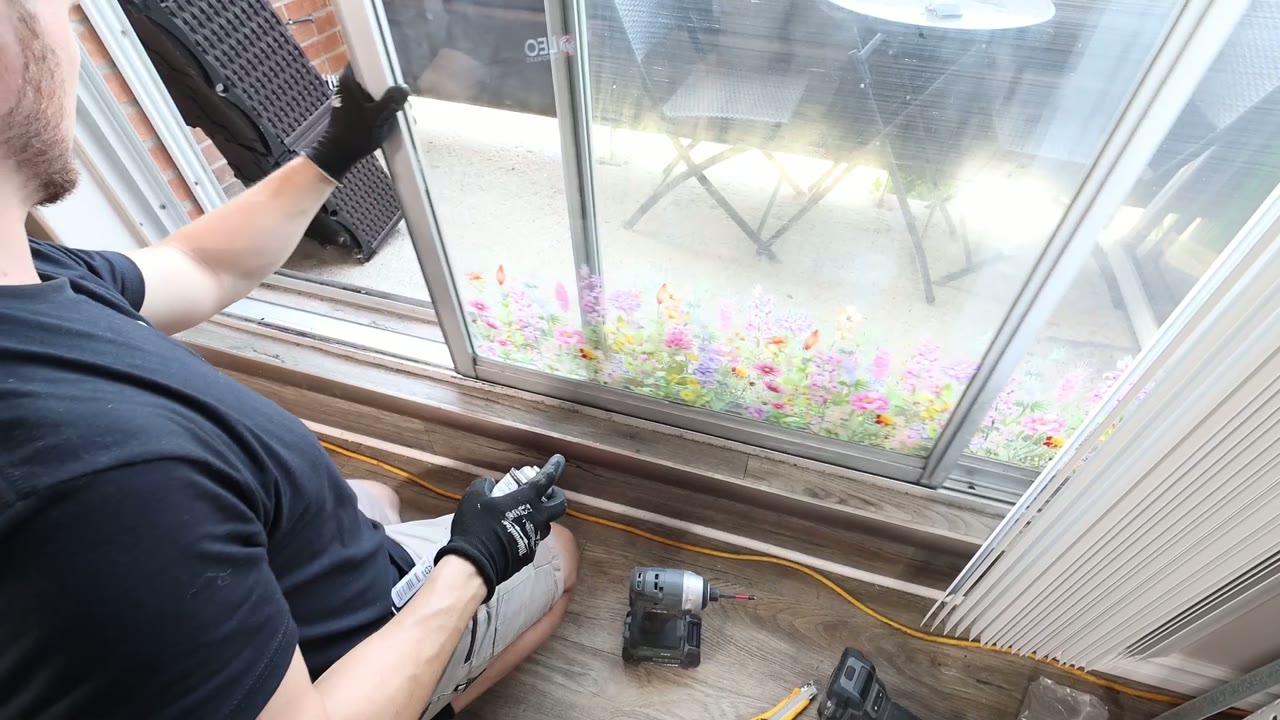
Silicone spray in hand as the patio door panel goes back onto the capped track Spray the new cap with a dry-film lubricant — we stock Sprayway silicone spray, and a dry film keeps the track slick without collecting grit the way an oily spray does. Rehang the panels and adjust the rollers if the door rides differently — the cap adds a little height to the rail.
Lock the door and leave it alone for 24 hours. The epoxy and silicone are still curing under the cap, and a heavy panel rolling over it too soon can shift the cap out of place.
Done right, the door glides end to end without the grind and rattle it moved in with. If your track doesn't look like this one — a different rail profile, a rotted sill, rollers that are past saving — send us a photo through Identify My Part and we'll match the right fix.