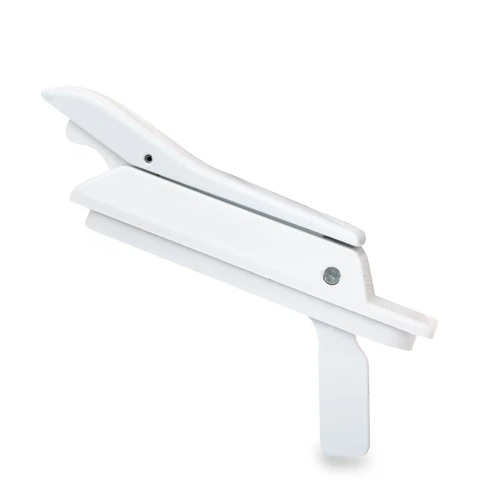
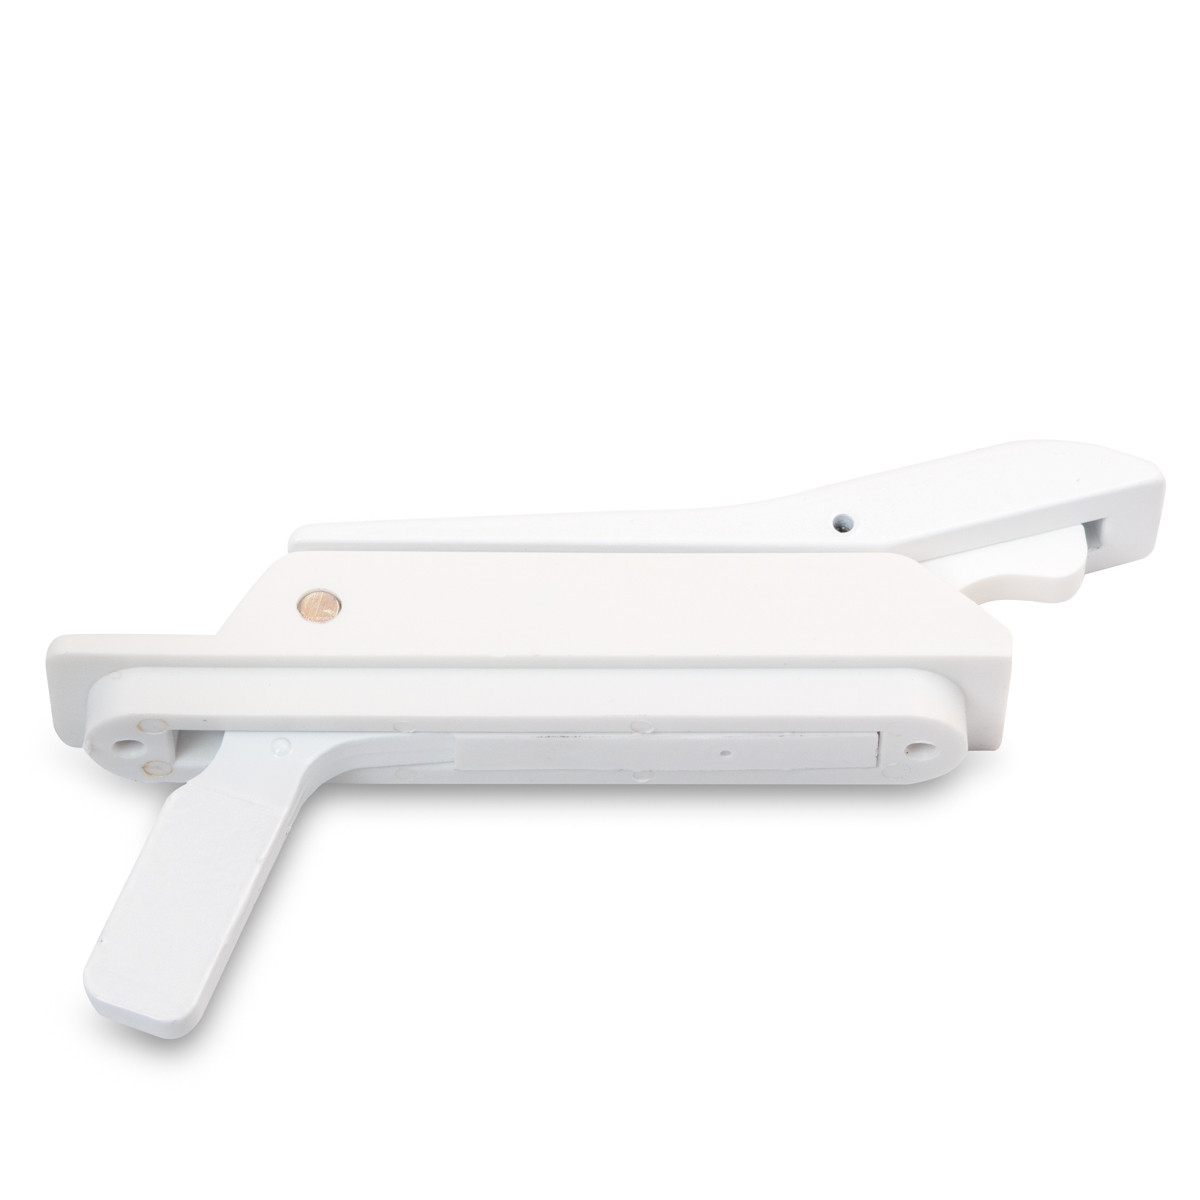
Replace a Casement Window Locking Handle
A casement window locking handle leads a hard life: it gets cranked shut a couple of times a day, every day, until the lever snaps off, the base works loose, or the sash stops pulling tight against the weatherstrip. When it finally lets go, the window either won't lock — or locks and refuses to open again.
The fix is about as easy as window repair gets: two screws, a drop-in replacement handle, and about ten minutes including the cleanup. One lever on a multi-point lock engages the sash at more than one point along its height, so this one small casting is what's holding the whole window tight.
Before ordering, measure centre-to-centre between the two mounting screws on your old handle — the replacement here fits the many North American vinyl windows that use 84 mm (3.31") spacing, with a lock body 19.3 mm (0.76") wide by 120 mm (4.72") tall. It's non-handed, so the same part covers left- and right-hinged windows, and the original handle is often (though not always) stamped "CDN.PAT.2,142,071".
Push the window all the way open

Casement sash pushed fully open to reach the locking handle hardware on the frame jamb The handle's mounting screws face the sash, so the window has to be open before anything comes apart. Crank or push the sash out as far as it goes — that puts the lock hardware on the jamb right in front of you.
If the lock has failed with the window shut, work a prybar between the sash and the frame near the handle, then push the locking mechanism down while you lever the sash out. That forces the cams off their keepers and frees the window.
Unscrew and pull out the old locking handle
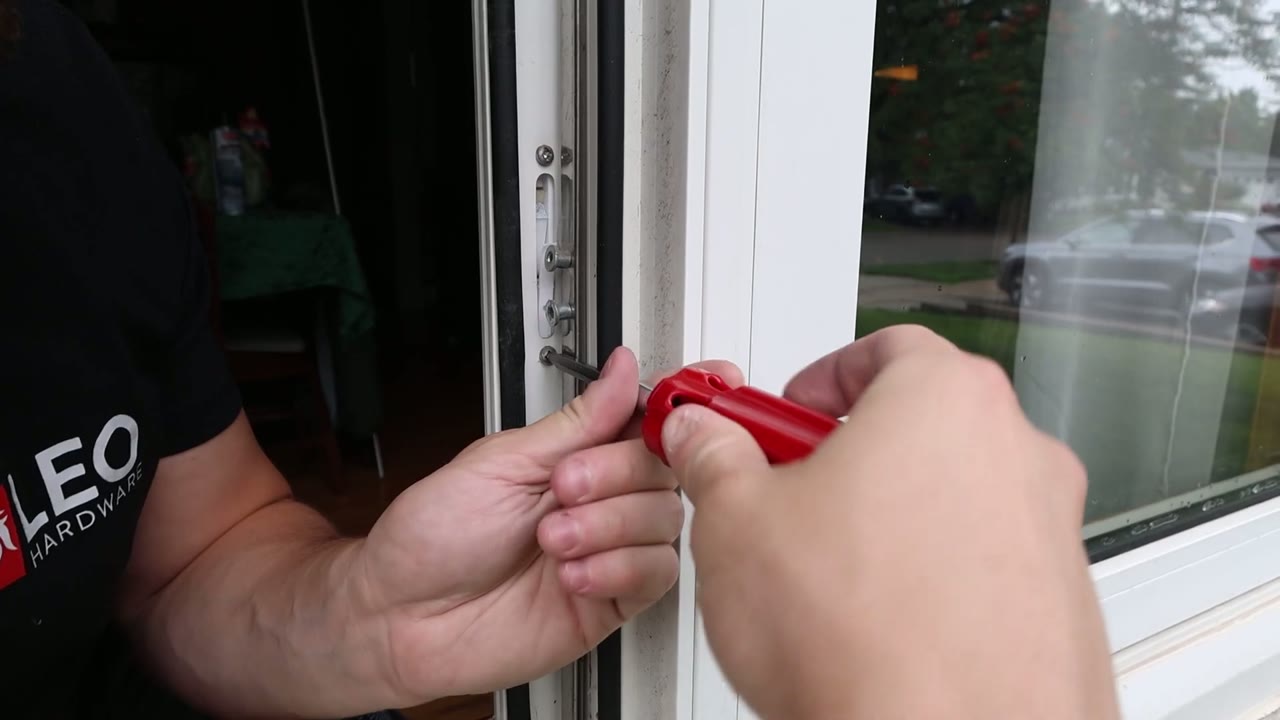
Screwdriver backing the old casement locking handle's mounting screws out of the jamb face Back out the screws on the edge of the frame behind the handle — the ones that hold the lock body in its cutout. With the screws out, the old handle pulls straight back out of the rectangular opening in the jamb. Nothing else retains it.
Line up the fin between the tie-bar posts
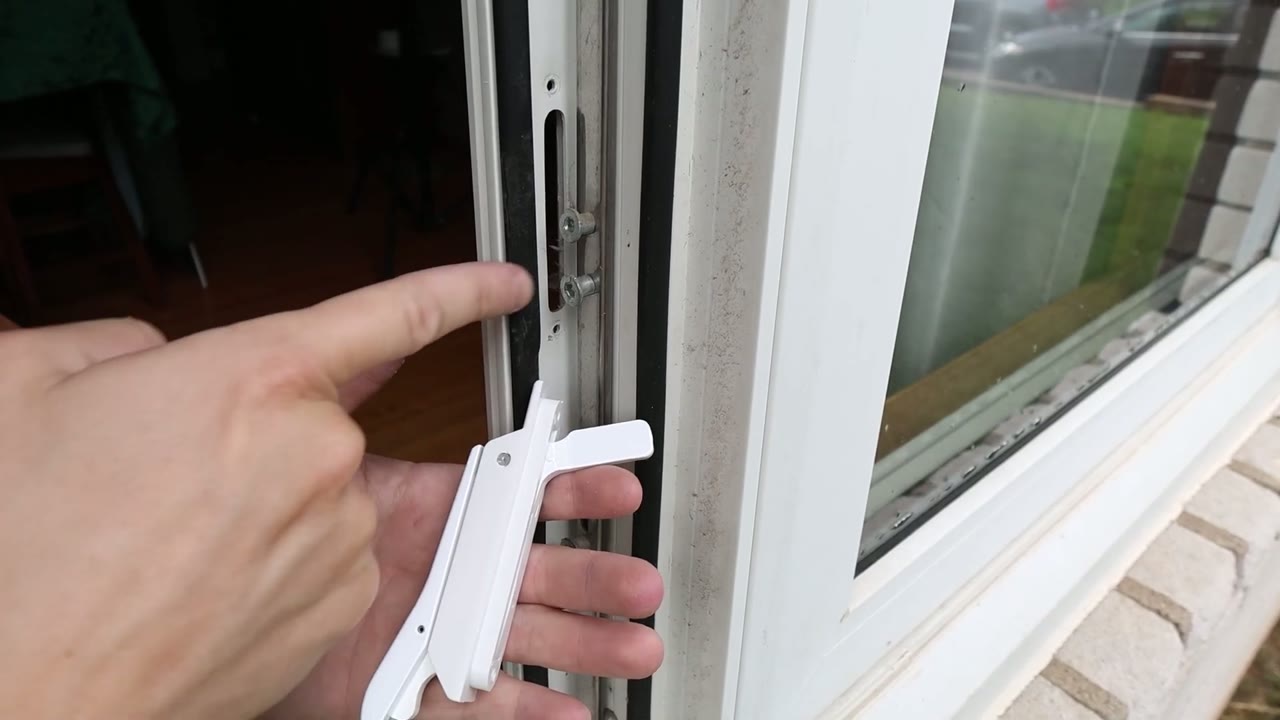
New locking handle at the jamb cutout, finger on the two tie-bar posts its fin slides between This is the step that decides whether the new lock works. On the back of the new handle there's a metal fin, and inside the frame cutout there are two posts mounted on the tie bar. Slide the handle in so the fin lands between the two posts — that connection is what lets the lever drive the tie bar and pull every lock point tight at once. Once the fin is seated, push the lock body snug against the frame.
Flip the lever before you reach for the screwdriver. If the tie bar slides up and down with it, the fin is where it should be; if the lever swings and nothing moves, pull the lock back out and re-seat it.
Screw the new lock to the frame
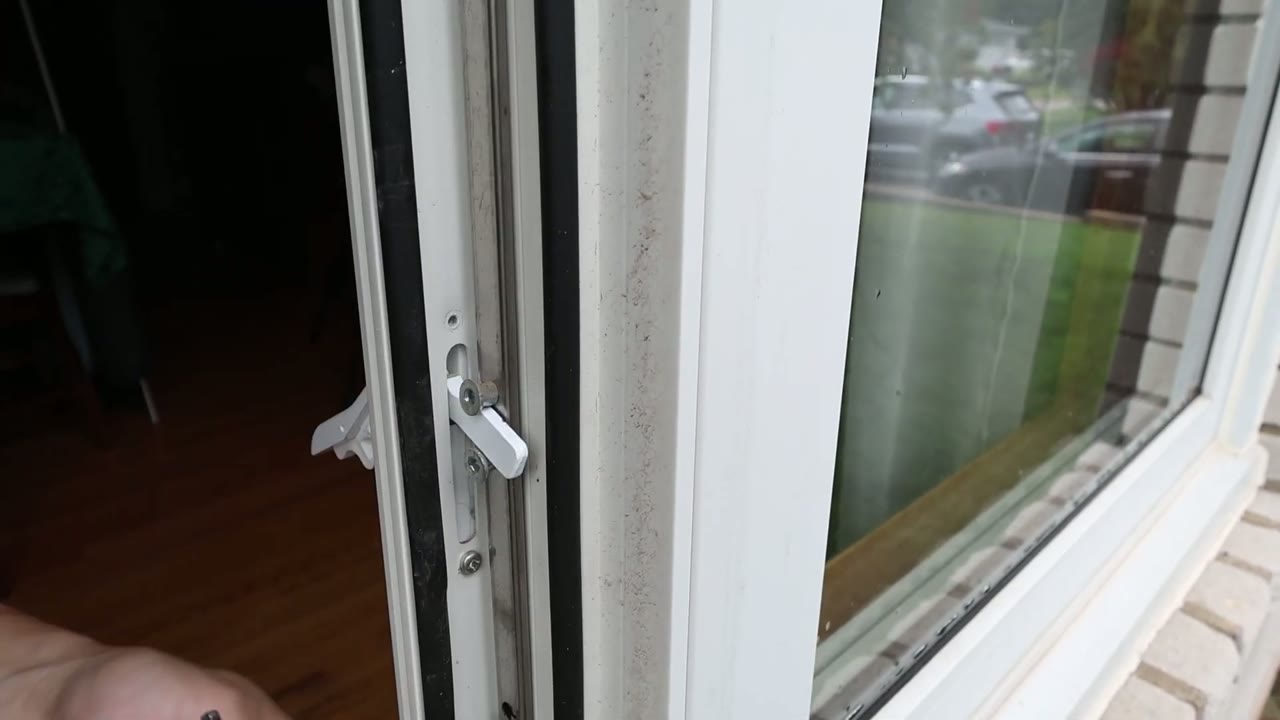
New multi-point locking handle seated in the jamb cutout with its mounting screws run snug Hold the lock body tight to the jamb and run the screws back in until the base pulls up snug — the built-in rubber gasket seats against the frame as it tightens. Cycle the lever a few times and close the window on it once to confirm the sash pulls in square against the weatherstrip.
Vacuum the tracks and lubricate the hardware
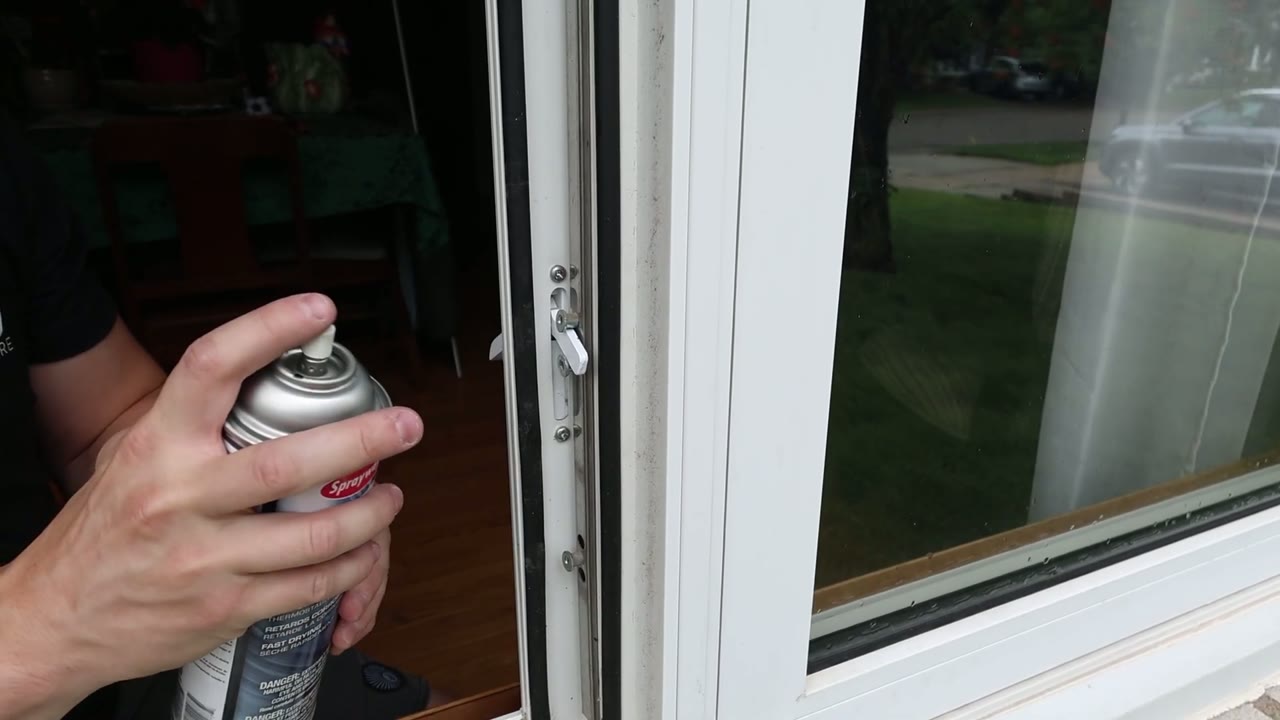
Sprayway silicone spray going onto the newly installed locking handle and tie bar While the window is open, take the extra two minutes the hardware wishes every owner took. Vacuum the dirt and dead bugs out of the hinge track along the sill, then give the moving parts a shot of dry-film lubricant — the new lock, the tie bar, both hinges and the operator's guide channel. We stock Sprayway silicone spray; a dry film won't collect grit the way an oily spray does. Run the window through a few open-close cycles to spread it.
If your handle doesn't match this one — the screw spacing measures something other than 84 mm, or the lock body is a different size — send us a photo through Identify My Part and we'll match the exact replacement.