
Replace Truth 39 Series Patio Door Rollers
A sliding patio door that drags, rumbles or takes a shove to get moving is usually riding on worn-out rollers. In wood patio doors, those are often Truth 39 series patio door rollers from Truth Hardware (AmesburyTruth), and replacing them takes a screwdriver or drill, two new rollers, and a height adjustment once the door is back in. The pair in the video were badly rusted, screws included.
Check the old roller before you order. The 39.10 has a zinc plated steel housing 4.65" (118 mm) long, two 1-1/4" (31.8 mm) steel wheels, and mounting holes 5-3/4" (146 mm) apart, centre to centre. The one in the video is stamped 39.10 next to Truth's logo, and some also carry the number 31761. It's non-handed, so the same roller goes at both ends of the door.
Then check the track. The door in the video runs on a stainless steel track, a good match for steel wheels. If your door rides on an aluminum track, Truth calls for a nylon-wheel roller such as the 39.11 instead, because steel wheels gall aluminum and wear the track out early.
Lift the door out of the frame
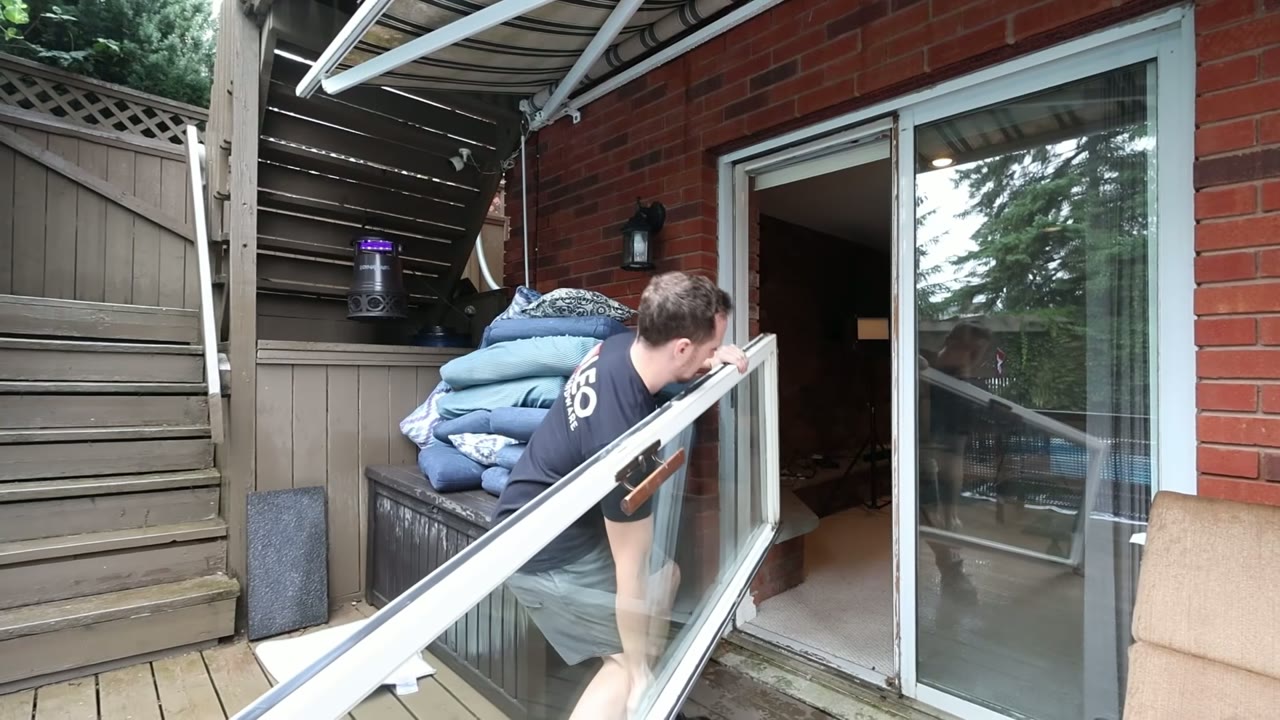
Wood sliding patio door panel swung out of its frame, bottom first, from the deck side Lift the sliding panel straight up into the head of the frame, then swing the bottom toward you until the wheels clear the track and the door comes free. On the door in the video this happens from the outside.
Lay the door on its side on the deck or another flat surface, with the bottom edge facing you. That gives you full access to both rollers.
Glass doors are heavy and awkward. Know where the door is going to rest before you lift it, and grab a second set of hands if you have one.
Unscrew the old rollers
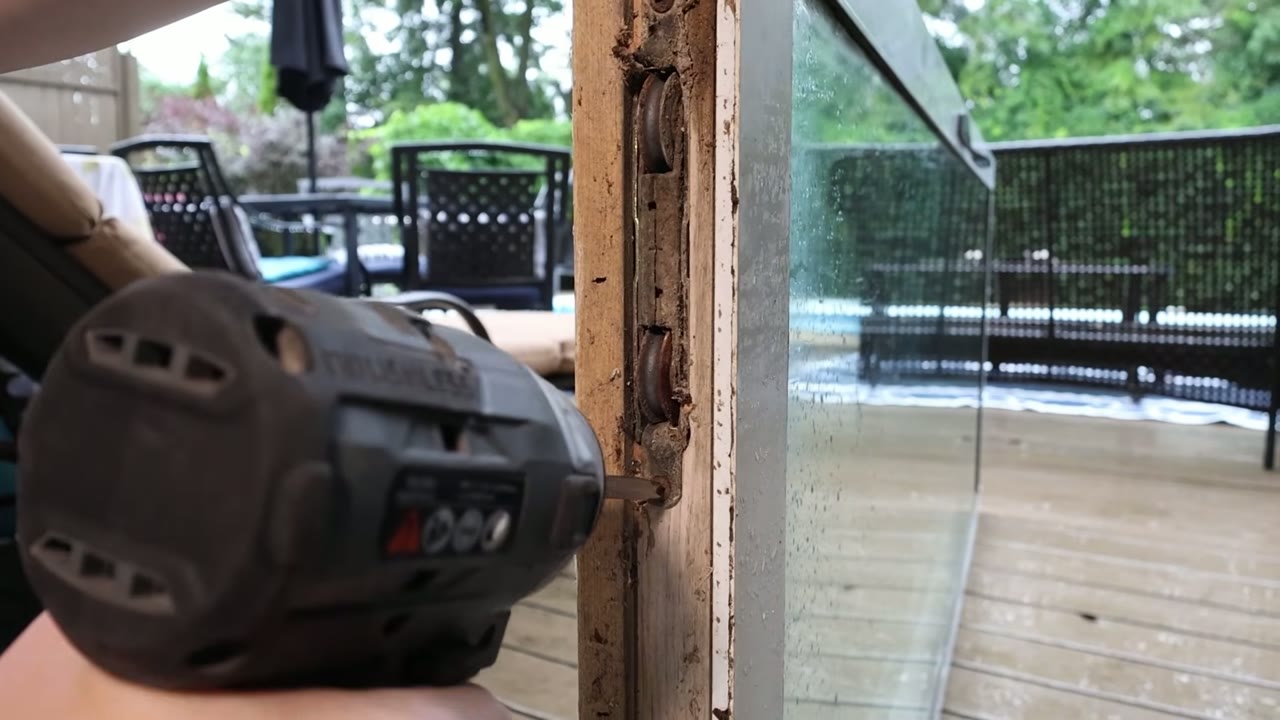
Drill backing a rusty screw out of an old Truth roller in the bottom of a wood patio door Each roller sits in a pocket cut into the bottom of the door and is held by two screws, one through the mounting tab at each end. Back them out with a drill or the Phillips tip of your screwdriver, then lift the roller out of the pocket.
Expect the screws to fight you. The ones in the video were rusty, and the top screw on one roller spun in place instead of backing out.
Free a spinning screw with a flathead
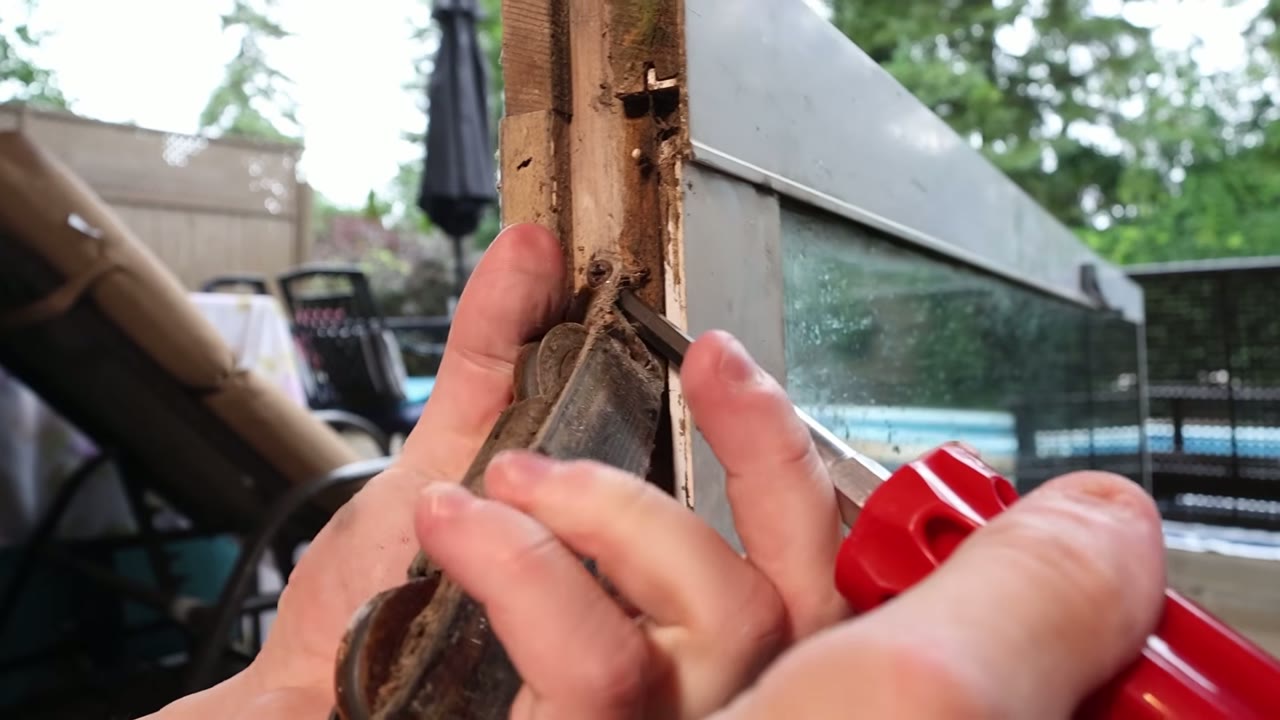
Flathead screwdriver jammed into the threads of a spinning roller screw, old roller bent forward A screw that spins without coming out has lost its grip on the wood, so there's nothing for the threads to pull against. Give it something. Bend the roller forward out of the pocket to expose the screw's shank, jam a flathead screwdriver into the threads, and run the screw out with the drill. The blade acts like a nut and the screw threads itself off it.
The same trick works on any stripped, spinning screw. If you can wedge something flat into the threads, you can drive the screw out against it.
Use screws no longer than the originals
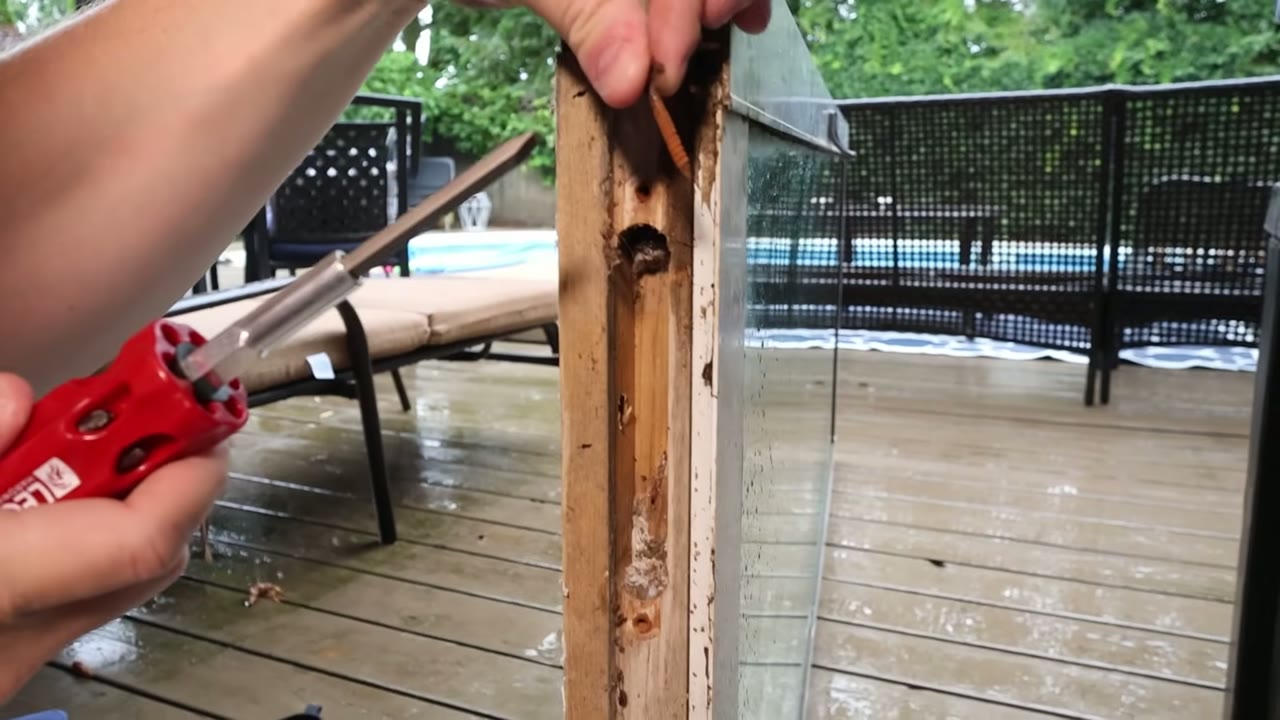
Old roller screw held at its hole in the door's bottom edge, the length any replacement must match The new rollers don't come with screws. If the old ones are sound, reuse them. If they're rusted like the ones in the video, replace them: Truth specifies two #8 Phillips flat-head screws per roller.
Length is the part that matters. Match the screws that came out, or go slightly shorter, but never longer. The sealed glass unit sits just above the roller pocket, and a screw that's too long can puncture the unit's seal, which lets moisture fog the glass, or crack the pane outright.
Install the new patio door rollers
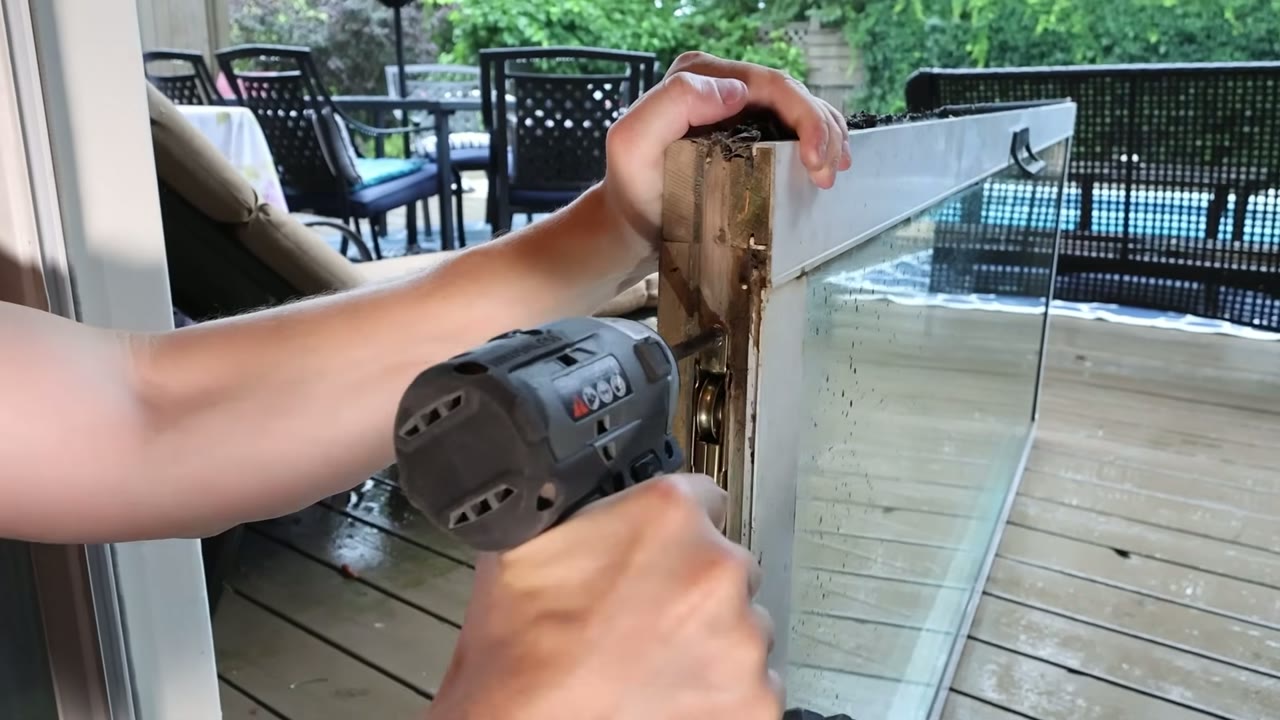
Drill fastening a new Truth 39.10 tandem roller into the pocket at the bottom of the door Set each new 39.10 roller into its pocket with the wheels facing out, and drive a screw through the tab at each end. Snug them down, but don't overdrive them into old wood.
Before you screw a roller in, note which end of its adjustment screw will face the adjustment hole on the inside of the door. One end has a single slot and the other has crossed slots, and the two ends turn opposite ways to raise the door.
Spray the new wheels
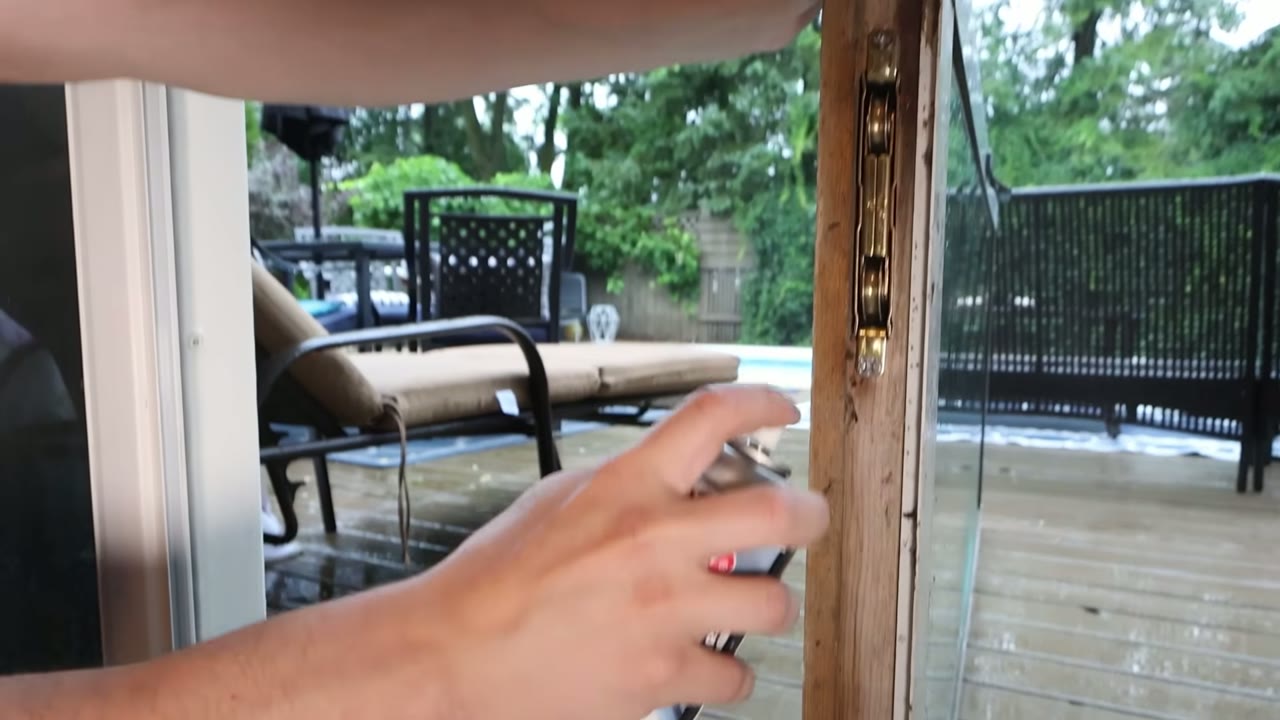
Sprayway SW-077 dry silicone spray applied to the wheels of a new Truth patio door roller While the door is still on its side, give the wheels of both rollers a light coat of dry silicone spray. The video uses Sprayway SW-077, which dries to a slick film instead of an oily one, so it doesn't hold on to grit from the track.
Set the door back in the frame
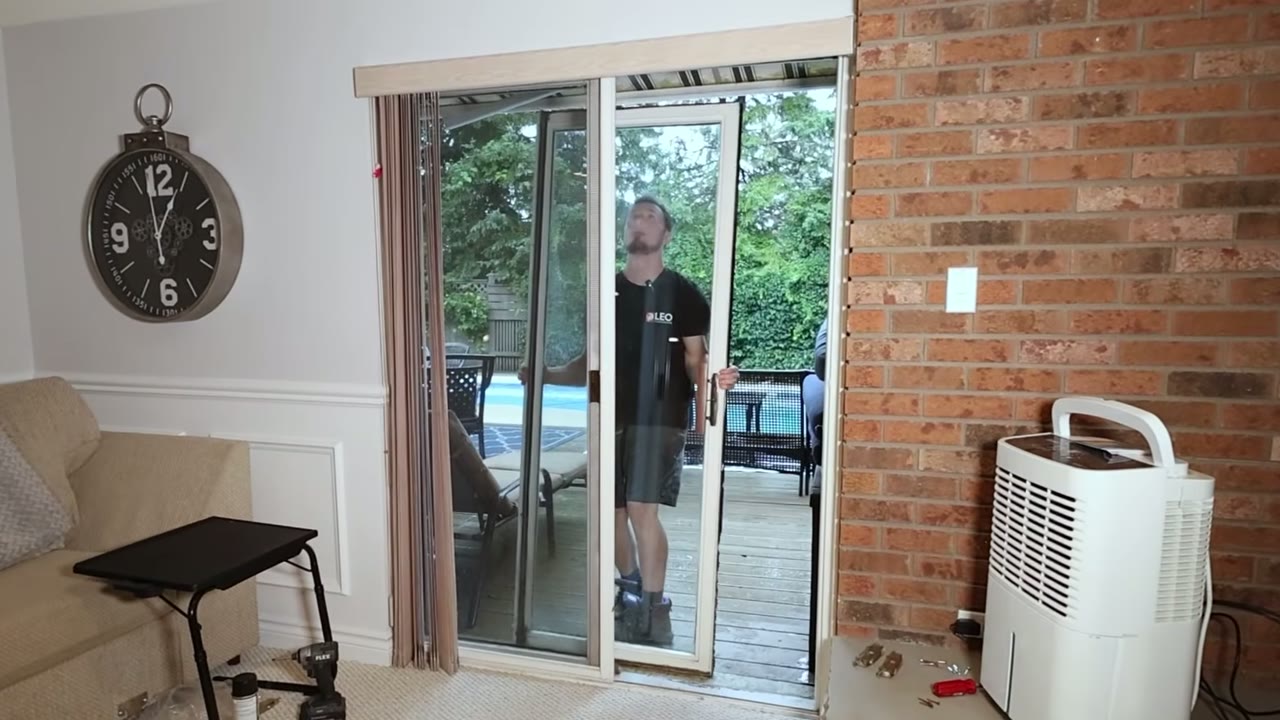
Wood sliding patio door panel standing back in its frame on the new Truth 39.10 rollers Reverse the removal. Tip the top of the panel into the head channel, lift it up, and swing the bottom in over the track until the wheels drop onto the rail.
Slide the door through its full run. Don't worry if it drags or rolls rough at this point. The door in the video did too, because the rollers still need adjusting.
Pop the caps off the adjustment holes
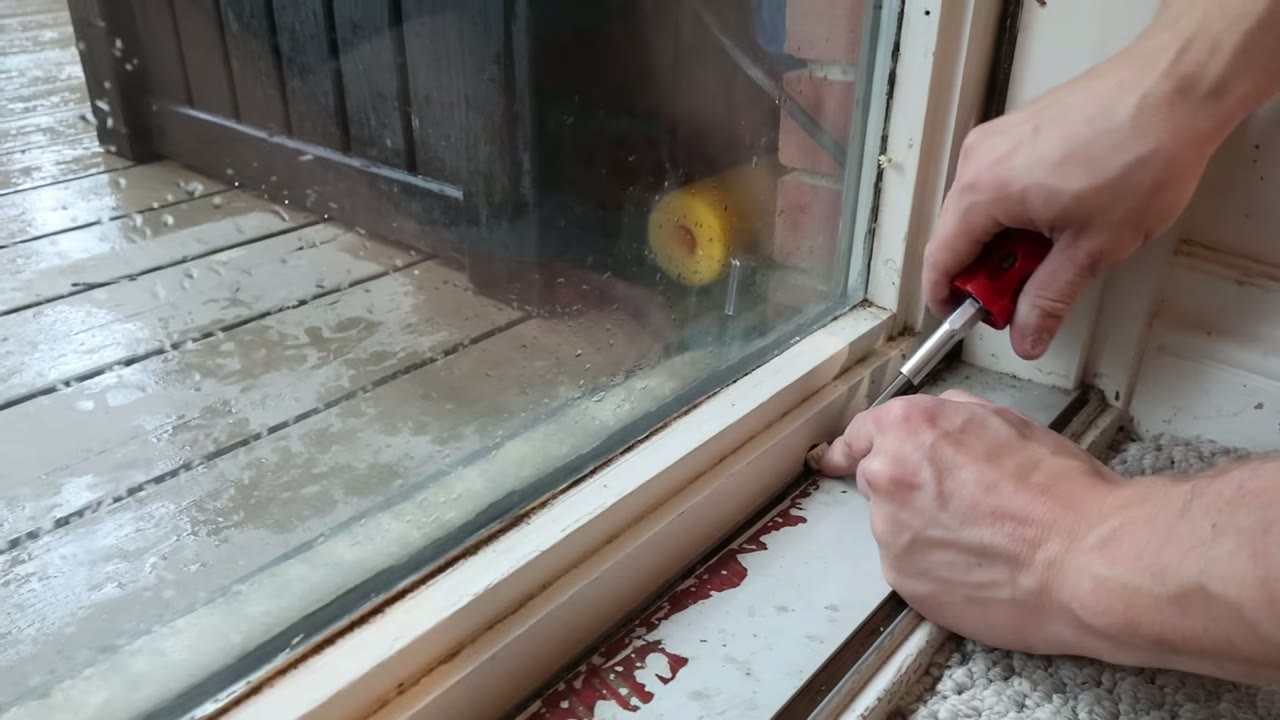
Flathead screwdriver prying the plastic cap off a roller adjustment hole on a wood patio door On the inside face of the door, near each end of the bottom rail, a small plastic button covers the hole that leads to each roller's adjustment screw. Pry the buttons out with a flathead screwdriver or the glazing prybar.
If the door sits so low that you can't get at the caps, lift it back out and pop them off before you rehang it.
Adjust the roller height
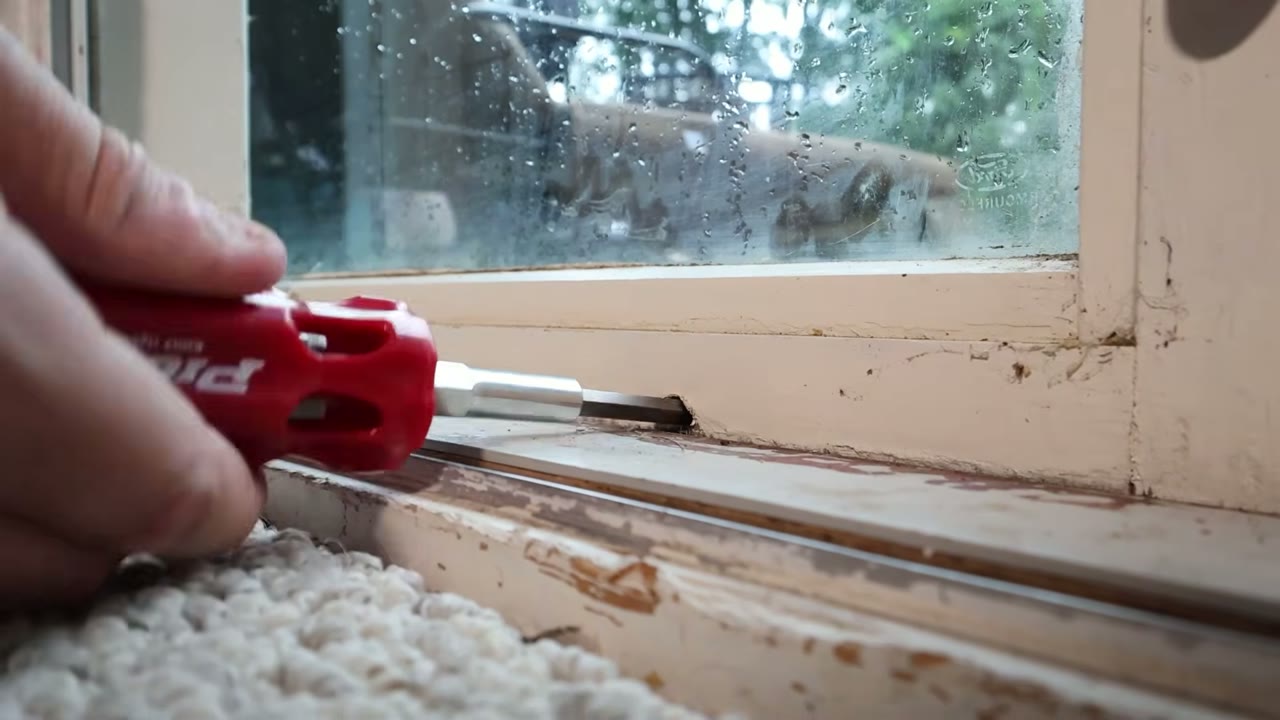
Flathead screwdriver in the adjustment hole at the bottom of the door, raising the Truth roller Push a flathead screwdriver through the hole and into the slot of the adjustment screw, then turn it to raise or lower that end of the door. Truth's rule for the 39 series:
- Crossed slots: counter-clockwise raises the door.
- Single slot: clockwise raises the door.
If you can't tell which end you're on, start with a quarter turn and check whether that end of the door went up or down.
Work a little at a time and alternate between the two rollers until the door rolls smoothly and sits square in the frame.
Turn the adjuster by hand. Truth warns against adjusting its rollers with a drill or power driver, which can put enough torque on the adjuster to damage the mechanism.
Cap the holes and check the latch
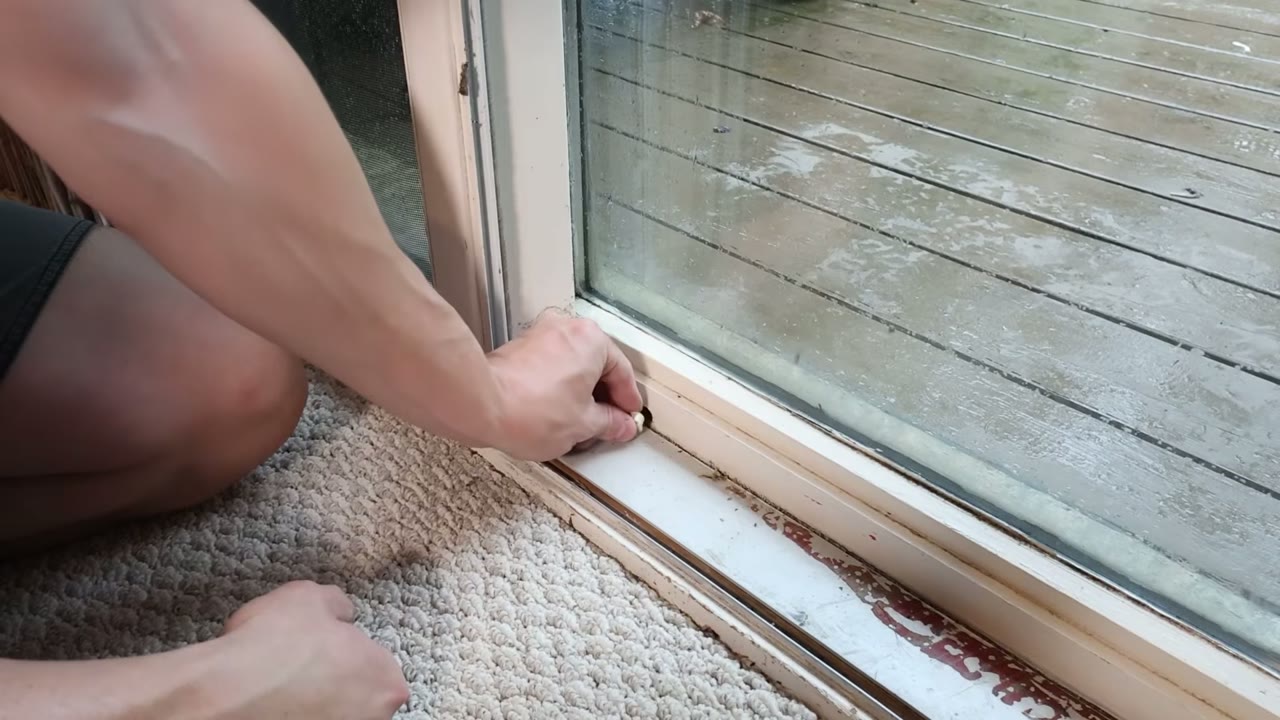
Plastic button cap pressed back over the roller adjustment hole on the patio door's bottom rail Press the plastic caps back into the adjustment holes, then close and lock the door. Changing the door's height moves the latch relative to the keeper on the frame, so make sure it still catches. If it doesn't, fine-tune the height again or relocate the keeper to meet the latch.
Lubricate the track and head channel
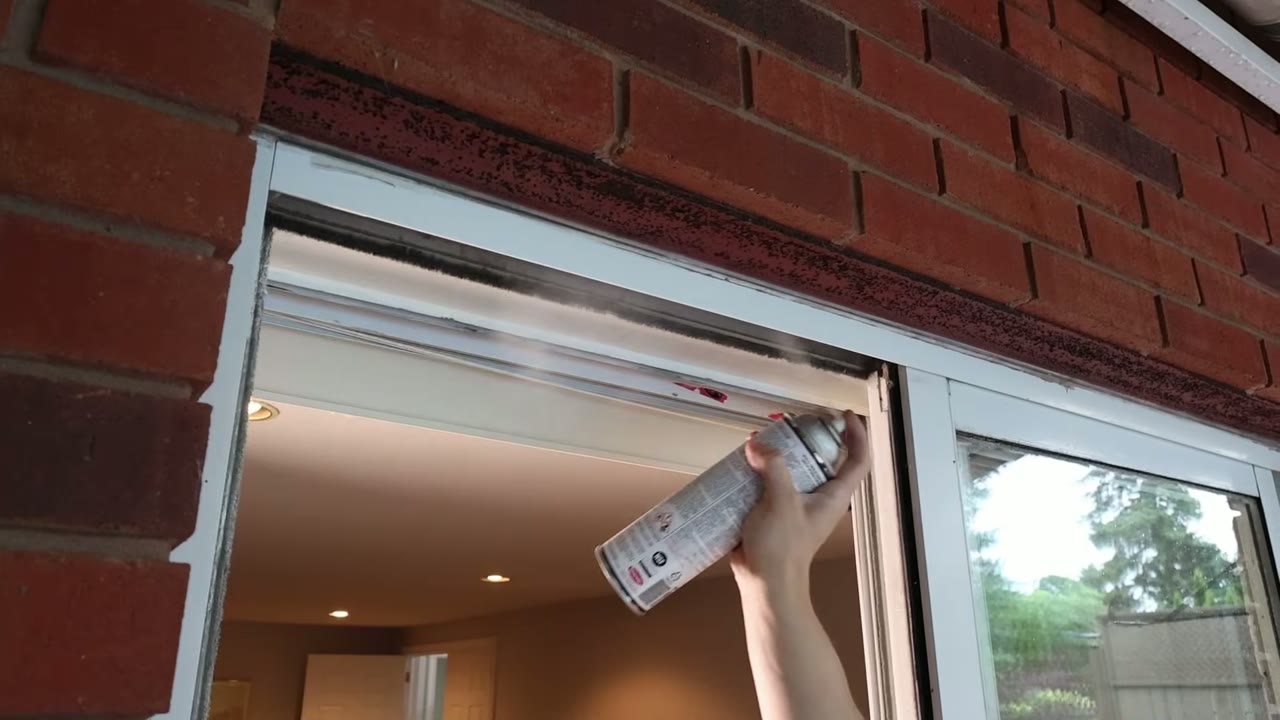
Silicone spray lubricant going along the head channel at the top of a patio door frame Finish with a light pass of silicone spray along the sill track and the head channel at the top of the frame. The door should now glide end to end.
If it still rumbles on new rollers, look at the track. A crushed or grooved rail chews through rollers, and it needs its own repair. If your rollers don't match the ones in this video, send us a photo through Identify My Part and we'll match the exact replacement.

